Tattoo Parlor
Features
Tattoo Customization System
The tattoo system allows you to apply detailed designs onto various parts of your character's body using a clean grid interface and specific category filters.
- Body Categorization: Customization is split into dedicated body sections selectable from the left-side vertical icon deck (e.g., Head, Torso, Arms, Legs).
- Real-Time Preview: Selecting any tattoo card from the grid will automatically render it onto your character. Active or already owned designs are highlighted with a green checkmark.
- Outfit Management: The interface allows you to organize, preview, and save your custom tattoo combinations directly inside the shop's wardrobe vault.
Main Menu Overview
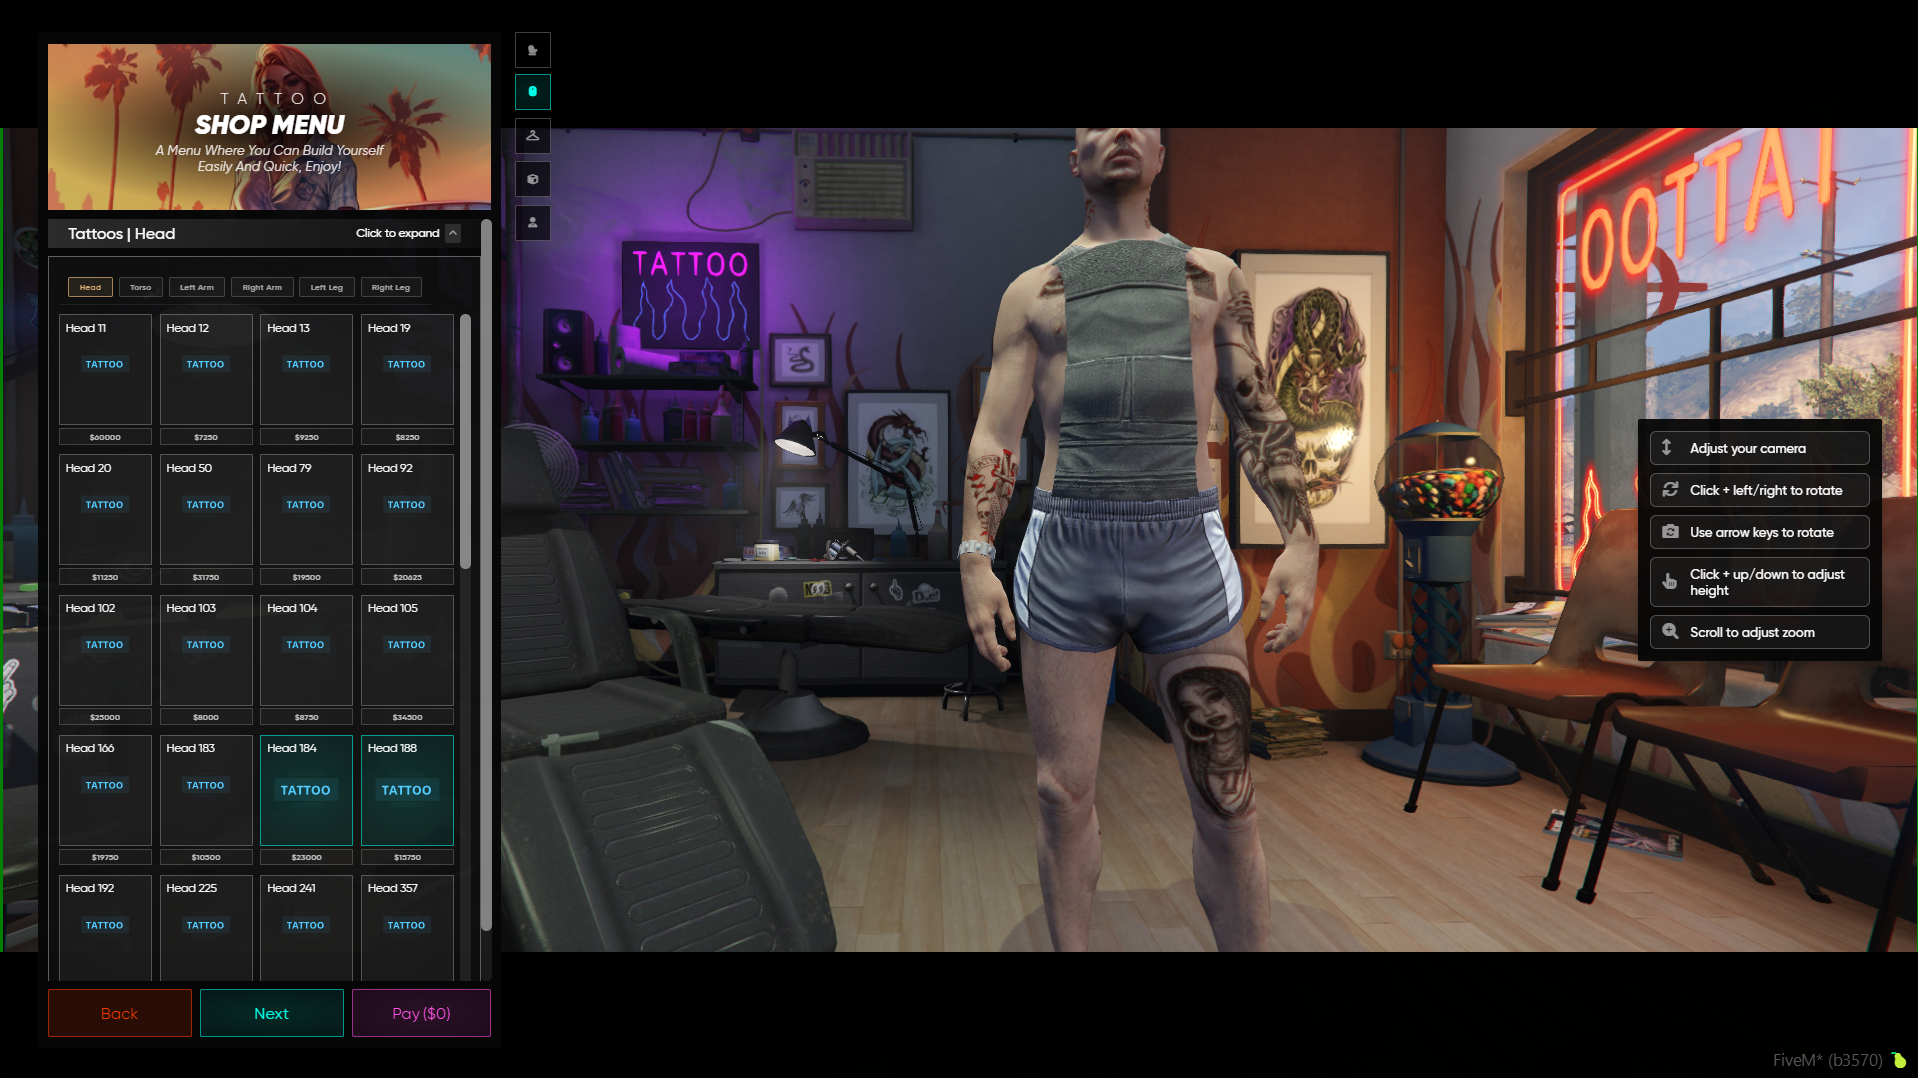
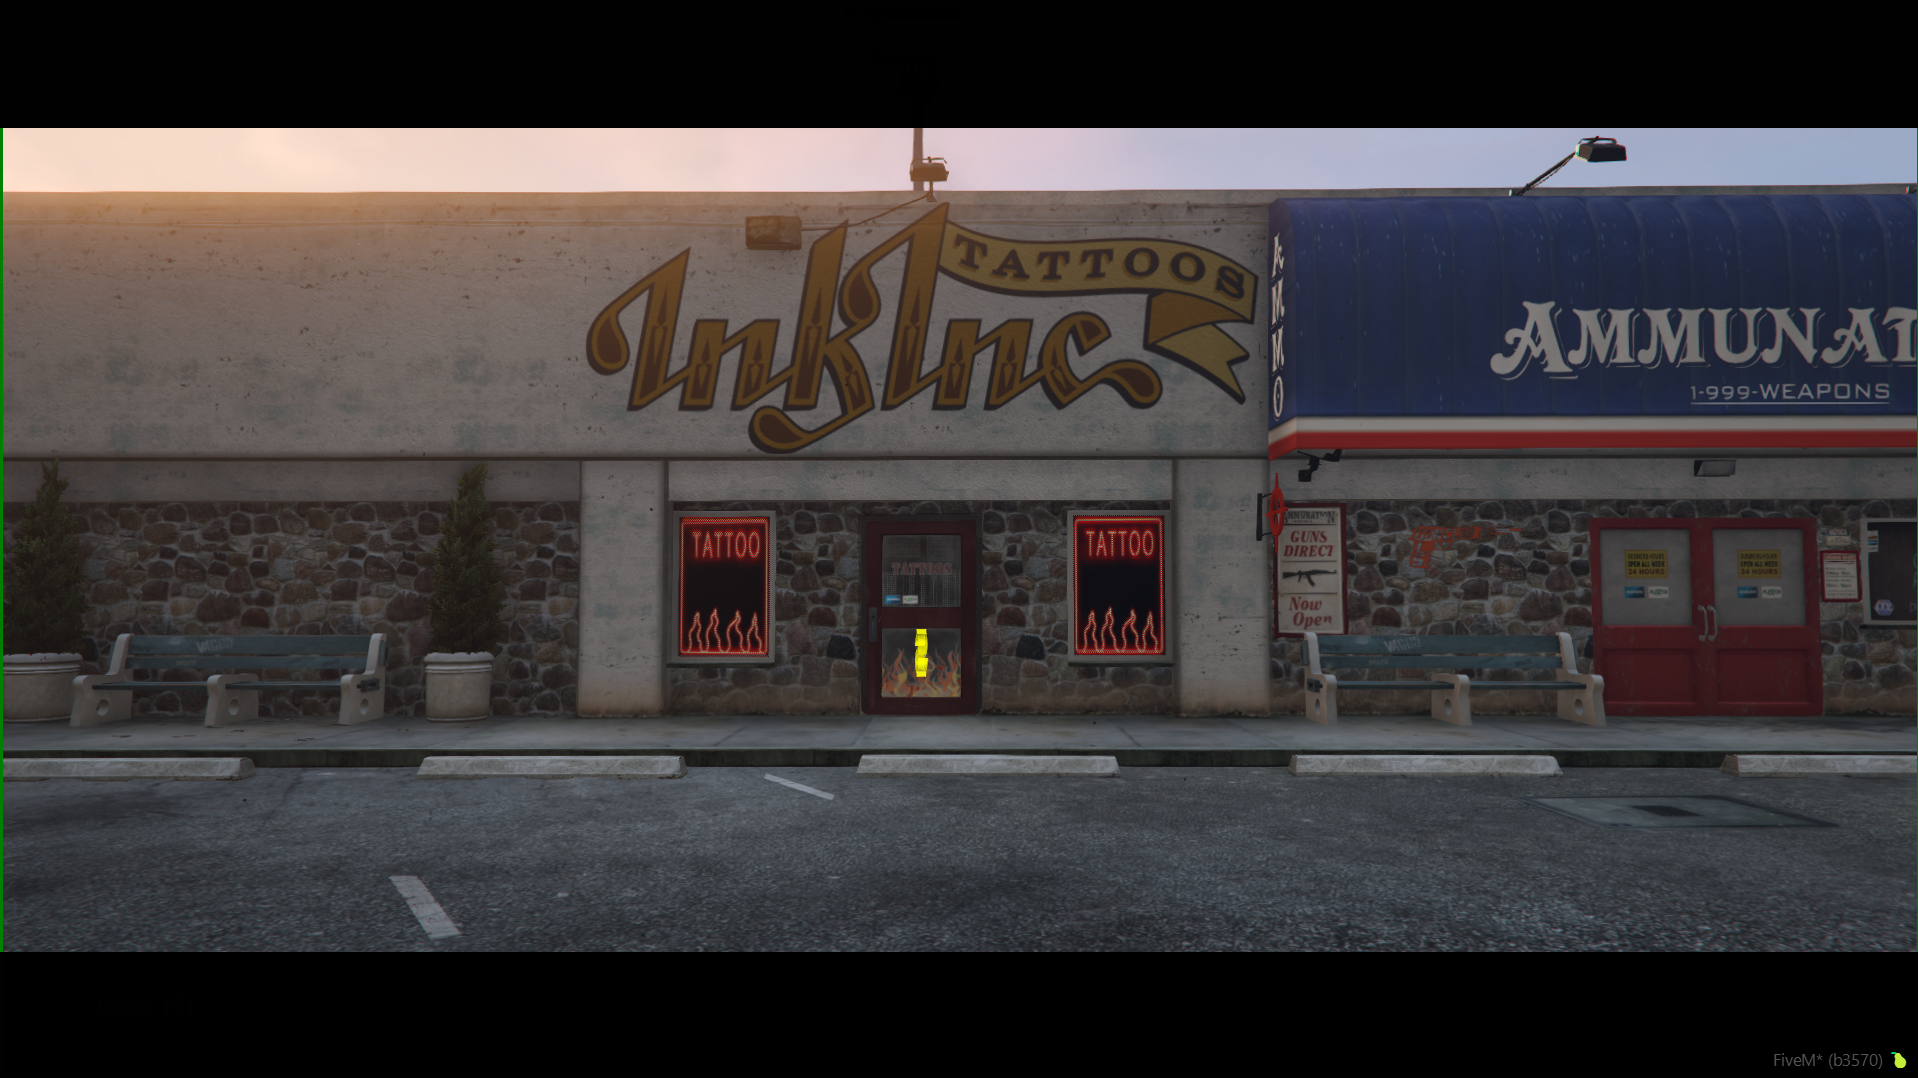
To begin personalizing your character, walk inside the parlor parlor and press the E key. Once the panel opens (Image #2), the following features become available:
- Left Navigation Deck: A vertical strip of icons representing body segments. The top icon (the avatar profile) opens up the Head slot category.
- Wardrobe Link (Top Center): Clicking the large
Wardrobebutton opens up the list containing your previously saved outfits. - Item Grid: Designs are presented as card components displaying a visual preview, the designation name (e.g., Head 0, Head 1), and the direct price below it (e.g., $60,000, $7,250). The upper right corner displays the total items count (e.g., 56 items).
- Shopping Cart & Balance (Top Right): Displays your current Gold/Money points balance alongside the primary orange
+ Buybutton used to check out. - Quick Save (Bottom Right): The green
Save outfitaction button lets you store your active setup configuration without buying it instantly.
Wardrobe System
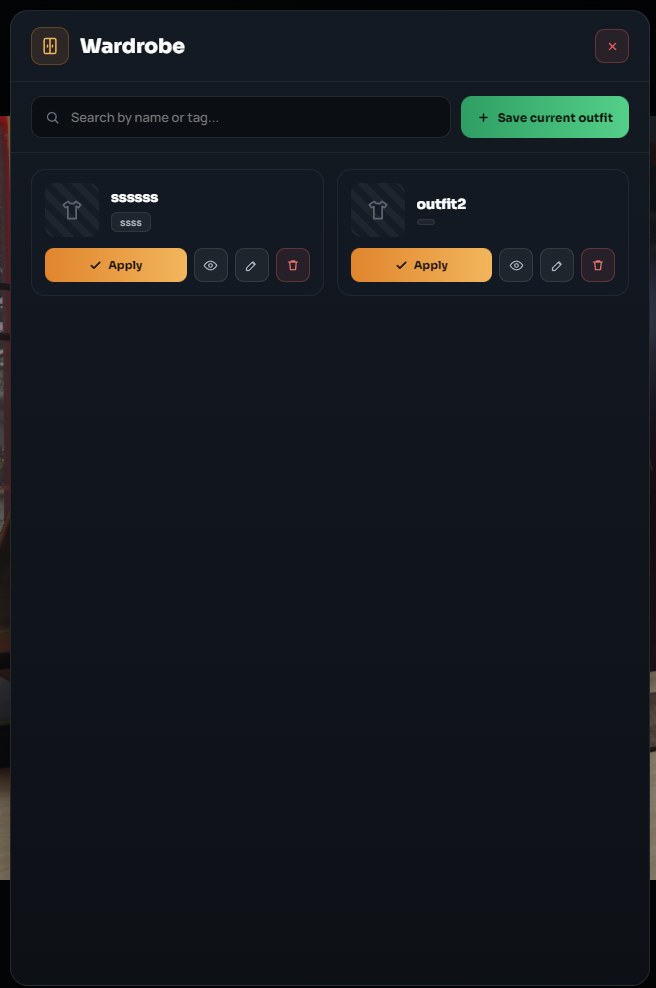
Clicking the wardrobe button pulls up an overlay prompt window (Image #3) where you can:
- Query your saved look styles by profile name or specific tags using the integrated search index bar.
- Store your character's current active setup layout using the green
+ Save current outfitaction link. - Manage existing preset slots via dedicated action nodes:
✓ Applyto load the style, the eye icon to preview, the pencil icon to rename, and the trash bin icon to clear the slot.
Purchase and Payment
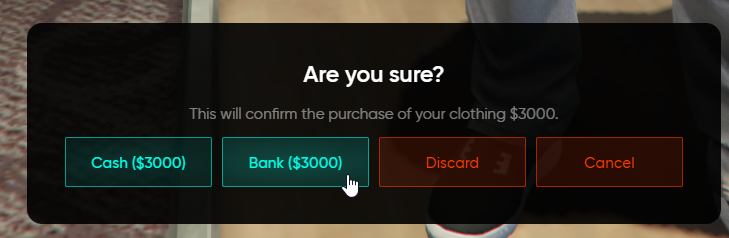
Once you select your favorite designs and press the orange + Buy button, the payment modal frame will pop up (Image #4):
- Final Invoice Summary: The total cost balance due is clearly stated inside the primary green header box (TO PAY).
- Payment Gateways: You can settle the transaction balance using either the Cash account profile option or the Bank account transfer option.
- Aborting the Trade: If you change your mind or need to make further structural edits, hit the red Cancel button located at the bottom row to go right back into the main designer editor screen.