Golf Club
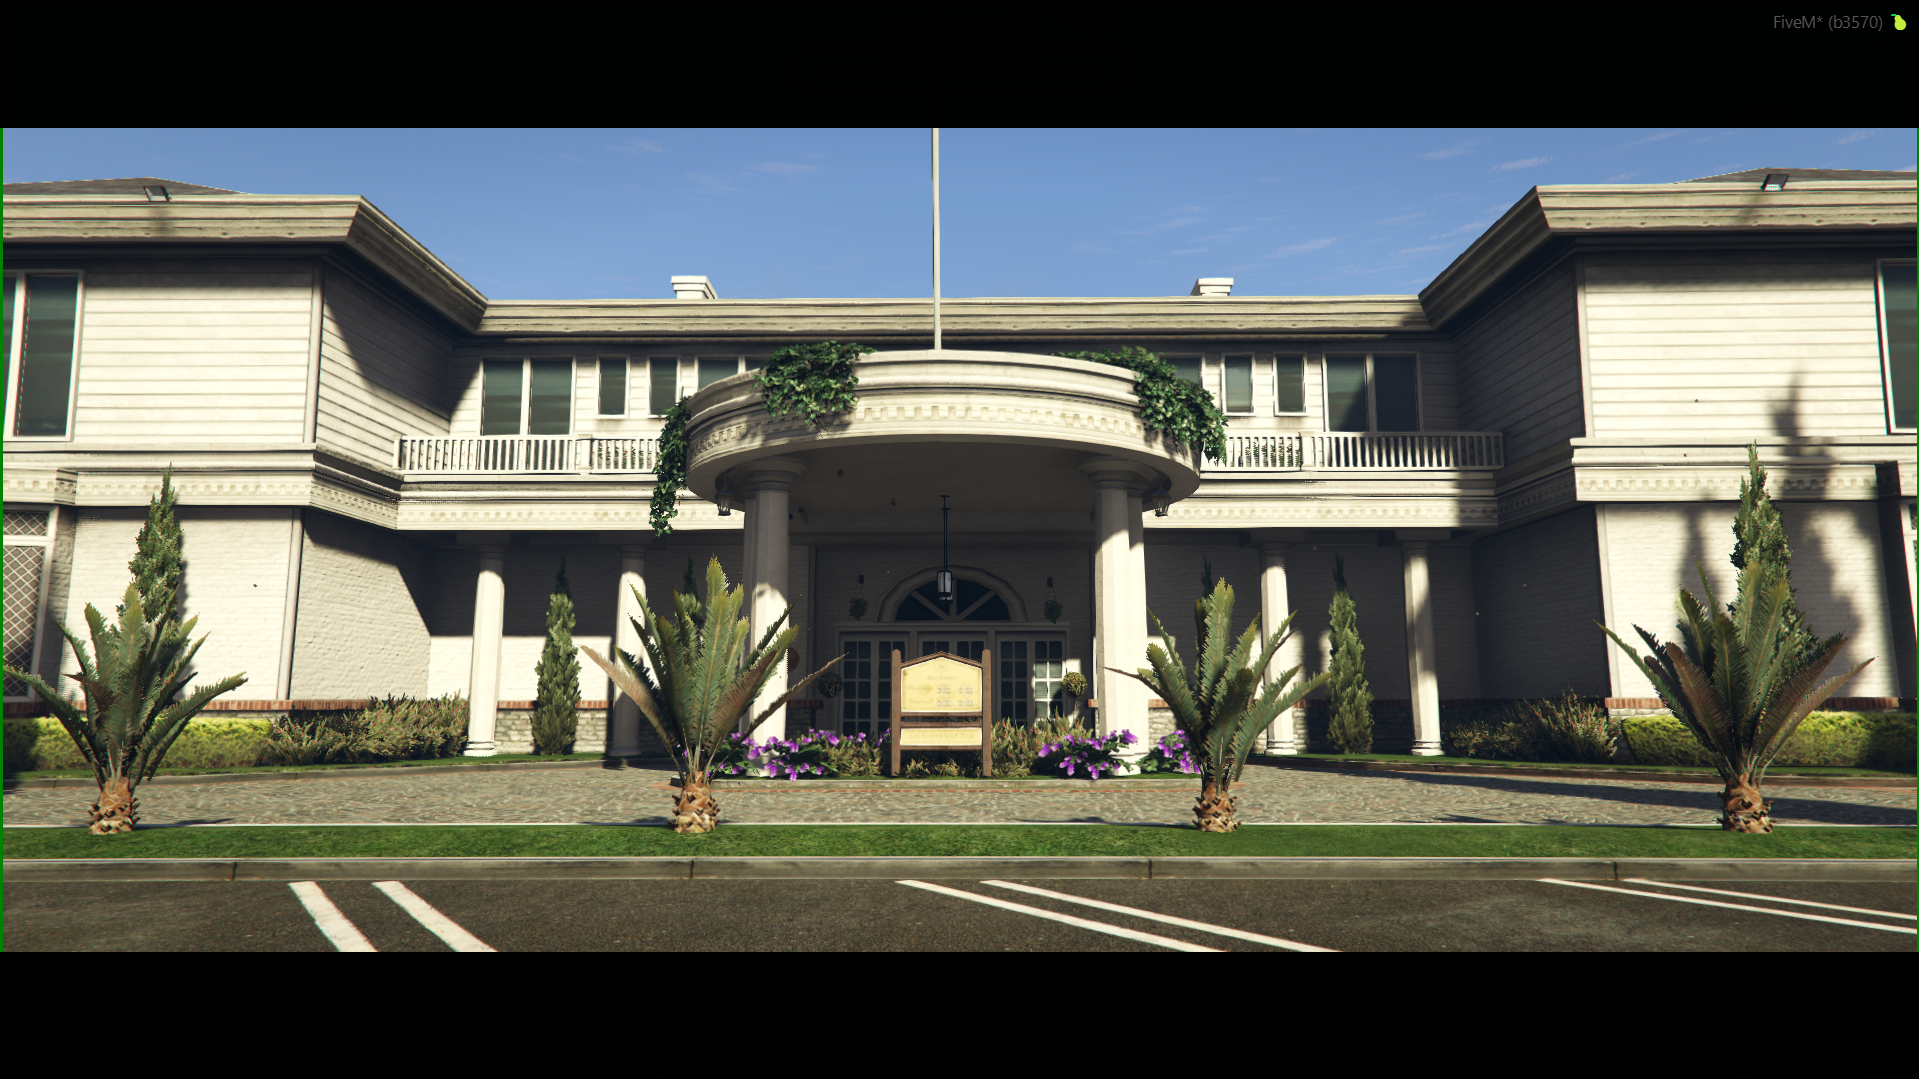
Features
- To access the club's activities, go to the building entrance on the red ground marker (image #2).
- To open the main menu, press the E key (Open lobby menu).
- The location is marked on the map with a specific golf flag icon .
Entrance and Lobby Creation
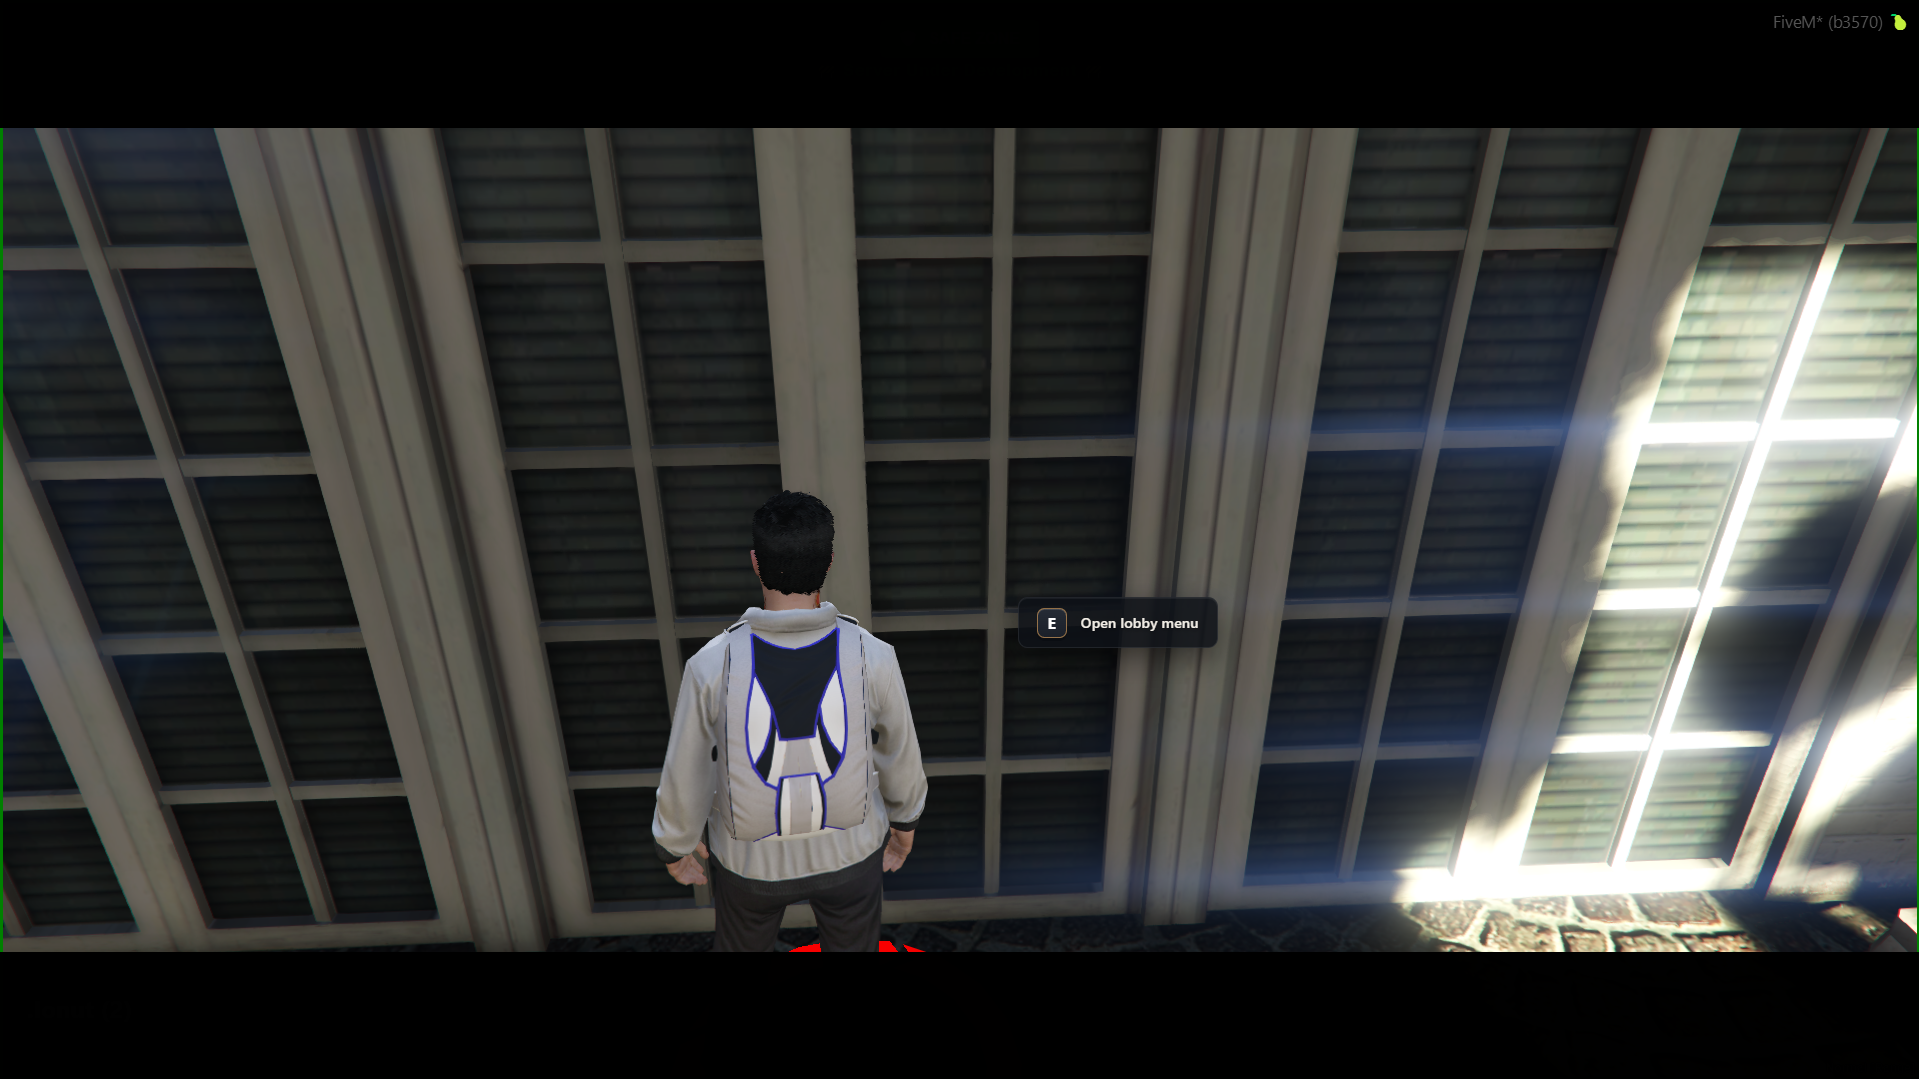
Once you press the E key at the entrance (image #2), the match configuration menu (Create Lobby) will open.
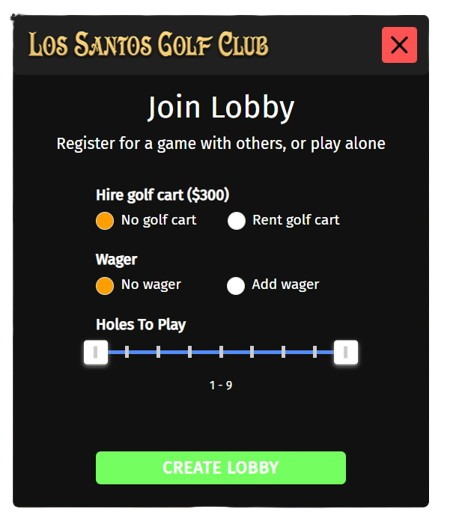
Match Configuration (Create Lobby)
- Select Hole Range: Click on two consecutive or separate numbers on the panel to choose the hole range you want to play (for example, selecting
3and7will play a total of 5 holes). - Registration Fee: Creating the lobby costs a flat fee of $5,000.
- Creation: Press the yellow CREATE LOBBY - $5,000 button to open the waiting room.
Lobby Menu (Golf Lobby)
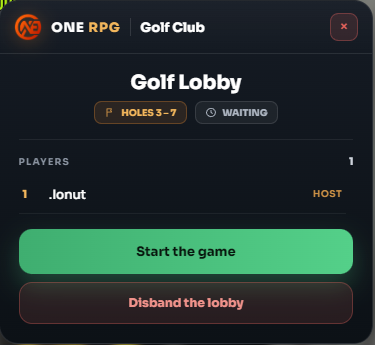
After creating the lobby, you will be redirected to the match management screen (image #4):
- Match Info: The top area displays the selected holes (ex
HOLES 3–7) and current status (WAITING). - Player List (PLAYERS): Shows all players connected to the lobby and their roles (ex
.Ionut–HOST). - Start Match: As the host, press the green Start the game button to begin as soon as all participants have joined.
- Cancel: Press the red Disband the lobby button to disband the waiting room.
Golf Cart Rental (Caddy Rental)
To move around the course faster between holes, you can rent a golf cart (Caddy) directly from the dedicated NPC located outside the building.
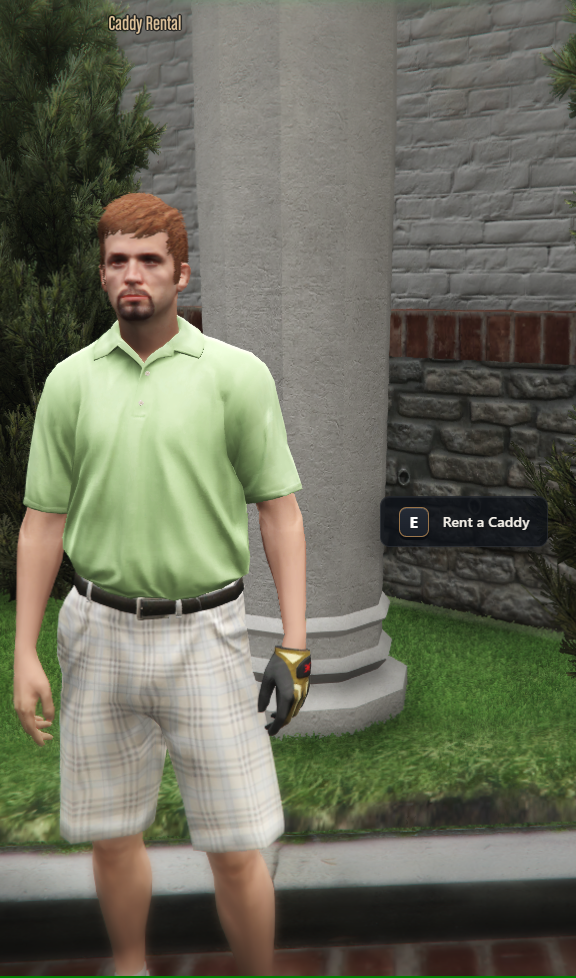
- Approach the Caddy Rental NPC (image #5) and press the E key (Rent a Caddy).
- The rental menu will open (image #6).
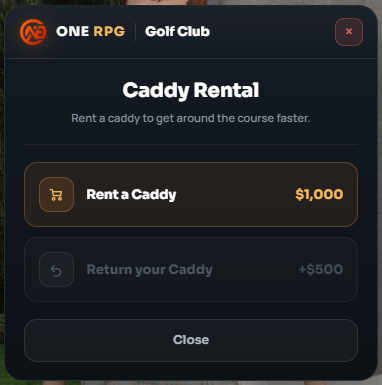
Caddy Rental Options
- Rent a Caddy ($1,000): Press to rent a golf cart for $1,000.
- Return your Caddy (+$500): At the end of the match or when you no longer need the vehicle, you can return the cart to the NPC to receive a ** deposit refund of +$500**.
Gameplay & Navigation
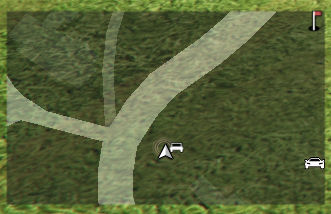
When the match starts and you are on the golf course, pay close attention to the radar / minimap (image #7):
- The icon flashing in the top-right corner of the radar represents the current location of the golf hole / ball target.
- Use this flashing marker to orient yourself, track distance, and aim your shots correctly toward the target area.
How to Hit the Ball
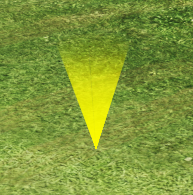
Once you arrive at the designated play area, you will see a yellow cone-shaped marker on the grass (image #8):
- Walk directly inside the yellow marker where the golf ball is located.
- Press the E key to open the swing interface and set up your shot.
Swing Interface
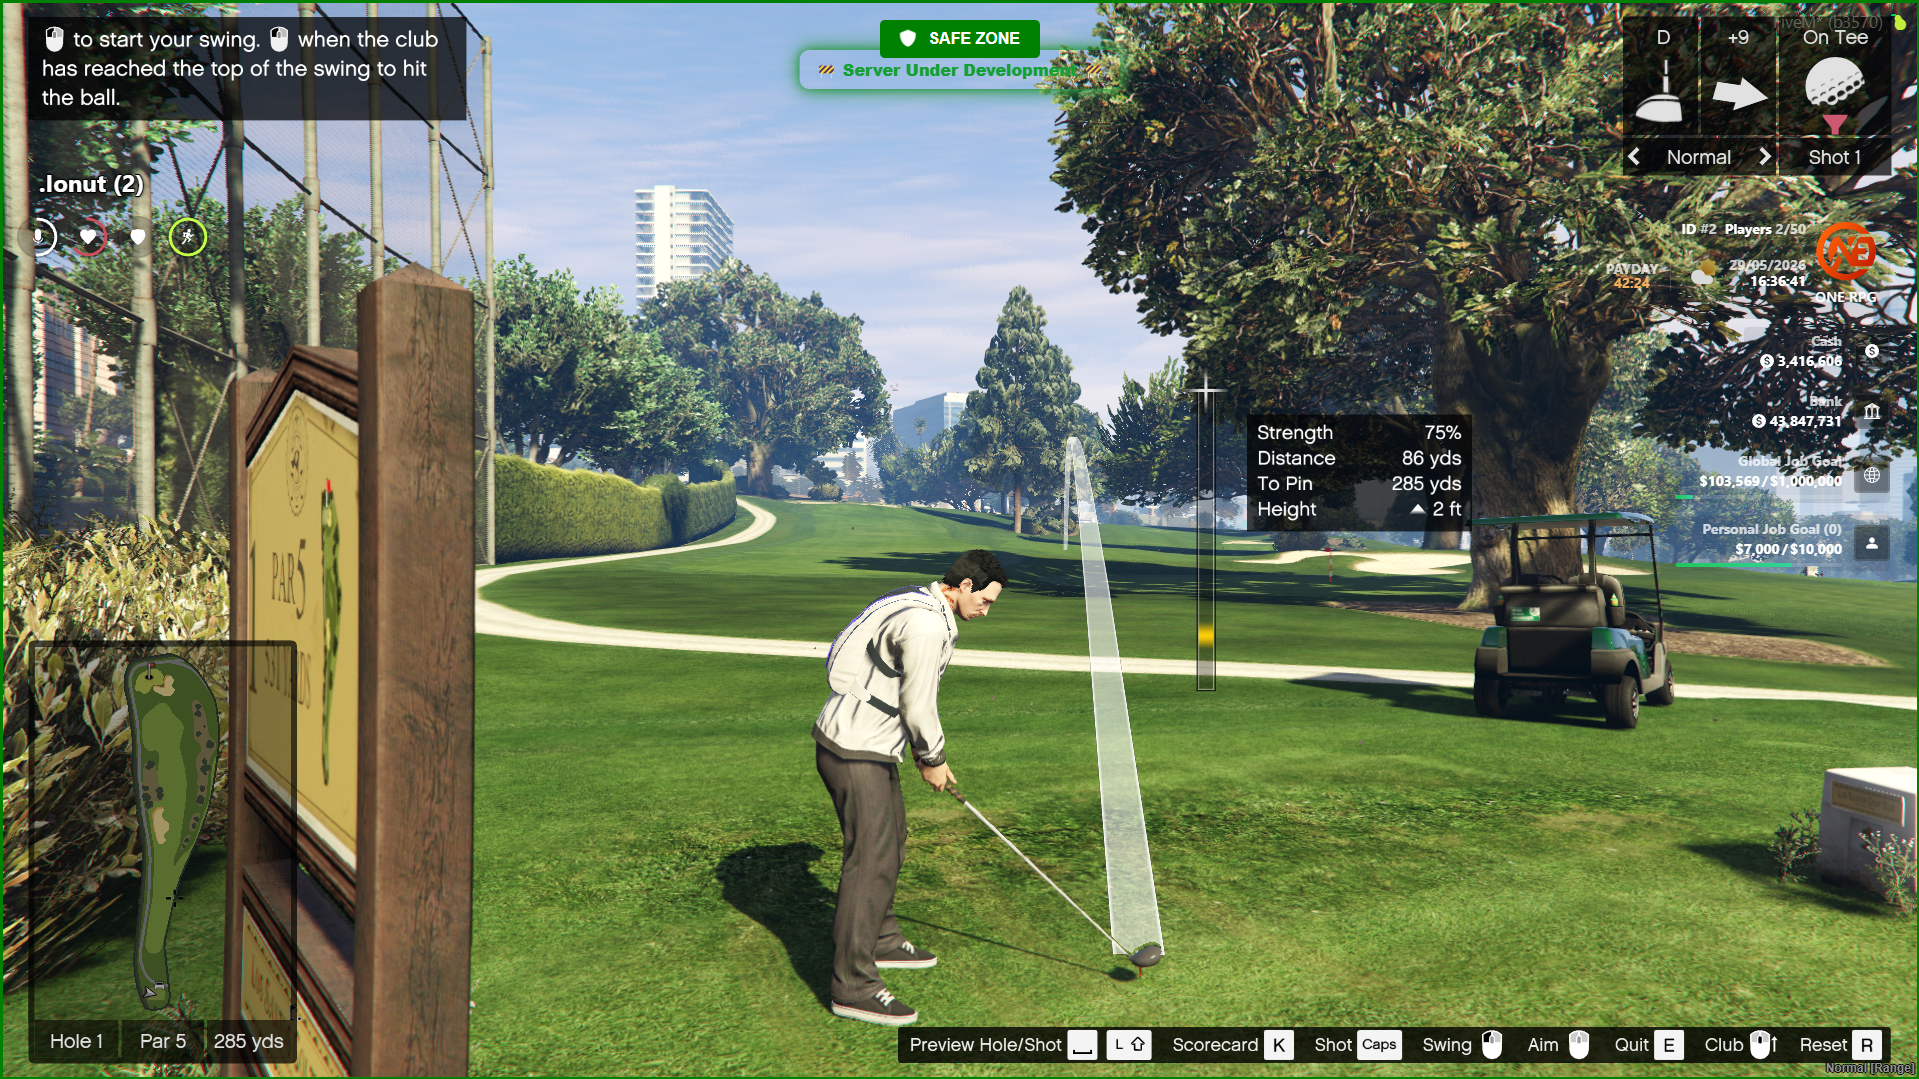
When taking your stance (image #9), a detailed HUD will appear to guide your shot:
- Trajectory Line: A semi-transparent white line shows a dynamic approximation of the trajectory, flight projection, and ball arc based on your current aim.
- Shot Stats: A real-time panel displays shot power (Strength %), total target distance (Distance), remaining distance to the pin (To Pin), and trajectory height (Height).
- How to Swing:
- Click Left Mouse Button to start the backswing animation.
- Click Left Mouse Button again right when the club reaches the peak of the indicator bar to hit the ball with maximum precision.
- Club Control: Use the Mouse to adjust your aim left or right, and use the mouse wheel (or dedicated keys) to change clubs according to the required distance.
Advanced Controls Overview
You can check the control bar at the bottom anytime for quick shortcuts: Press L to preview the hole/shot, K to open the scorecard, E to exit the stance, or R to reset your current position.