Weed Laboratory (Laboratorul de Weed)
The Weed Laboratory is one of the primary illegal production facilities accessible to elite organizations. It allows Official Mafias to cultivate, process, and distribute narcotics to generate substantial revenue directly into the family vault.
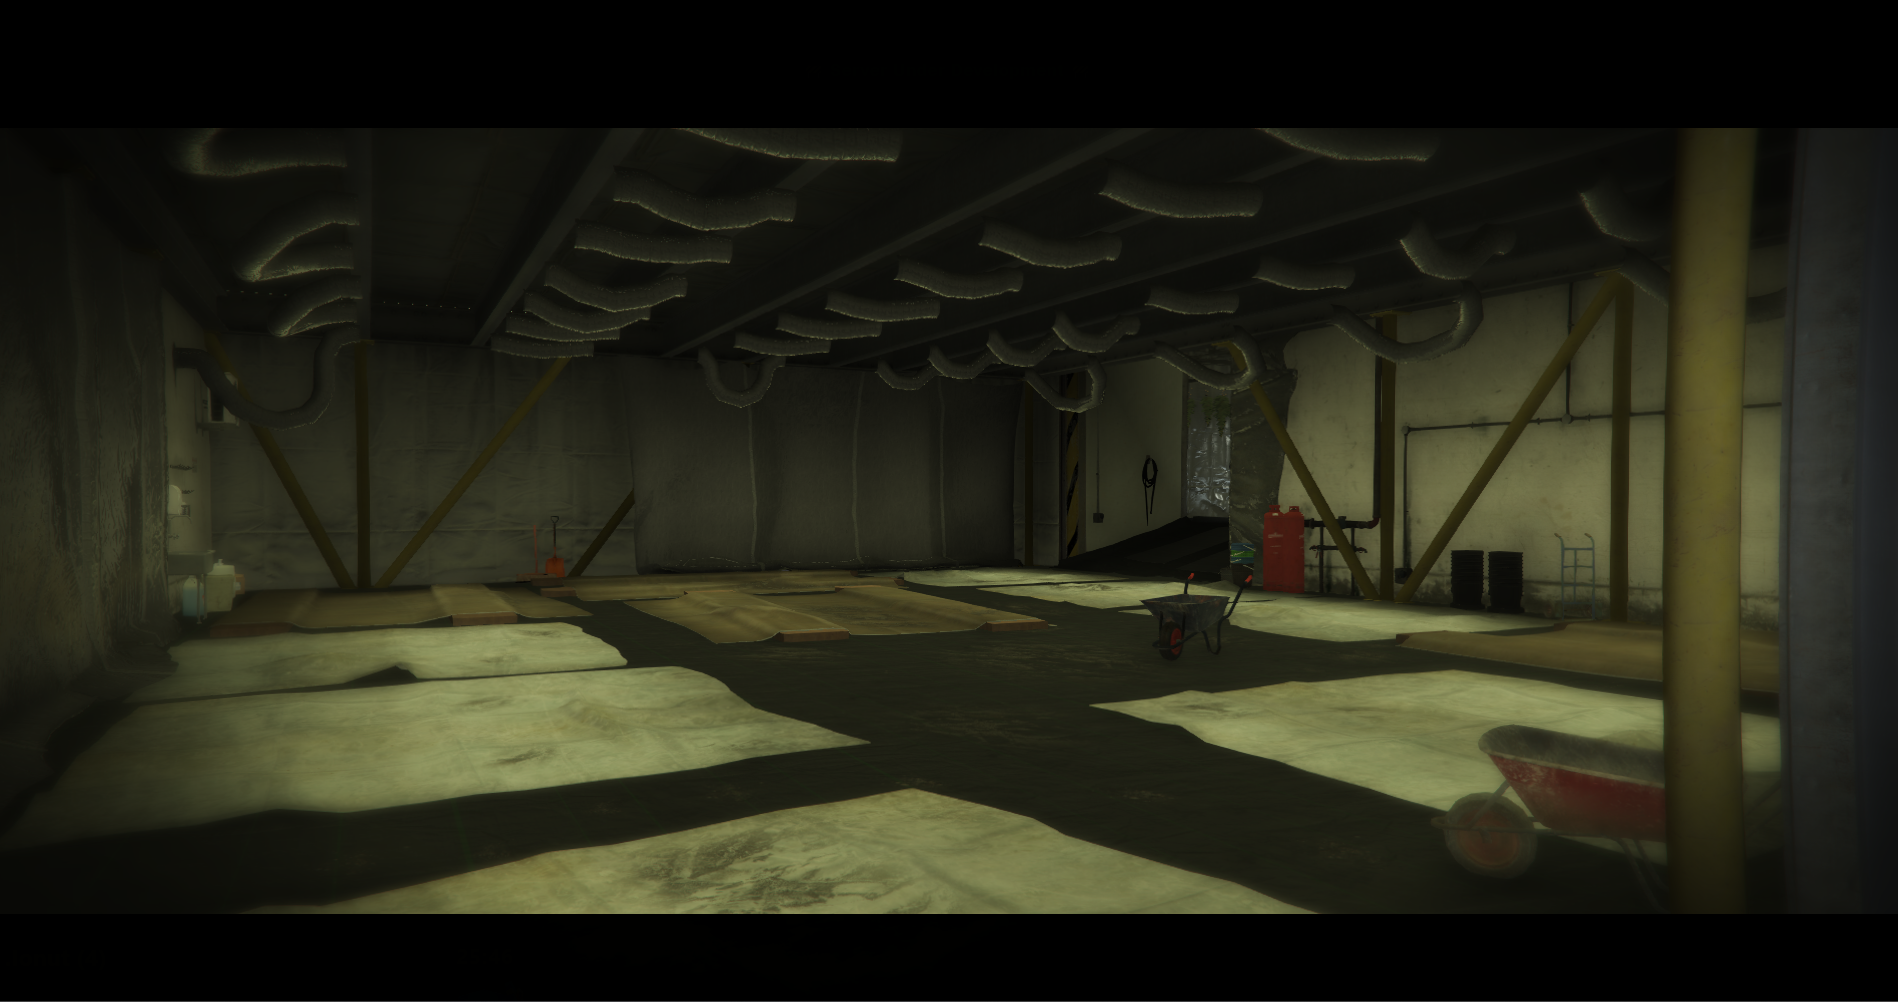
Access & Requirements
To use the Weed Laboratory and begin production, your organization must meet the following strict conditions:
- Official Status: Only Official Mafias can access and operate drug laboratories.
- Territory Control: The laboratory is physically positioned on a specific turf. Your mafia must capture and actively hold that specific turf. If a rival mafia takes over the turf, you instantly lose access to the laboratory and any ongoing production.
- Map Location: The laboratory can be easily identified on the map/radar via a specific green leaf icon.

- Rank Permissions: Initiating drug deliveries or managing laboratory operations requires the "Start Deliveries" permission, configured by the leader in the Ranks menu of the
/mafiacommand.
Production Cycle
Operating the laboratory involves a multi-stage process that transforms raw materials into highly profitable products:
1. Securing the Laboratory
Once your mafia controls the designated turf, the interior of the laboratory becomes accessible. Members can enter the facility to monitor cultivation zones, processing units, and warehouse stocks.
2. Cultivation & Growth
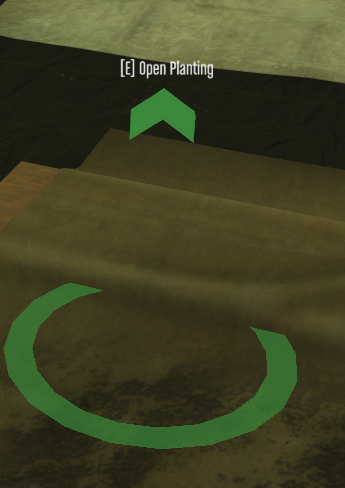
The laboratory features dedicated zones and special plots intended for cultivating weed plants. To begin the process, go inside the laboratory, stand in the green circle at the plot, and press the E key (Open Planting).
Pressing the key will open the Planting Station interface. Here you can view the used slots (ex 0/18 slots used) and the available seed stock.
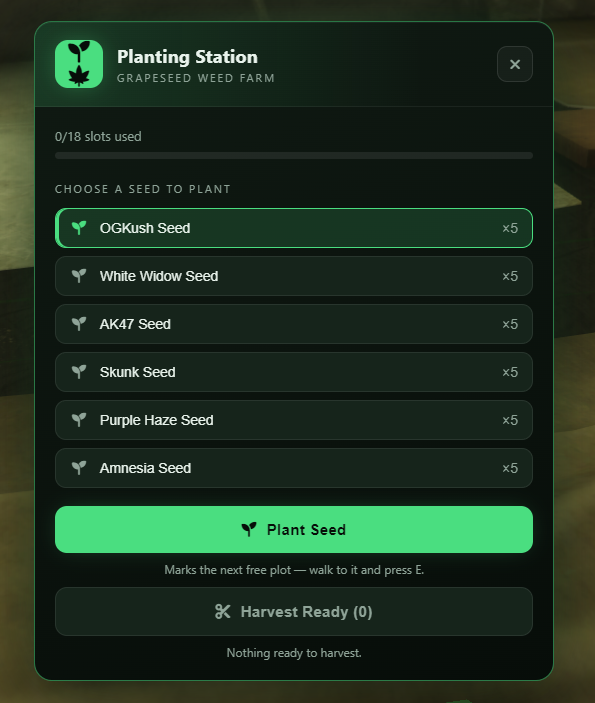
The planting process operates as follows:
Select the type of seed you wish to cultivate from the list (ex OGKush Seed, White Widow Seed, etc.) and click the Plant Seed button.
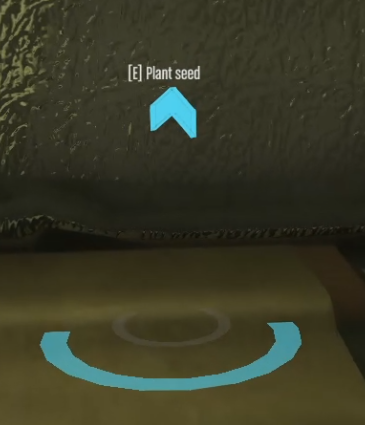
The system will automatically generate a blue marker indicator on your screen showing the next free plot. Go to the marked plot and press the E key (Plant seed).
After pressing the key, a skill check minigame will trigger. You must wait for the white circular indicator to reach the colored zone and press the numeric key indicated in the middle. Each successful press progressively fills the background behind the key with color. The process must be repeated until the entire background of the circle is completely filled, completing the planting.
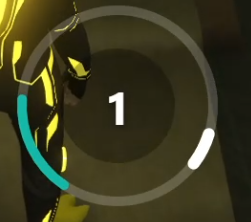
Once successfully planted, production runs passively as long as the mafia maintains ownership of the territory.
3. Harvesting the Goods (Harvest)
When the plants reach maturity, their status will update in the laboratory's main logistics interface.
The harvesting process operates as follows:
Return to the main interaction point of the plot (where you initially opened the planting menu) and click the Harvest Ready button.
The system will automatically generate a marker on your screen that will guide you to the exact location of the mature plant. Go to the indicated plant, stand in the blue circle at its base, and press the E key (Harvest plant).
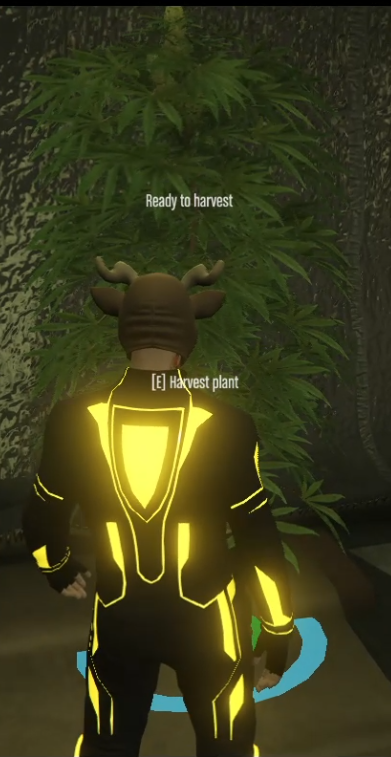
Starting the harvest will trigger an advanced version of the skill check minigame. This time, the difficulty increases because both the white circle and the colored zone move simultaneously along the axis. You must have good reflexes and press the displayed numeric key exactly at the moment the two moving elements overlap. With each correct hit, the background behind the number fills with a turquoise color, and the harvest is successfully completed only when the background circle becomes completely full.
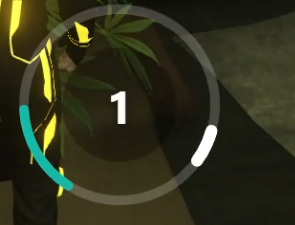
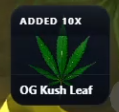
Upon successful completion of the minigame, the plant is harvested, and the system will automatically grant the resulting raw item into your inventory in the form of leaves corresponding to the cultivated strain (ex OG Kush Leaf x10).
4. Drying Plants (Weed Drying)
Freshly harvested leaves cannot be sold directly. The player must transport them to the special drying zone inside the laboratory to bring them to a final marketable state.
The drying process operates as follows:
Go to the drying point signaled by the green circle and arrow in the laboratory and press the E key (Open Drying).
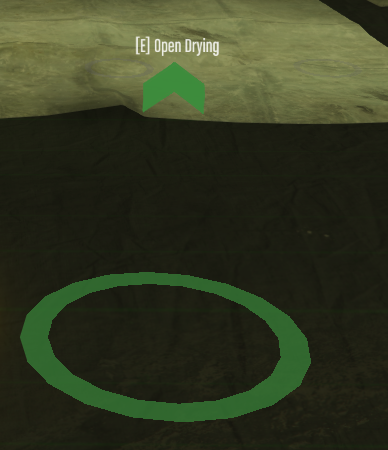
Upon accessing it, the Drying Station menu will open. Here you can manage your total drying capacity (displayed via used slots, ex 0/9 slots used) and view the leaves in your inventory (ex AK47 Leaf, OG Kush Leaf, etc.).
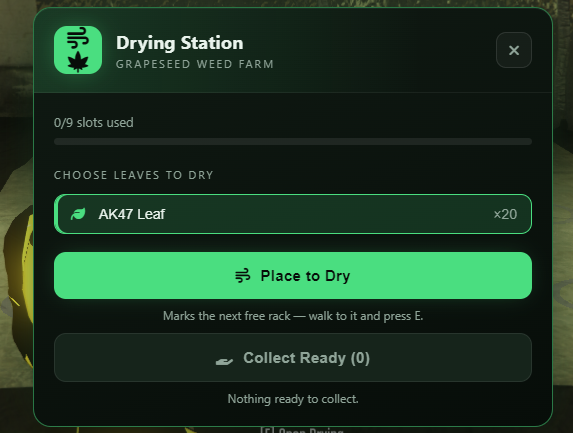
Select the type of leaves you wish to dry from the CHOOSE LEAVES TO DRY list and click the green Place to Dry button.
The system will generate a marker in the form of a blue circle showing the exact location of a free rack inside the laboratory. Go to that location and press the E key (Hang leaves to dry).
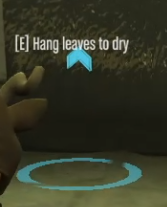
Immediately after pressing the key, a new type of minigame featuring a horizontal axis will trigger. A white line (bar) will move rapidly left and right along the axis. Your goal is to wait for the perfect moment when the white indicator overlaps precisely with the turquoise colored zone and press the Space bar to successfully place it to dry.

The dried goods collection process:
After the required drying time has elapsed, you must return to the main drying point and interact again by pressing the E key to open the Drying Station menu.
Inside the interface, click the Collect Ready button. The system will automatically generate a marker pointing to the rack where the goods are ready for pickup. Go to that rack and press the E key.
Upon initiating collection, an interactive interface named Get It will open, containing a classic Snake minigame. Using the WASD keys or the arrows on your keyboard, you must guide the snake on the grid to collect the food points required to grow and advance stages.
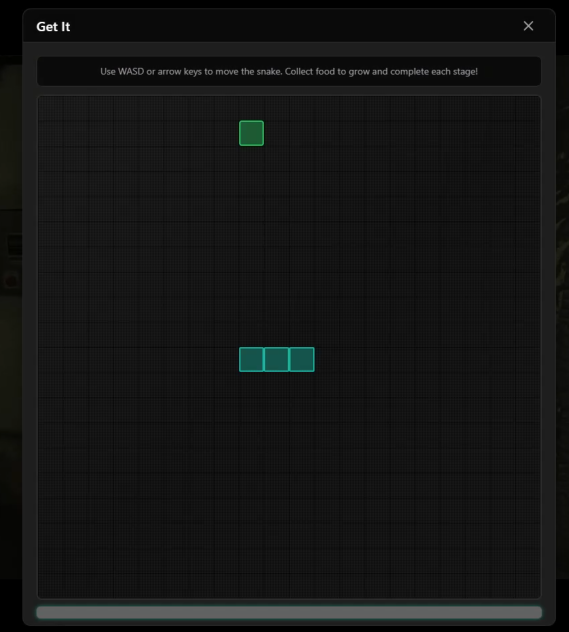
Successfully completing the game will deposit the product in the form of a dried plant directly into your inventory (ex Dried AK47 Leaf).
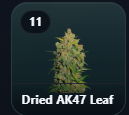
5. Packaging into Baggies (Packaging)
After obtaining the dried plants, the final laboratory process involves transforming them into individual doses. The player must move to the dedicated workbench inside the facility.
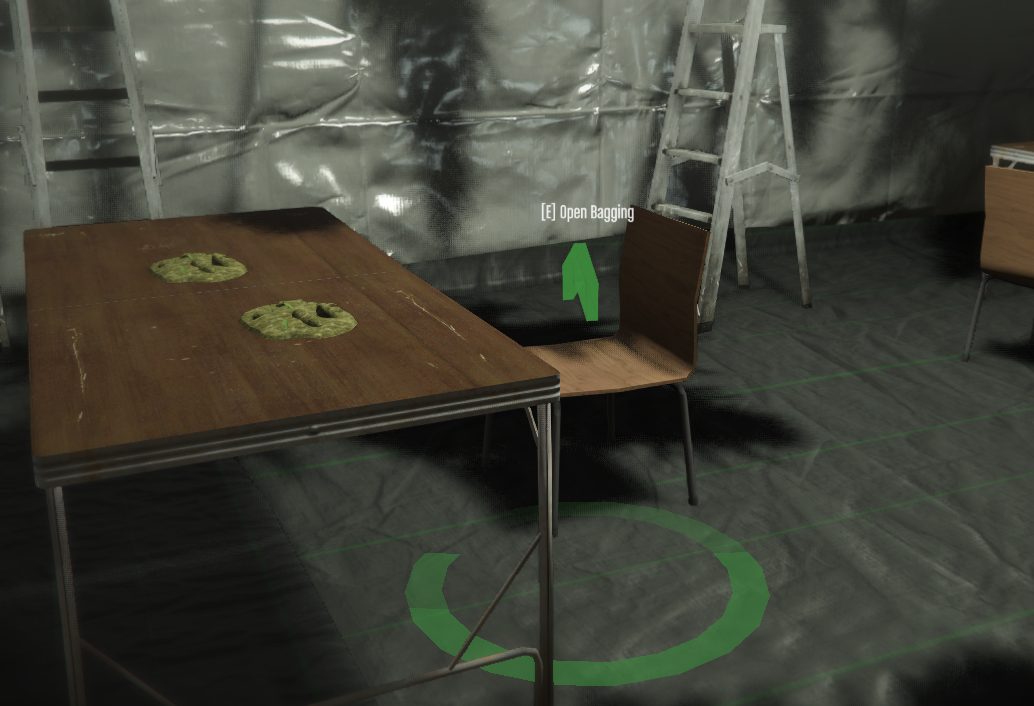
Stand in the green circle in front of the chair and press the E key (Open Bagging) to open the Bagging Station interface.
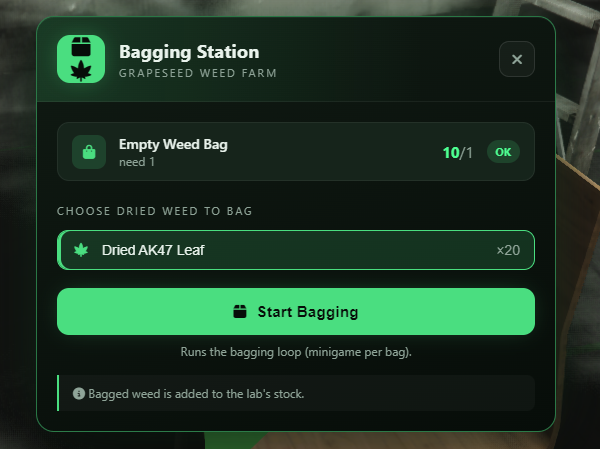
Material Requirement
To run the packaging loop, you must have empty bags (Empty Weed Bag) in your inventory. These can be purchased from any Shops business on the map. The interface will display your stock status (ex 10/1 OK).
The packaging process operates as follows:
Select the type of dried weed from the list (ex Dried AK47 Leaf) and click the green Start Bagging button.
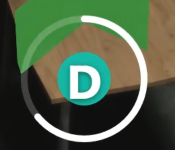
The system will automatically start the packaging loop (one minigame per bag). For each baggie processed, a circular speed minigame will activate. You must rapidly and repeatedly press the key indicated in the center (ex D).
The goal is to completely fill the circle's background with turquoise color before the outer white line disappears or the allocated time expires. If you succeed, the packaged product is added directly to the laboratory stock, ready for export.
Distribution & Deliveries (Deliveries)
Once the final product has been packaged and added to the laboratory stock, you can initiate deliveries via the terminal (laptop) dedicated to commercial operations.
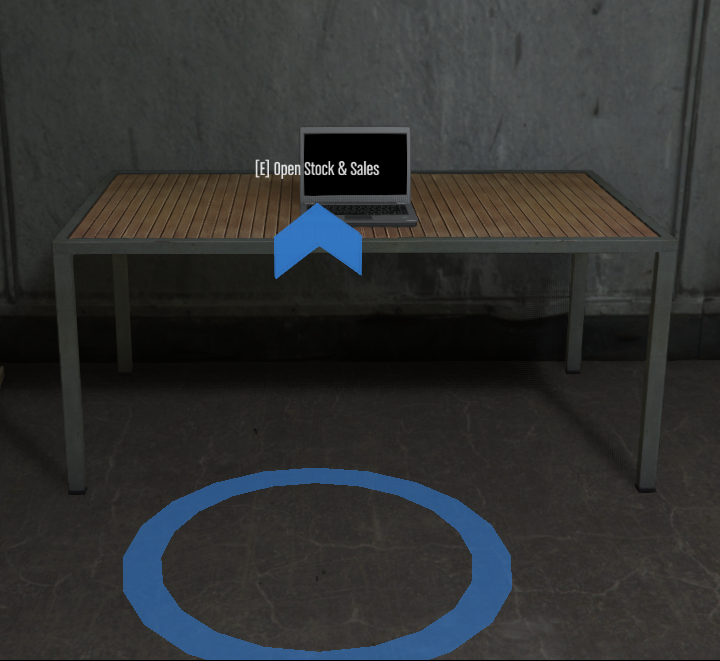
Go to the desk with the laptop, stand in the blue circle, and press the E key (Open Stock & Sales). Setting up a delivery follows a 5-step structure via the graphical interface:
Sale Setup Steps
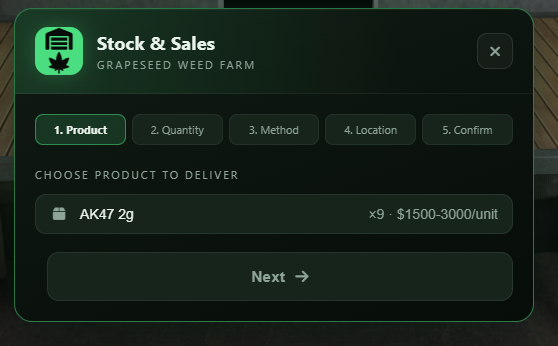
1. Product
Choose the type of finalized product you want to sell from the list (ex AK47 2g). In this menu, you can see the total number of units in stock, as well as the estimated value per unit (ex $1500-$3000/unit). Click on the product, then click Next.
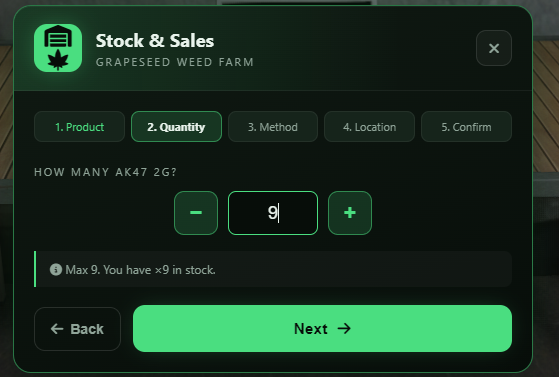
2. Quantity
Use the - and + buttons to establish exactly how many units from the total stock you want to load into the current delivery. The system will remind you of the maximum available limit. Click Next.
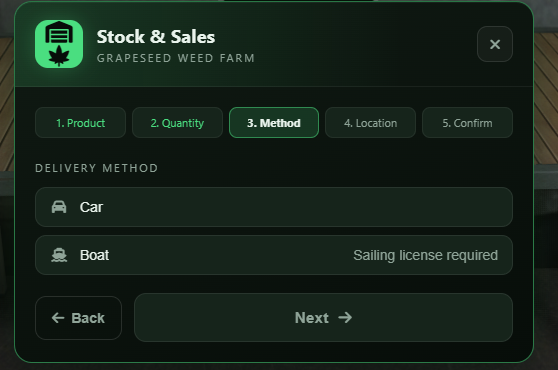
3. Transport Method
Choose the vehicle through which the transport will be conducted. Options include land transport (Car) or water transport (Boat).
Sailing License
If you choose the Boat option, the transport strictly requires the person driving to possess a sailing license (Sailing license required).
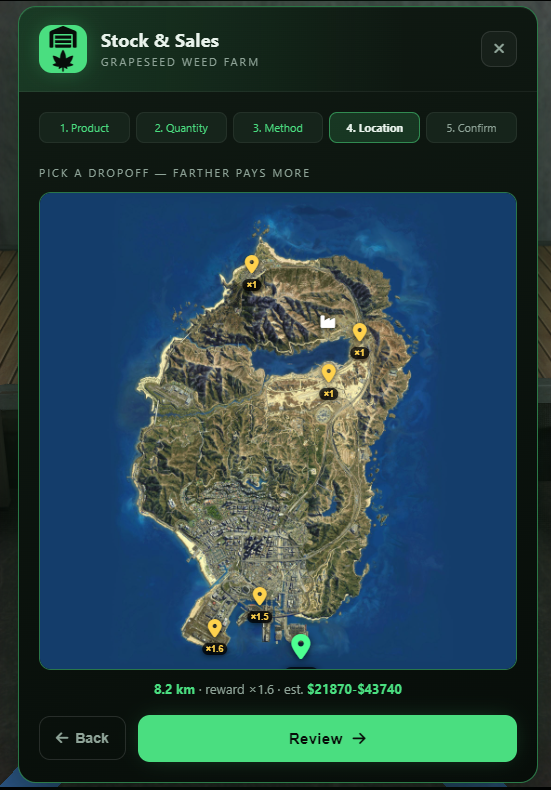
4. Dropoff Location
Select the delivery point on the interactive map. Each location comes with a specific distance and a reward multiplier (ex ×1 for nearby zones, ×1.5 or ×1.6 for distant locations). The rule is simple: the further the dropoff, the higher the payout. After selecting, click Review.
5. Confirm (Summary & Risk)
The final step displays a recap of the entire transport: the product, method, distance with its multiplier, and the total estimated reward (est. reward).
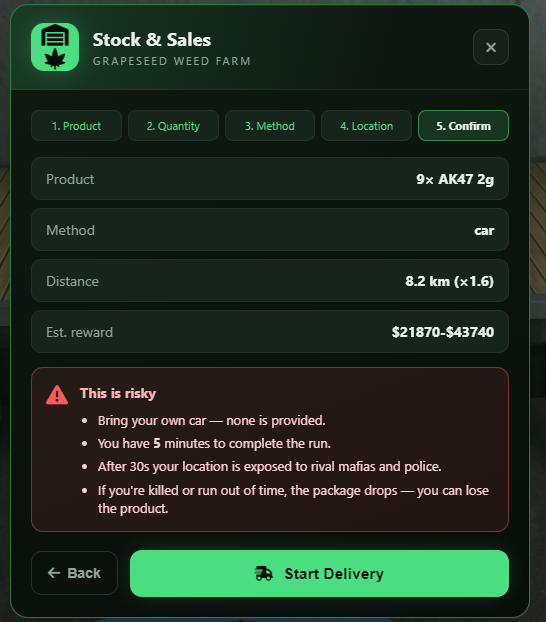
Strict Rules and Risks (This is risky)
- No system vehicle: You must bring your own car/boat for the transport, as the system does NOT provide one for you.
- Time Limit: You have exactly 5 minutes to complete the run and reach the destination.
- Exposed Location: After the first 30 seconds from departure, your exact GPS location will be exposed to both law enforcement (police) and rival mafias.
- Losing the Goods: If you are killed or if time expires, the package drops on the ground (package drops) and you risk permanently losing all the invested product.
If you are ready and have secured protection from your colleagues, click the green Start Delivery button.
Completing the Delivery
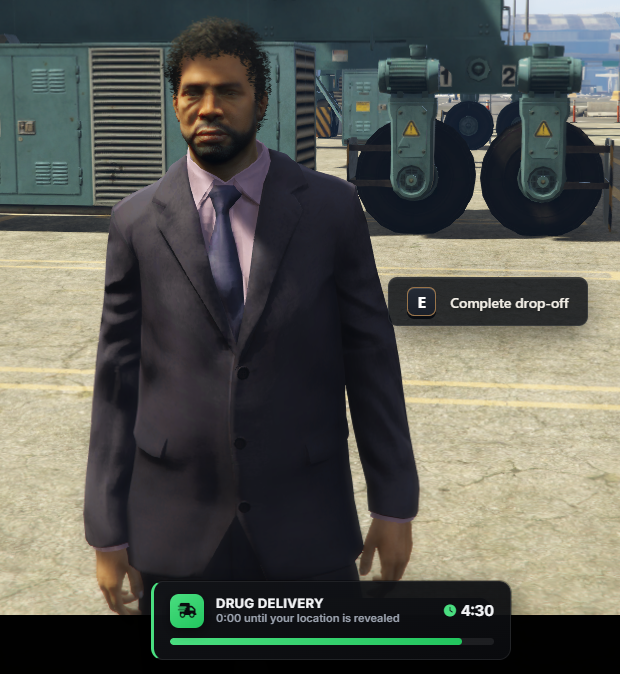
Once started, a Drug Delivery timer will appear on the screen, showing how much time you have left until your location becomes public and the remaining time for the run.
Drive to the established destination. An NPC (the buyer) will be waiting for you at the location. Exit the vehicle, approach them, and press the E key (Complete drop-off).
Immediately after pressing the key, the final Delivery Complete balance interface will open on the screen, detailing the success of the transaction and how the earnings were split:
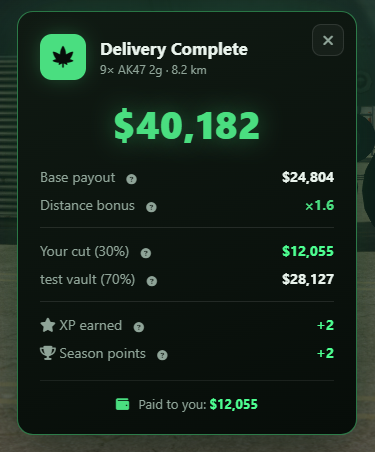
Reward Breakdown & Money Split
- Total Payout: Represents the final amount generated from the delivery, calculated by applying the distance multiplier (ex
Distance bonus ×1.6) to the base payout (Base payout). - Your cut: A portion of the total amount (ex
30%) is allocated directly to you as the member who performed the delivery. The money enters your wallet directly as cash (Paid to you). - Family Vault: The remaining majority percentage (ex
70%) is automatically deposited into the mafia's vault balance (Cash Vault), contributing to the development and funding of the organization. - XP earned: Completing the run grants you experience points (
+2 XP) to increase your level. - Season points: You receive bonus points valid for your progress within the current season (
+2 Season points).