Licenses
To legally drive vehicles, sail boats, fly aircraft, or carry weapons on the server, your character must hold the appropriate licenses. You can check the live status of your licenses at any time through the dedicated in-game menu.
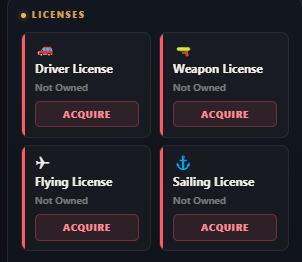
Inside the interface, you can view the 4 main types of available licenses:
- Driver License, mandatory for operating cars and motorcycles.
- Weapon License, required to legally own and carry firearms.
- Flying License, essential for piloting helicopters and airplanes.
- Sailing License, compulsory for operating boats and watercraft.
If you do not own a specific license, it will display a Not Owned status, and clicking the ACQUIRE button will guide you toward the unlocking steps below.
How to Acquire a Driving License (Driver License)
Step 1: DMV Location
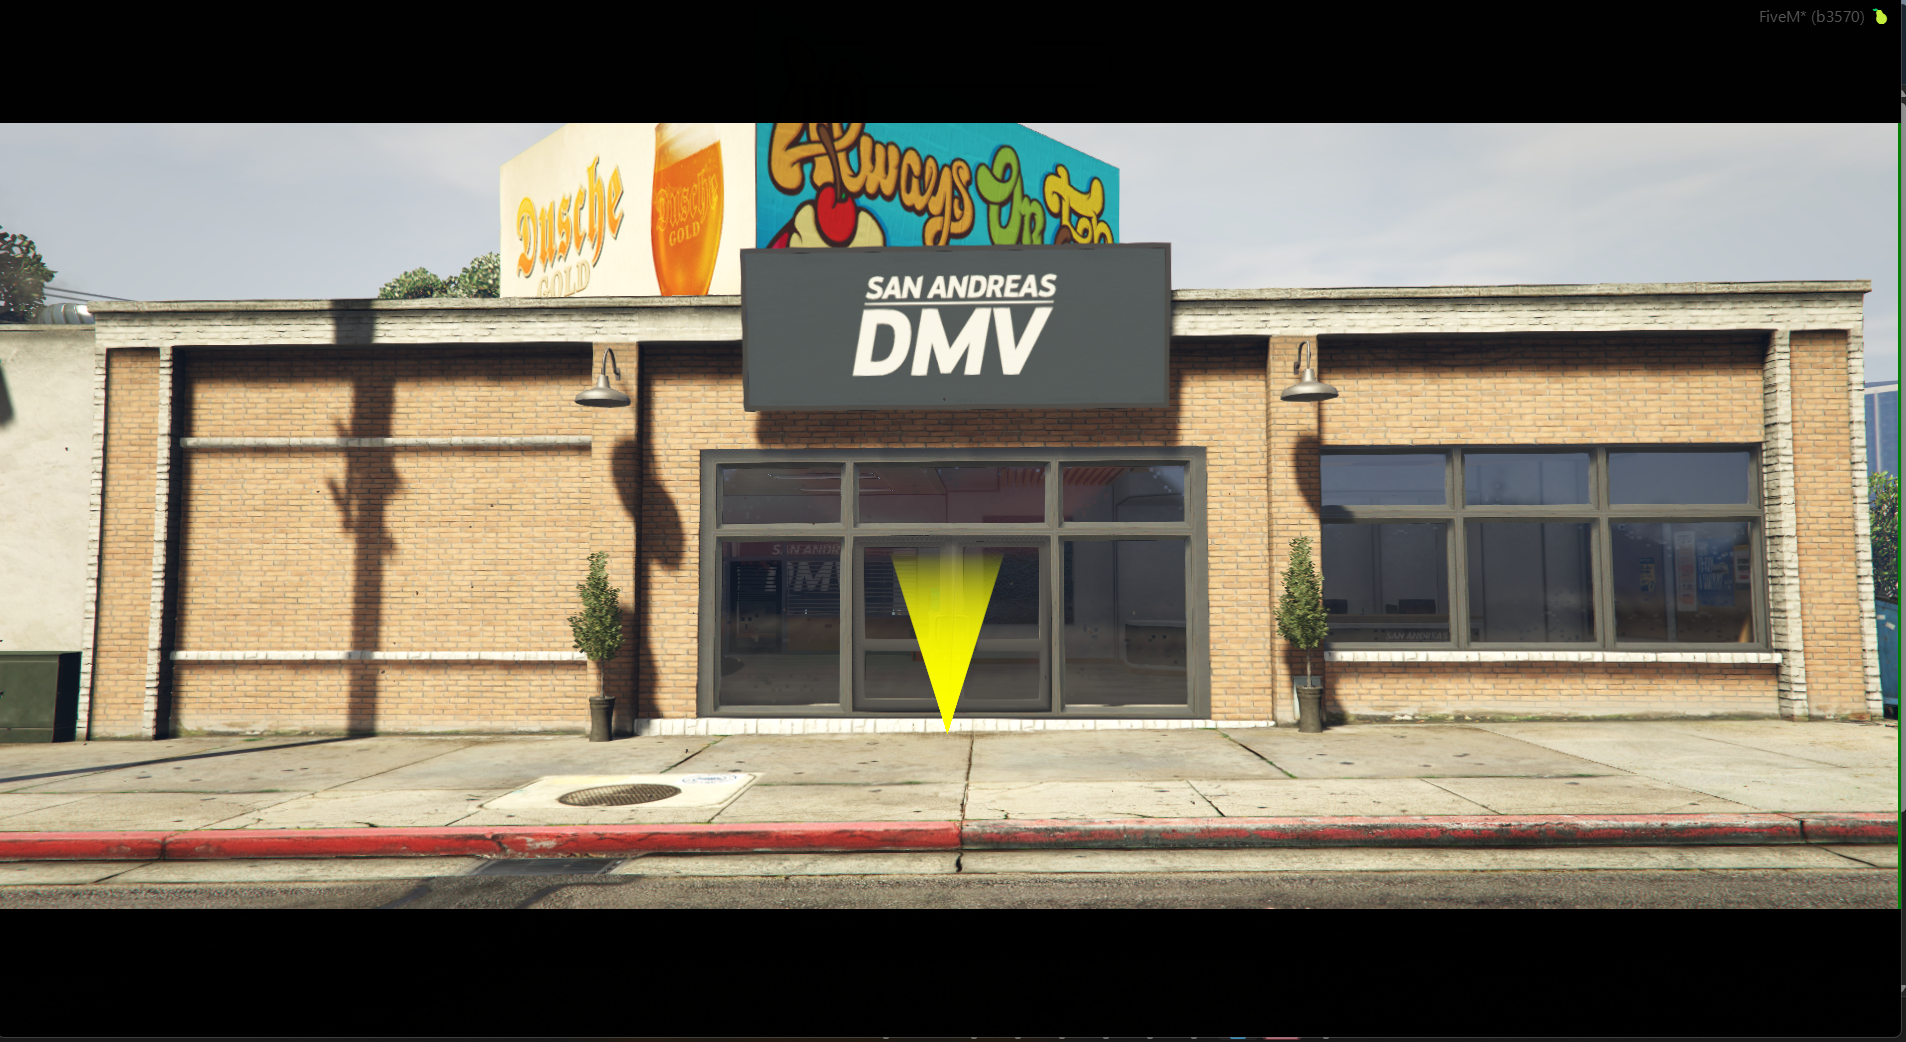
You must travel to the DMV building.
Step 2: Taking the Exam
Once inside the building, step up to the front desk counter and follow these steps:
- Walk up to the counter until the prompt text appears on your screen.
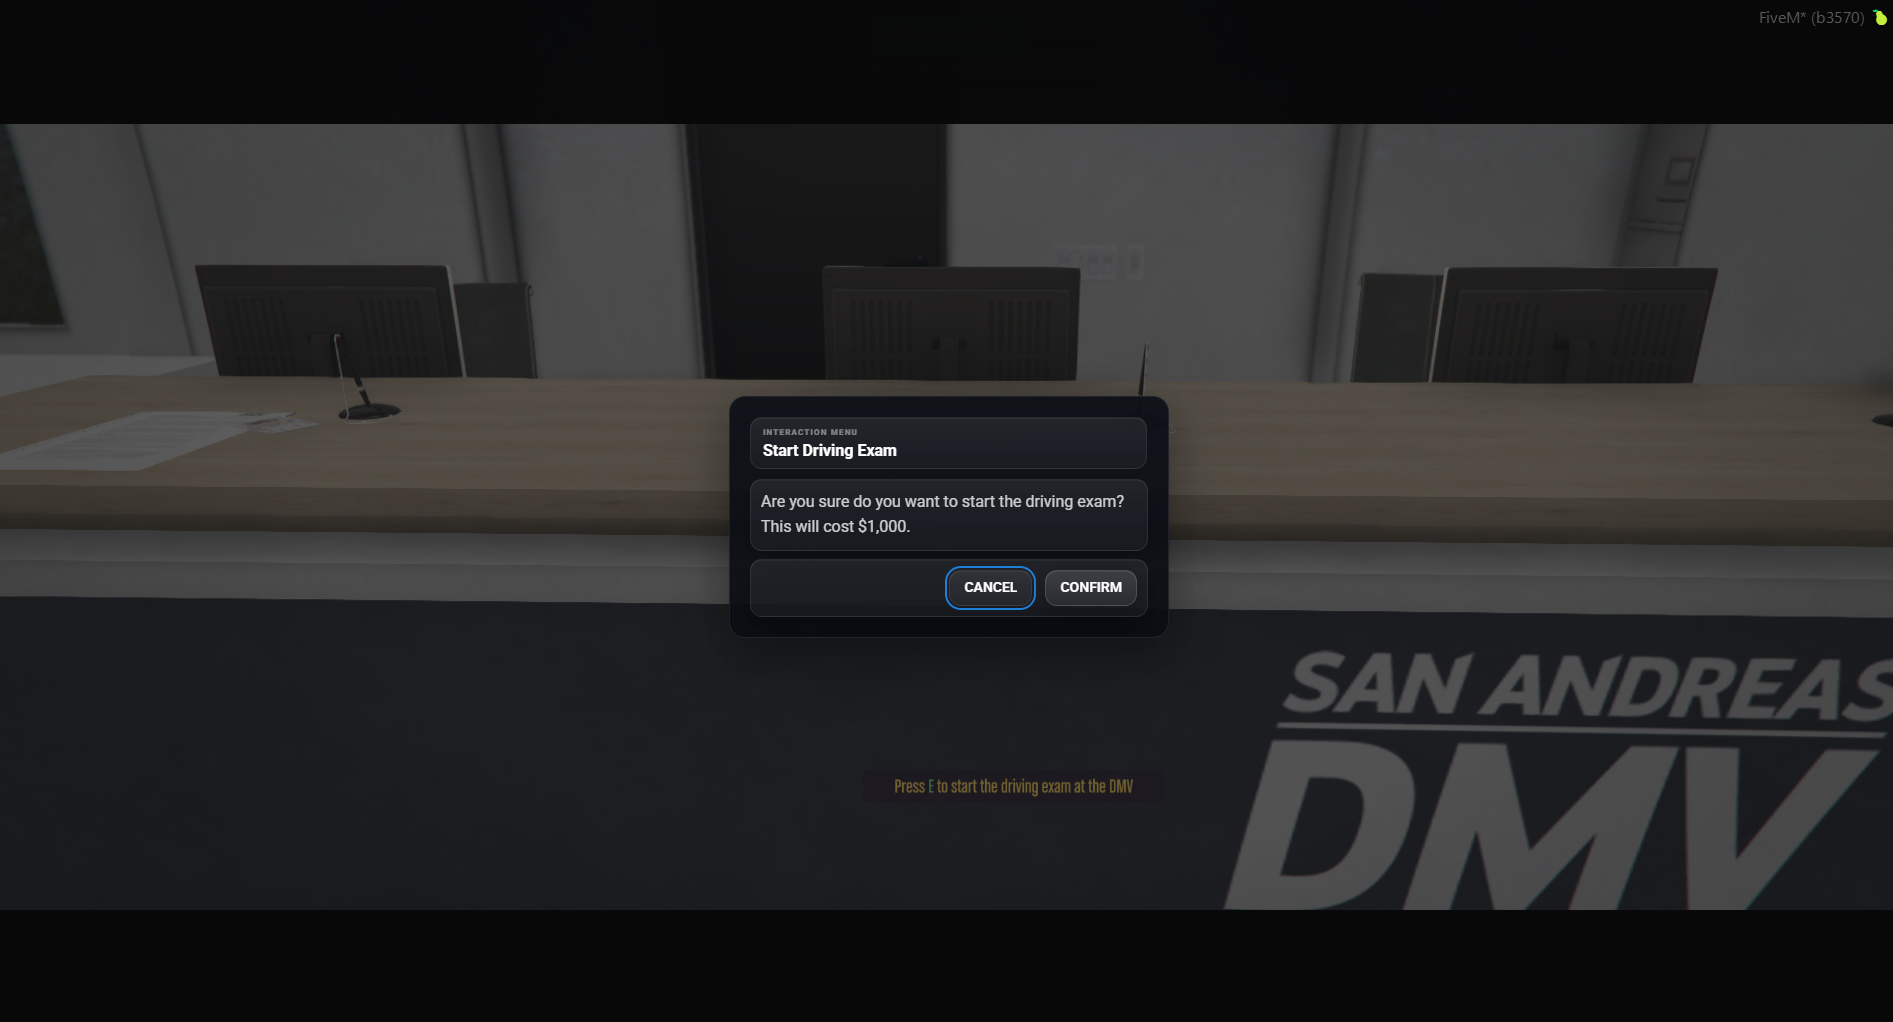
- Press the E key (Press E to start the driving exam at the DMV).
- An interaction menu prompt titled Start Driving Exam will appear on your screen.
- Starting the driving exam costs a flat fee of $1,000. Click CONFIRM to pay the fee and initiate your driving test.
Step 3: The Practical Driving Test (Practical Exam)
After confirming the start of the exam, you will be teleported inside a designated test vehicle to begin the practical road exam.
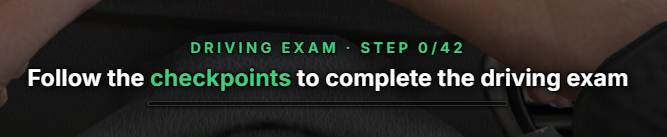
- A dedicated UI overlay will display your progress at the top: DRIVING EXAM STEP 0/42.
- Follow the main on-screen instruction carefully: Follow the checkpoints to complete the driving exam.
- Safely drive through all 42 checkpoints marked on your mini-map to successfully pass the exam and secure your license.
Important Tips
Make sure you have at least $1,000 available in your cash balance or bank account before confirming the exam. If you destroy the vehicle excessively or fail the practical route, you will need to repay the $1,000 fee at the desk to try again!
How to Acquire a Weapon License
Step 1: Ammu-Nation Location
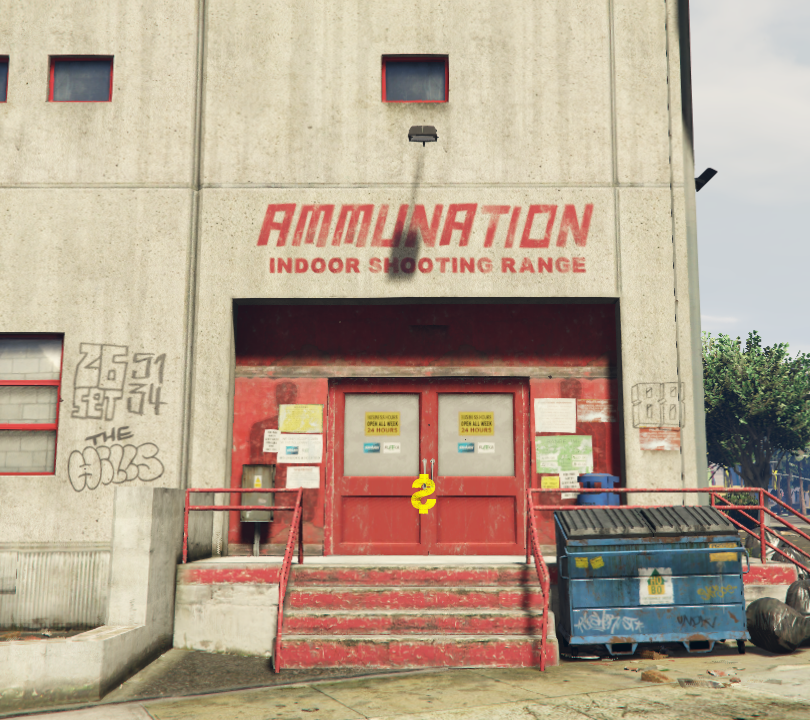
To legally purchase firearms and ammunition, or to obtain your weapon permit, you must travel to any Ammu-Nation store across the map. These buildings are marked on your GPS with a distinct gun icon. Enter the venue by stepping into the dollar-sign ($) marker at the front doors.
Step 2: Interacting with the Shooting Range
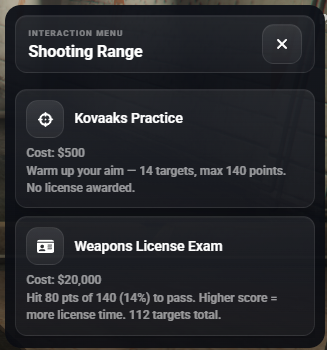
Once inside the store, head over to the indoor shooting range area to open the Shooting Range interaction menu. Here, you can select between two options:
- Kovaaks Practice ($500): A warm-up session for your aim. It features 14 targets and rewards up to 140 points. Note: This option does not award a weapon license.
- Weapons License Exam ($20,000): The official examination required to earn your weapon permit. It features 112 targets total.
Step 3: Taking the Shooting License Exam
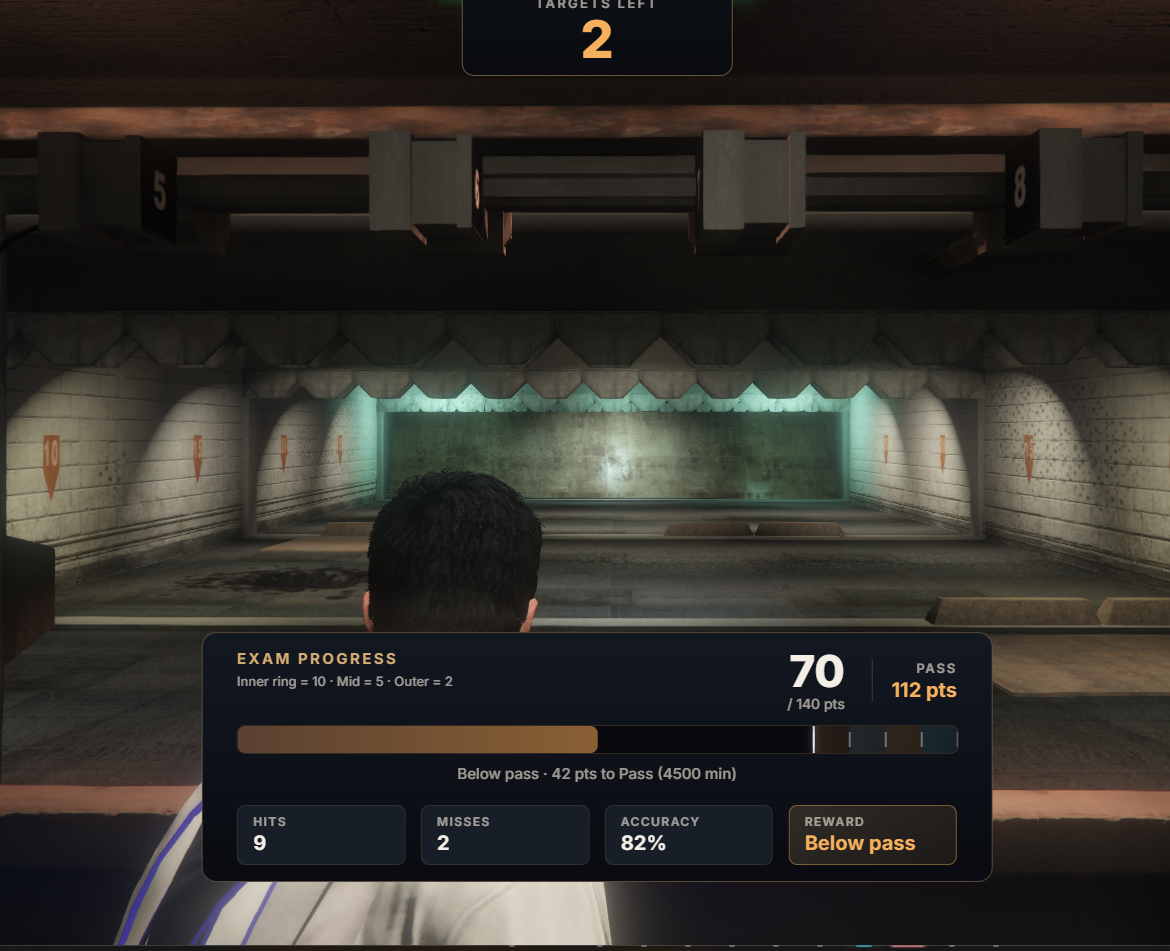
During the live exam at the shooting range, you must shoot the popping targets while monitoring the EXAM PROGRESS dashboard on your screen:
- Scoring System: Points are granted based on your shot precision relative to the target rings:
Inner ring(Bullseye / Center) = 10 pointsMid(Middle section) = 5 pointsOuter(External ring) = 2 points
- Passing Requirement: You must score a minimum of 112 points out of a 140 maximum score to pass the exam (PASS).
- Live Statistics: The UI updates in real-time, showing your successful Hits, Misses, overall Accuracy percentage, and remaining Targets Left.
How to Acquire a Flying License
Step 1: Initiating the Exam
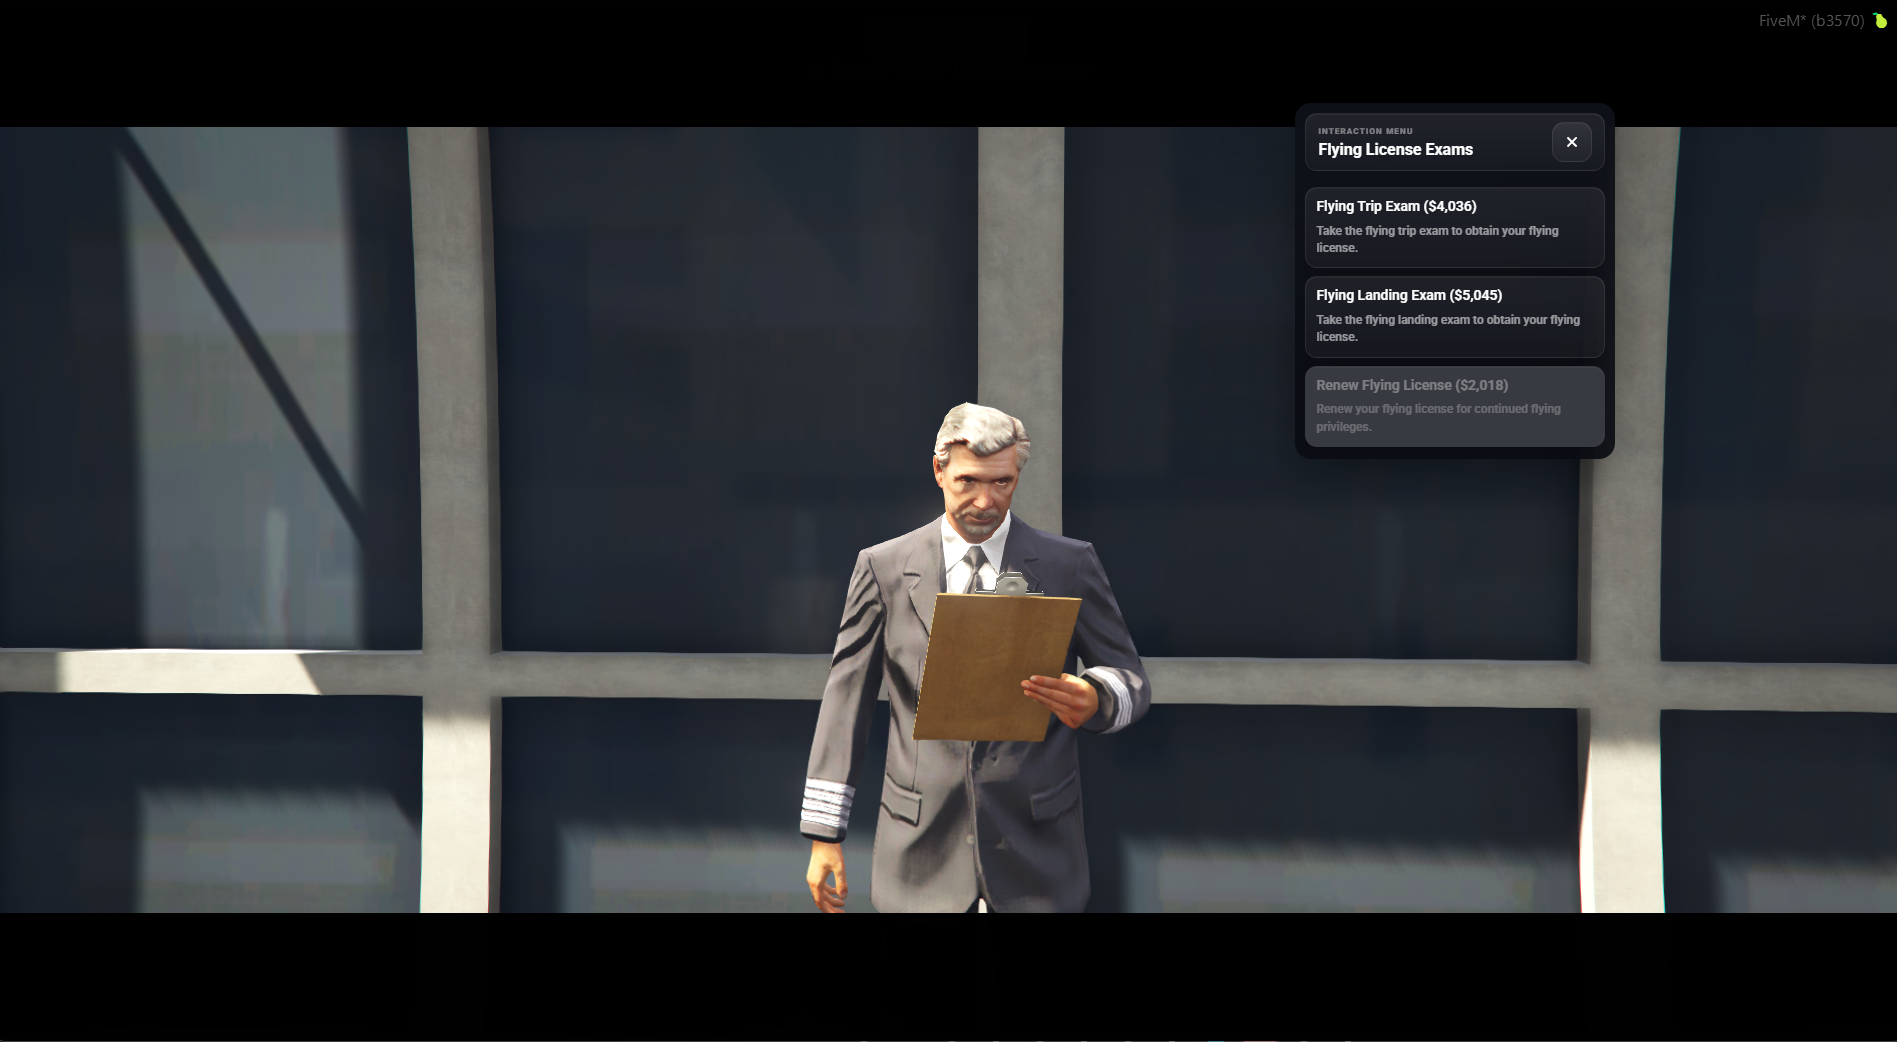
To earn your aviation license for helicopters and airplanes, locate the flight instructor at the airport and interact with them. Upon interacting, the Flying License Exams interface will prompt you with the following test paths and fees:
- Flying Trip Exam ($4,036): The initial practical flight test designed to evaluate your baseline navigation and mid-air aircraft control skills.
- Flying Landing Exam ($5,045): A practical test focusing entirely on safe landing procedures, which is a crucial step to secure your license.
- Renew Flying License ($2,018): An option available later to renew your aviation privileges if your existing flying license has expired.
Step 2: Practice Mode & Aircraft Controls
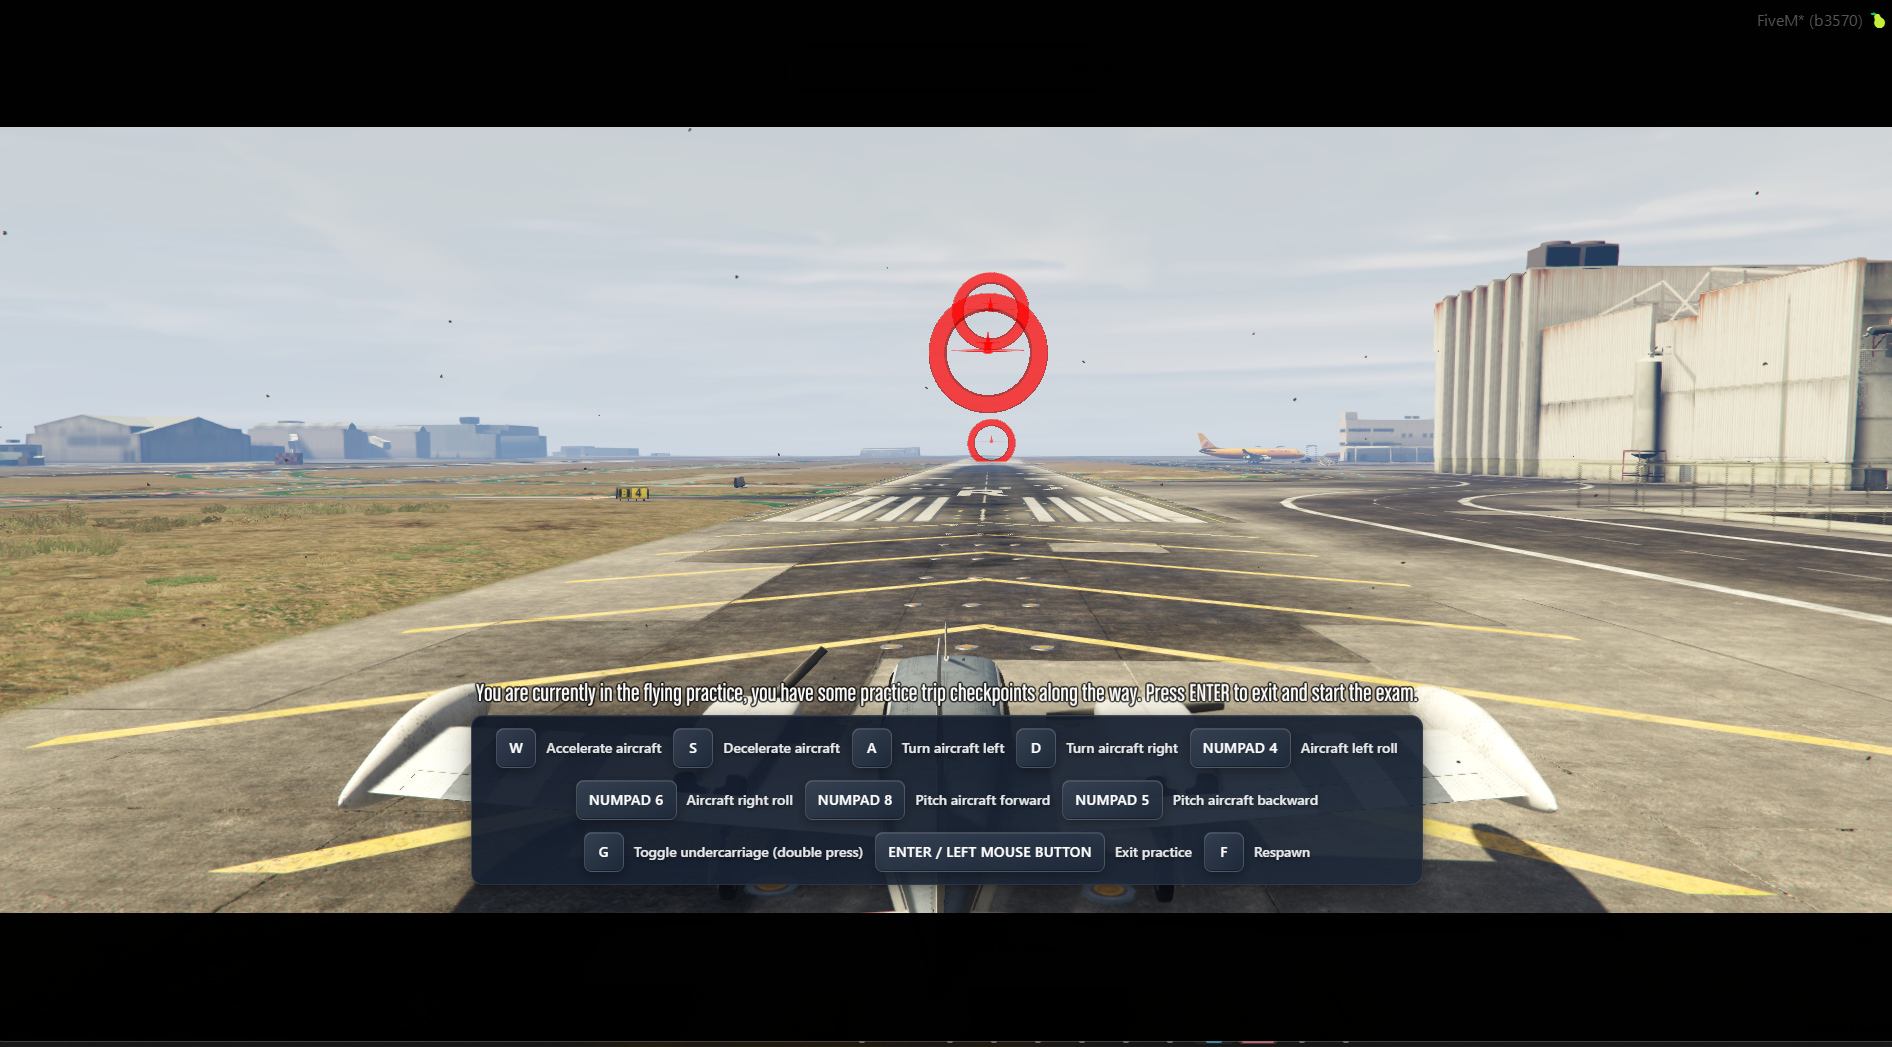
Upon choosing the Flying Trip Exam, you will enter a practice session (flying practice) with a light airplane. A central control dashboard overlay displays the essential flight hotkeys:
| Key / Command | Action |
|---|---|
| W | Accelerate aircraft (Accelerate aircraft) |
| S | Decelerate / Brake aircraft (Decelerate aircraft) |
| A | Turn aircraft left (Turn aircraft left) |
| D | Turn aircraft right (Turn aircraft right) |
| NUMPAD 4 | Aircraft left roll (Aircraft left roll) |
| NUMPAD 6 | Aircraft right roll (Aircraft right roll) |
| NUMPAD 8 | Pitch aircraft forward (Nose down) (Pitch aircraft forward) |
| NUMPAD 5 | Pitch aircraft backward (Nose up) (Pitch aircraft backward) |
| G (Double Press) | Toggle undercarriage (Raise/Lower landing gear) (Toggle undercarriage) |
| ENTER / LEFT CLICK | Exit practice mode and officially start the exam |
| F | Respawn / Reset aircraft (Respawn) |
Step 3: Completing the Flight Test (Trip Exam)
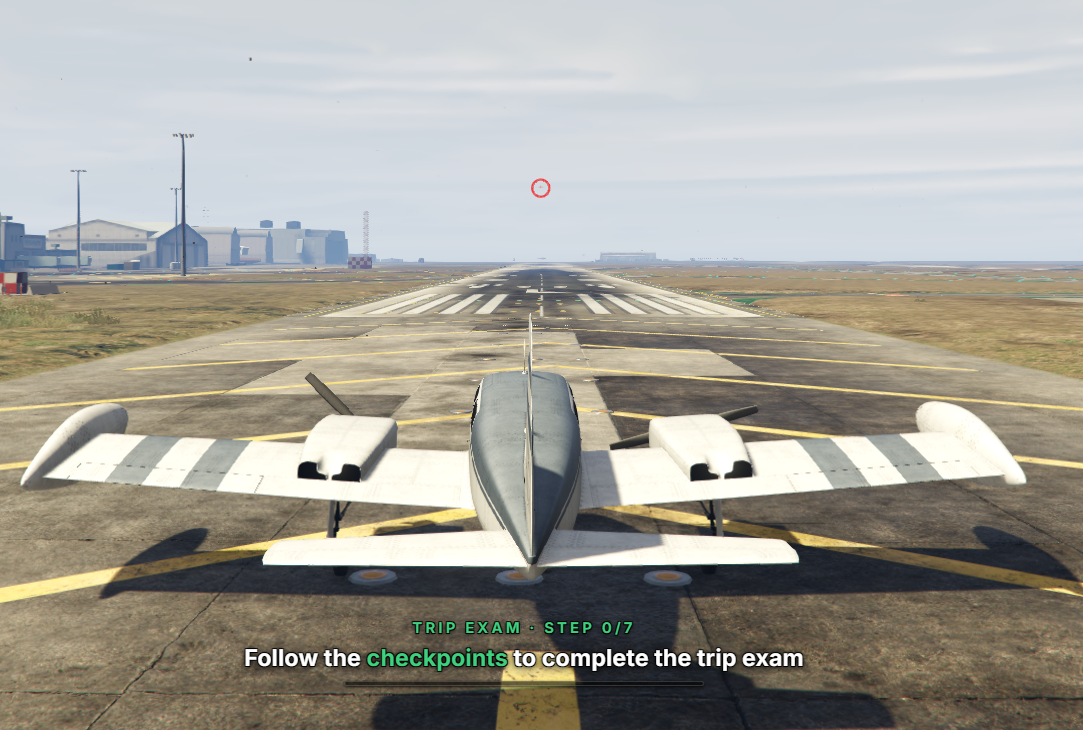
Once you press the ENTER key in practice mode, your official flying exam will kick off right on the runway.
- A dedicated UI tracking element will appear on your screen: TRIP EXAM STEP 0/7.
- Pay close attention to the main instruction prompt: Follow the checkpoints to complete the trip exam.
- Take off using the learned controls and clear all 7 checkpoints floating ahead in the skies to pass the practical flight test.
Step 4: Practical Landing Test & Exam (Landing Exam)
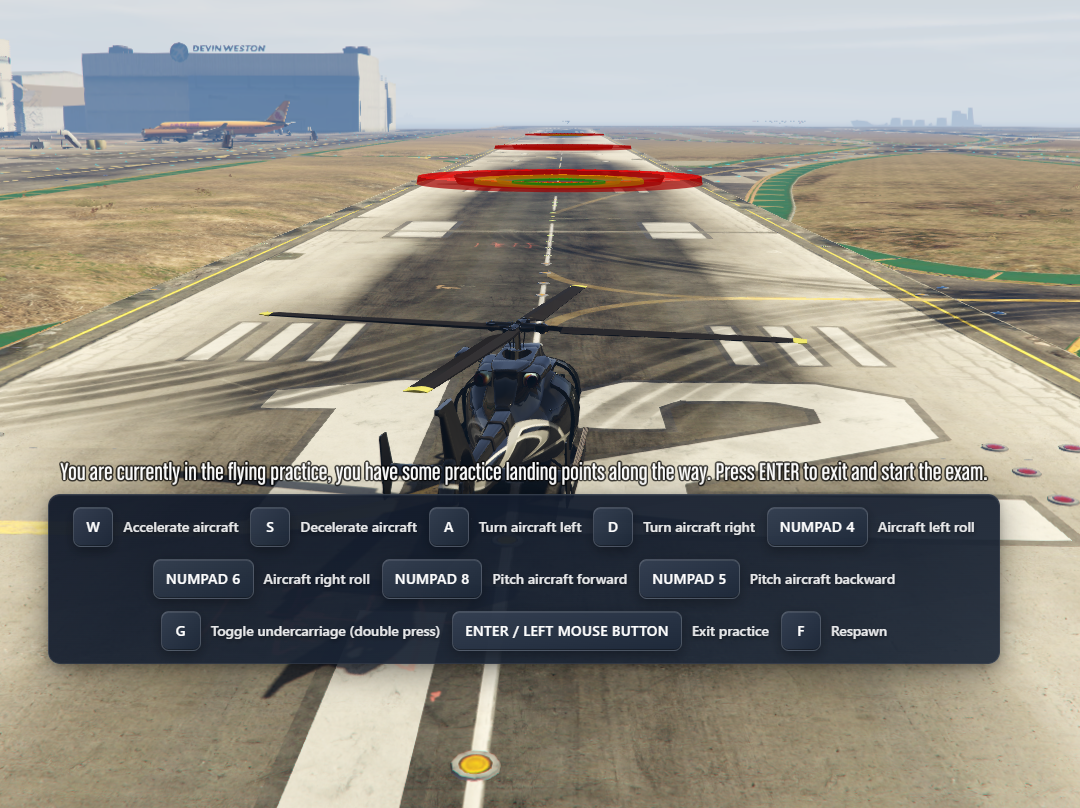
Selecting the Flying Landing Exam puts you in the cockpit of a helicopter, switching the focus entirely to precision touchdown procedures.
- Practice Mode: Initially, you will be placed on the runway for a familiarization session. Even though the on-screen key layout looks identical, the helicopter physics change: W / S regulate your altitude (lift), while NUMPAD 8 / 5 tilt the nose to control horizontal velocity or to brake. Move through the practice markers on the tarmac and hit ENTER to begin.
- Official Exam: Once the active evaluation starts, you will fly through the city to safely land the helicopter at the designated spots.
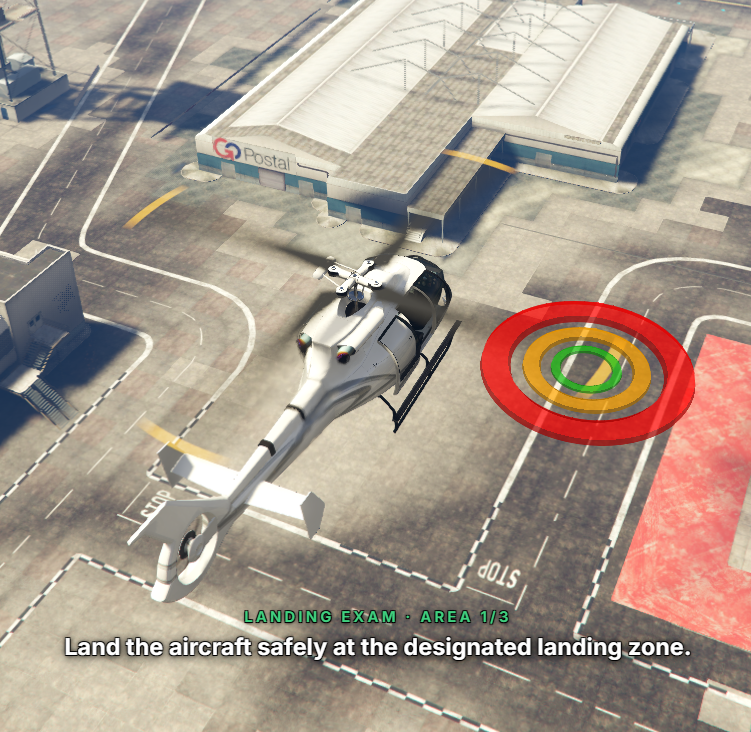
- A tracking element at the bottom displays your current zone: LANDING EXAM AREA 1/3.
- The UI instruction prompts you: Land the aircraft safely at the designated landing zone.
- Hover smoothly over the large colored target (green, yellow, and red concentric rings) and descend gently until your landing skids rest flat against the ground. Successfully clearing all 3 landing areas will secure your flying license.
How to Acquire a Sailing License
Step 1: Sailing Instructor Location
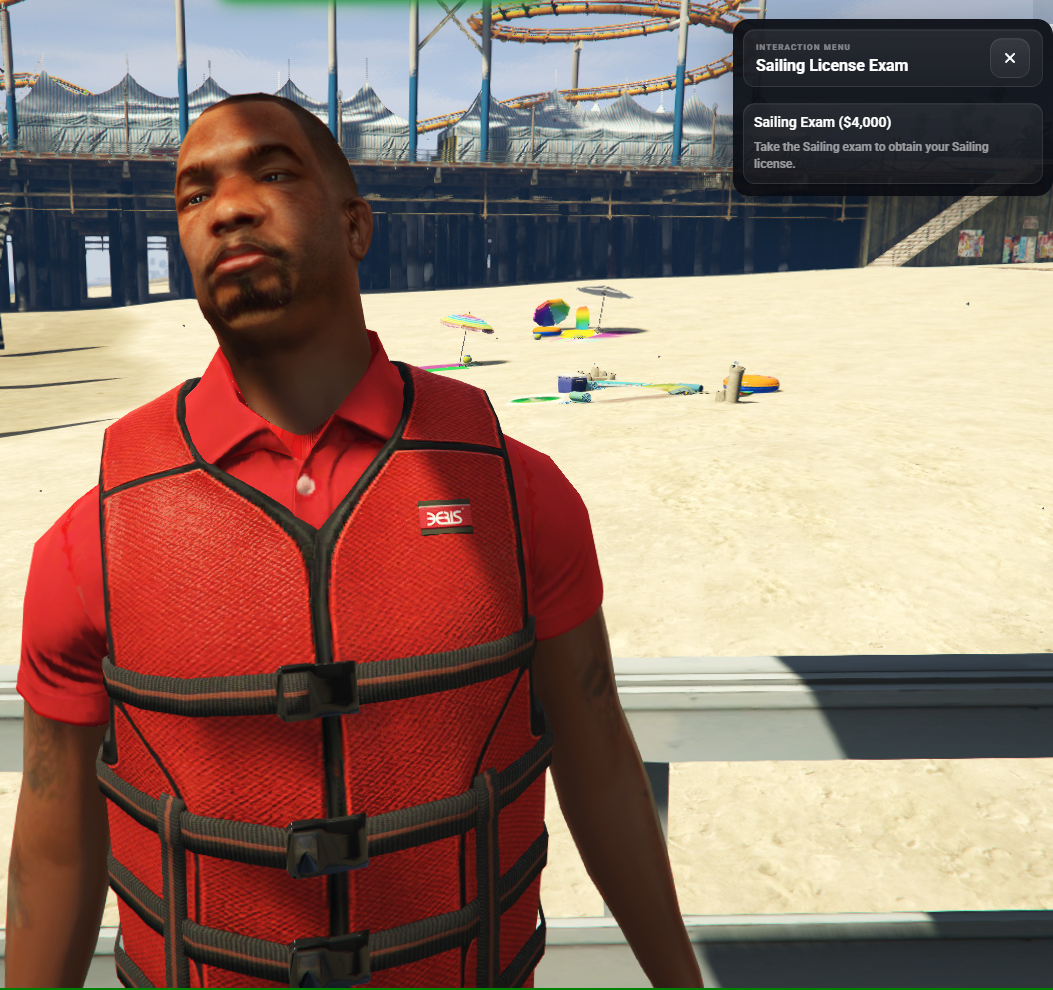
To legally operate boats or jet skis across the waters, you need to head to the main beach area (near Del Perro Pier / the amusement park). Look for the Sailing Instructor NPC standing near the boardwalk or on the sand, easily identifiable by his bright red life jacket.
Step 2: Starting the Boat Exam
Approach the instructor and prompt the interaction to bring up the Sailing License Exam box:
- The pop-up menu will list the Sailing Exam ($4,000) entry.
- The instruction line clearly informs you: Take the Sailing exam to obtain your Sailing license.
- Ensure you have the required funds available, then select it to pay the entry fee.
Step 3: The Practical Sailing Test on the Water
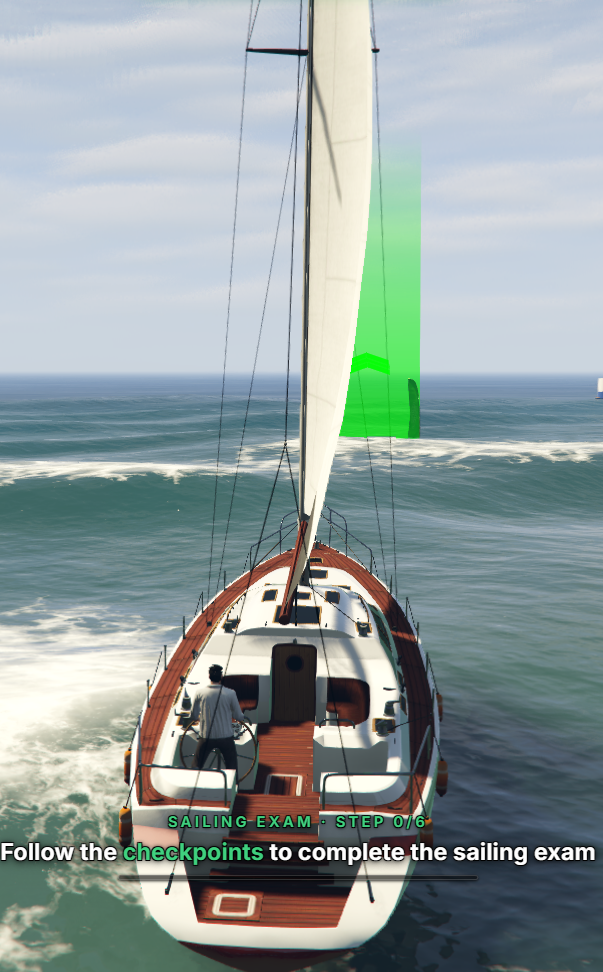
After paying the fee, you will be instantly teleported to the helm of a sailboat to begin your practical water test.
- A dedicated interface tracker will display your live milestones: SAILING EXAM STEP 0/6.
- Follow the main on-screen directive closely: Follow the checkpoints to complete the sailing exam.
- Carefully navigate the vessel through all 6 checkpoints marked by tall, glowing green light pillars across the water to finish the exam and obtain your sailing credentials.