Barber Shop
This guide covers the customization systems available at the barber shops, allowing you to modify your character's hair, facial hair, makeup, and other cosmetic details.
Barber Shop Features
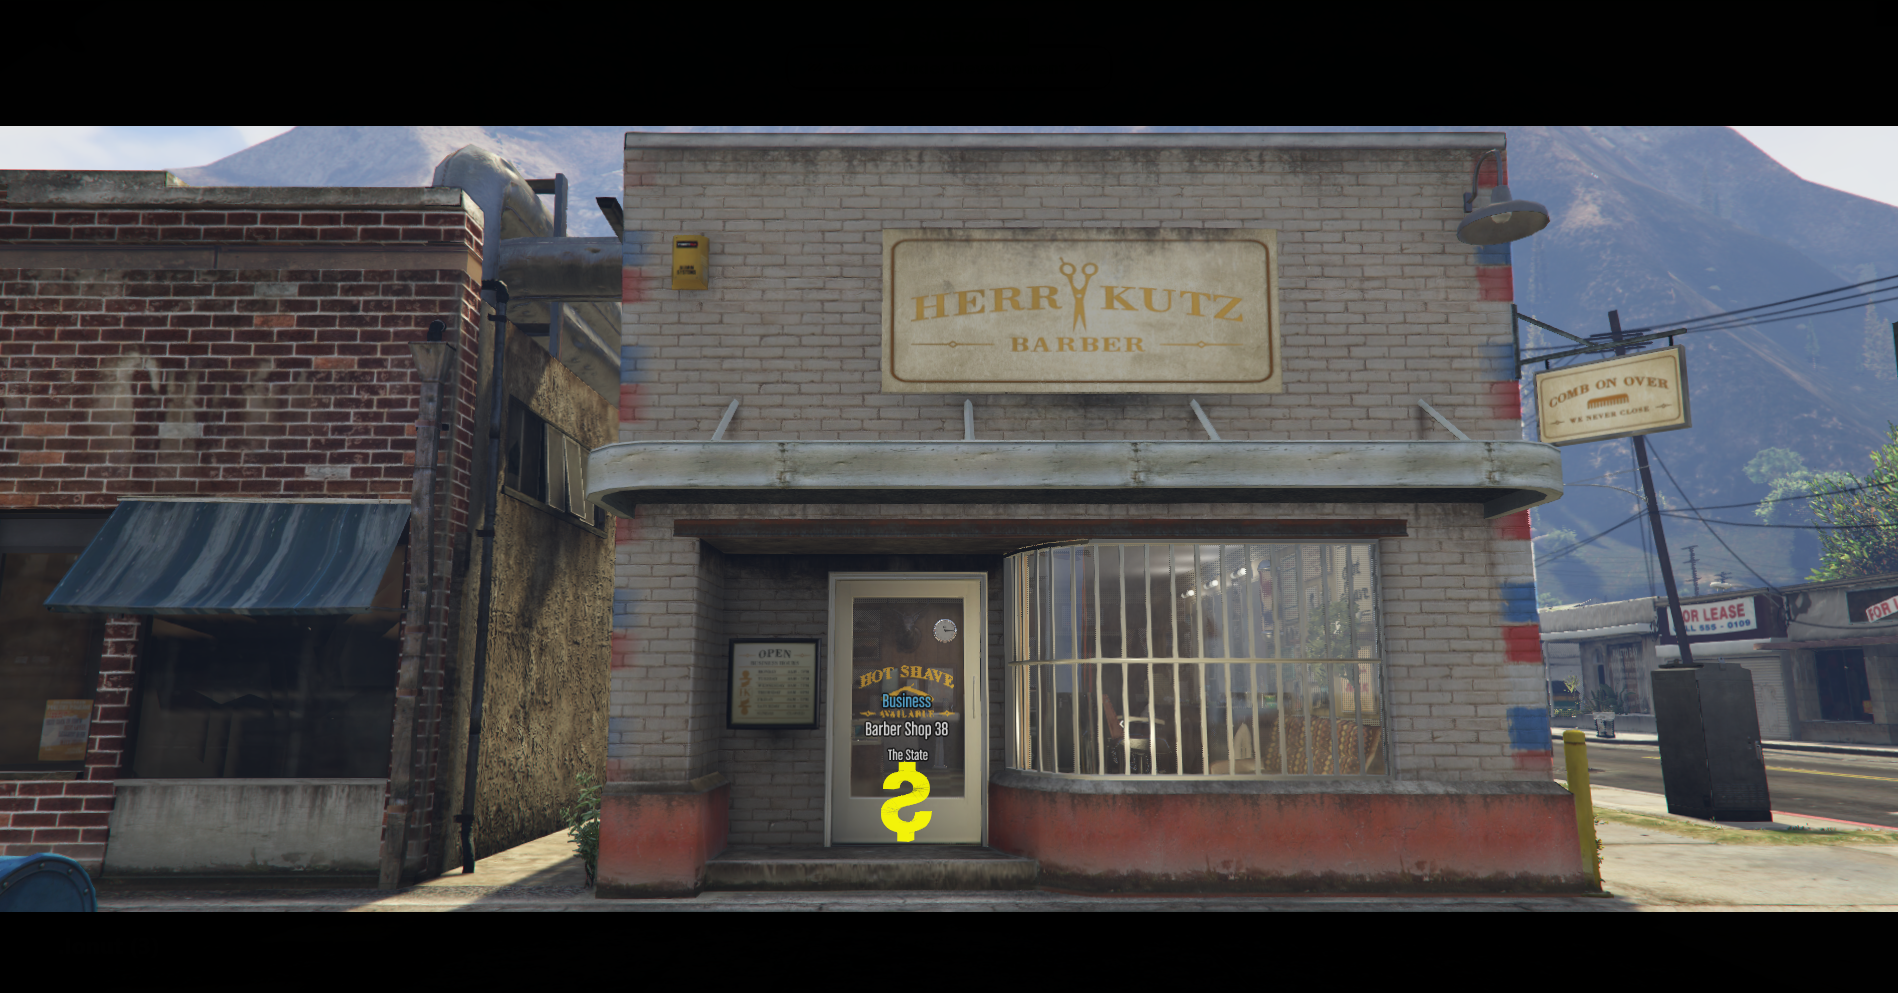
Particularities
Customization System
Barber shops allow you to modify the fine details of your character's hair, body hair, and makeup through a comprehensive configuration menu.
- Appearance Customization: Change your character's hairstyles and facial aesthetics whenever you want to refresh your style.
- Full Menu Availability: You have access to customize the following specific elements:
- Hair: Hair type, Hair Color, Highlight Color, Hair Fade, Hair Texture.
- Beard & Body: Facial Hairs, Facial Color, Chest Hair.
- Eyebrows: Eyebrows type, Eyebrows Color, Highlight Color.
- Makeup & Details: Makeup, Blush, Lipstick (each equipped with First Color and Second Color adjustment layers).
- Free Previews: You can try on any combination from the menu grid to see how it looks on your character without needing to pay beforehand.
- Ownership System: Once you purchase a style, you own it permanently. You can switch back to your previously owned styles later without paying for them a second time.
- Saved Styles (Wardrobe): Access your personal look history to quickly save or reload combinations you have created in the past.
- Style Comparison: Easily swap between different styles, opacities, and color variations before finalizing your choice.
The Customization Interface
When you enter a barber shop, an advanced user interface opens up to handle your physical modifications.
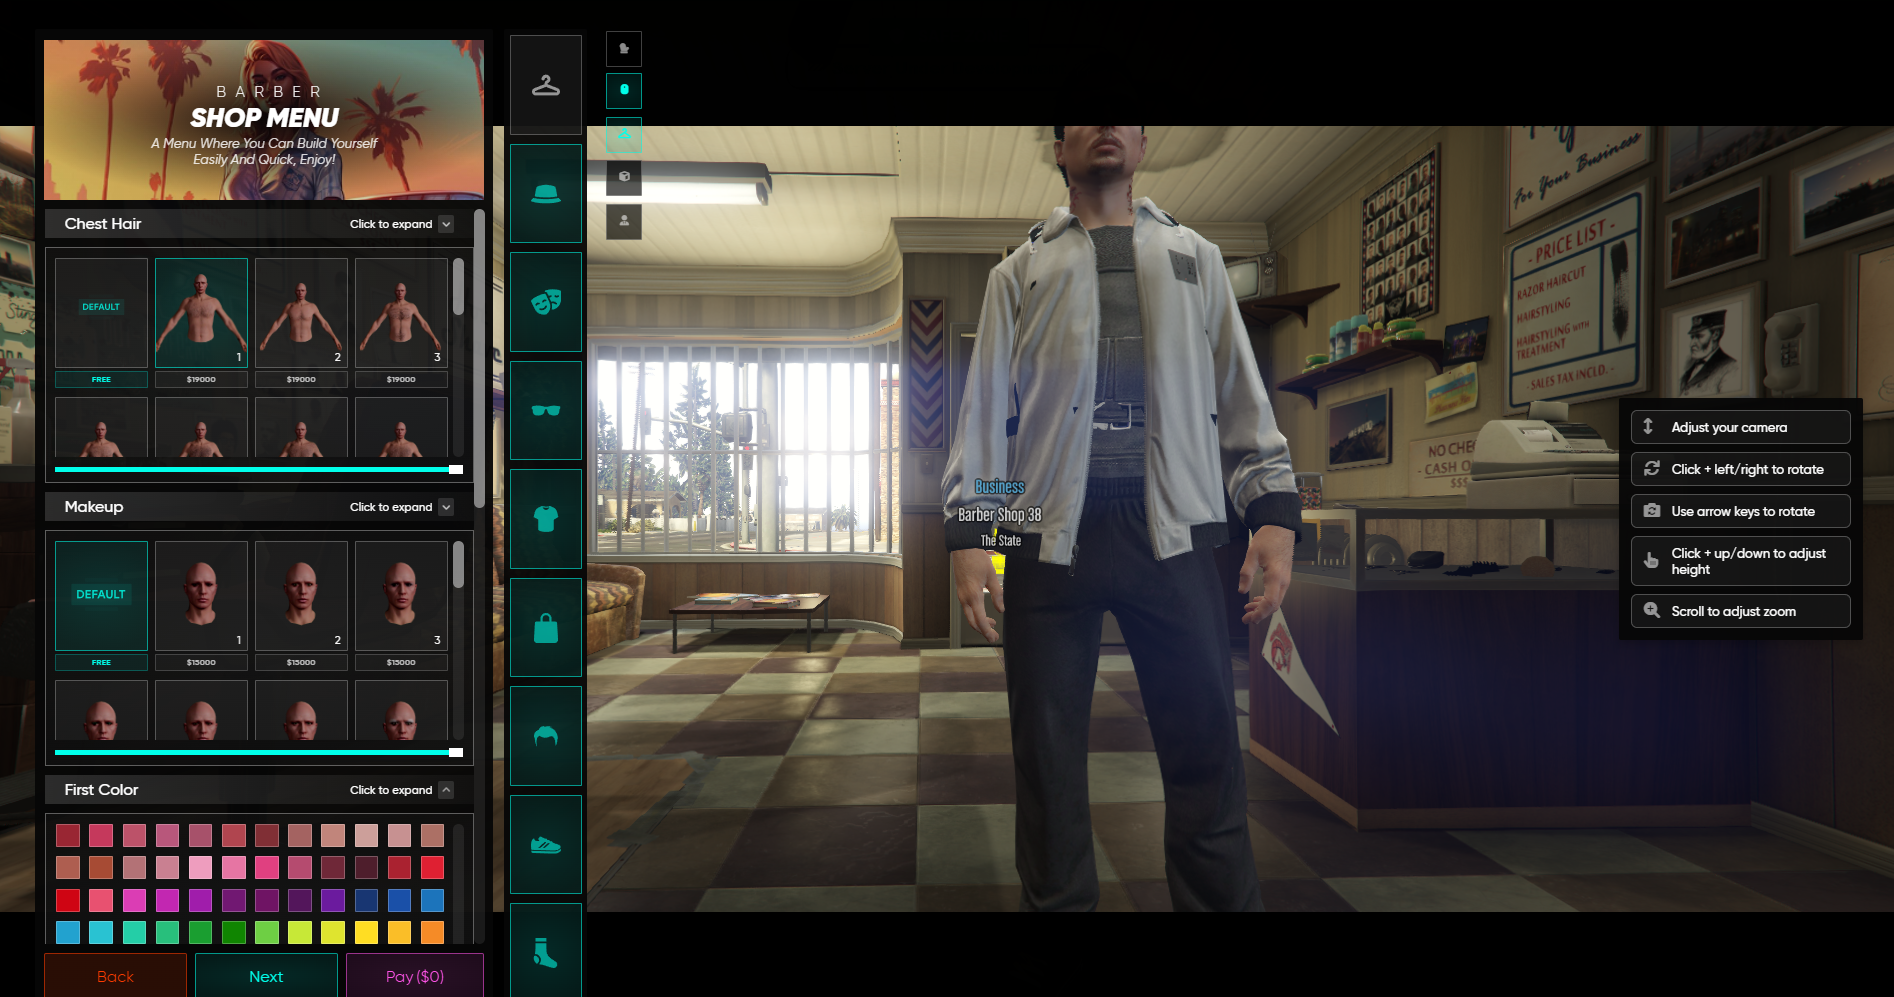
Interface Layout & Navigation
- Left Vertical Sidebar: Features quick-access category icons (ex Hair, Eyebrows, Facial Hair, Chest Hair, Makeup). Clicking an icon dynamically swaps the main grid contents.
- Top Header: Displays the brand name (ONE RPG | Barber), a central Wardrobe button to access saved looks, your current Gold balance, and a + Buy button for quick account top-ups.
- Main Asset Grid: Displays all available modification cards for the selected category. Each card shows a visual preview, an asset tag index (ex
#0,#1), and its respective status or price (ex FREE, Equipped, or $19,000). - Opacity Slider: Located right above the asset grid, this bar allows you to adjust the visual intensity and opacity percentage (from 0% to 100%) of items like chest hair, makeup, or facial blemishes.
- Bottom Adjustment Bar:
- SELECTED ID: Use the left
<and right>arrow buttons to change and cycle through style IDs sequentially. - Save Outfit: A quick green action button located in the bottom right corner to save your current setup.
- TO PAY: Displays the running total cost of the unowned items you currently have selected.
- SELECTED ID: Use the left
Payment Methods
Once you are satisfied with your custom choices and proceed to finalize the changes, the "How would you like to pay?" checkout panel will appear.
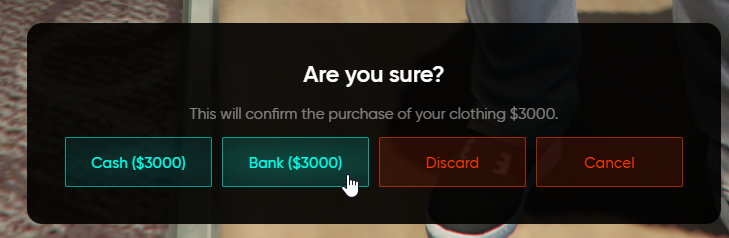
This module calculates the total value of your changes in the TO PAY window and lets you choose between two primary settlement methods: * Cash: Automatically draws the exact required sum from the physical cash bills inside your pocket. * Bank: Deducts the total purchase value directly from your online bank account balance. * Cancel: Closes the checkout screen, wipes the pending payment, and returns you to the editing grid without applying changes.
Look Management (Wardrobe)
Clicking the top Wardrobe button opens a secondary menu dedicated to storing and applying complete style packages.
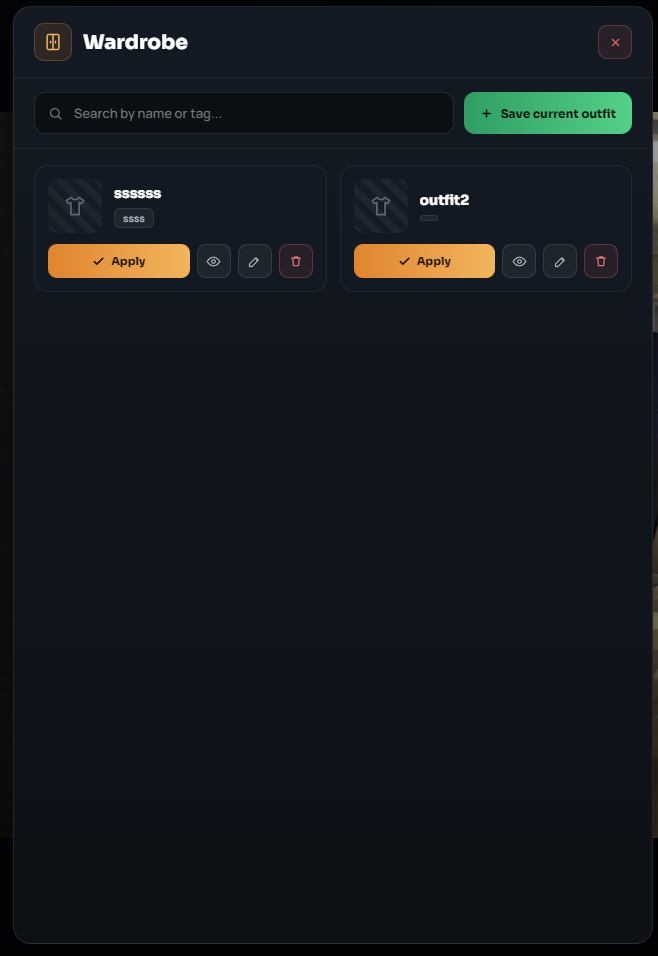
- Filter Search (Search by name or tag...): Allows you to quickly find a specific saved appearance layout by typing its custom name or tag.
- Save Current Outfit (+ Save current outfit): Captures your character's current look configuration and creates a fresh slot in your wardrobe list.
- Apply Look (✓ Apply): Instantly equips all hair, beard, and makeup presets saved inside that specific slot onto your character.
- Preview Asset (Eye Icon): Inspects the contents and details of the saved look before applying it.
- Edit Layout (Pencil Icon): Allows you to change the title name or organization tag of the saved layout.
- Remove Layout (Trash Can Icon): Permanently deletes the selected style profile from your personal wardrobe cloud.