Lumberjack Job

Particularities
- the Lumberjack job is a safe job with a medium difficulty, which can be practiced even alone but it is recommended to be performed with a minimum of 2, 3 or 4 players.
- this recommendation of multiple players is due to the large number of trees that must be cut and processed, making the process much faster and easier in a group.
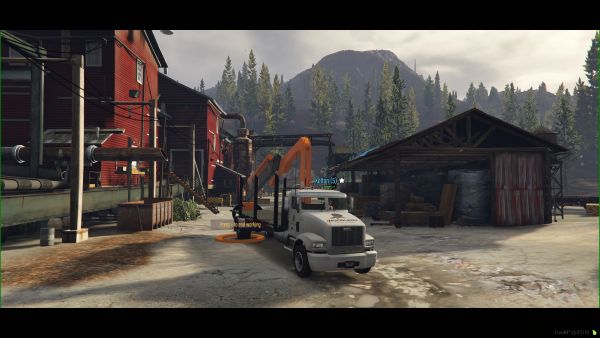
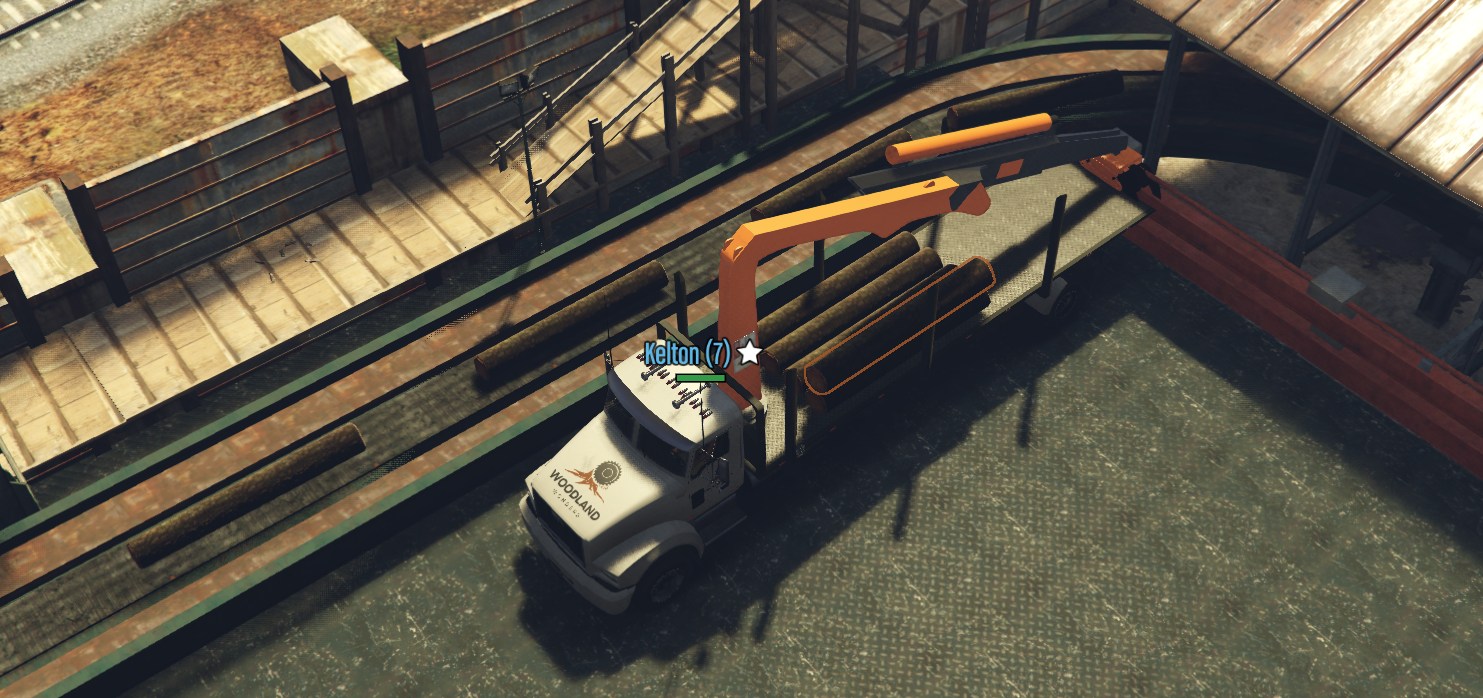
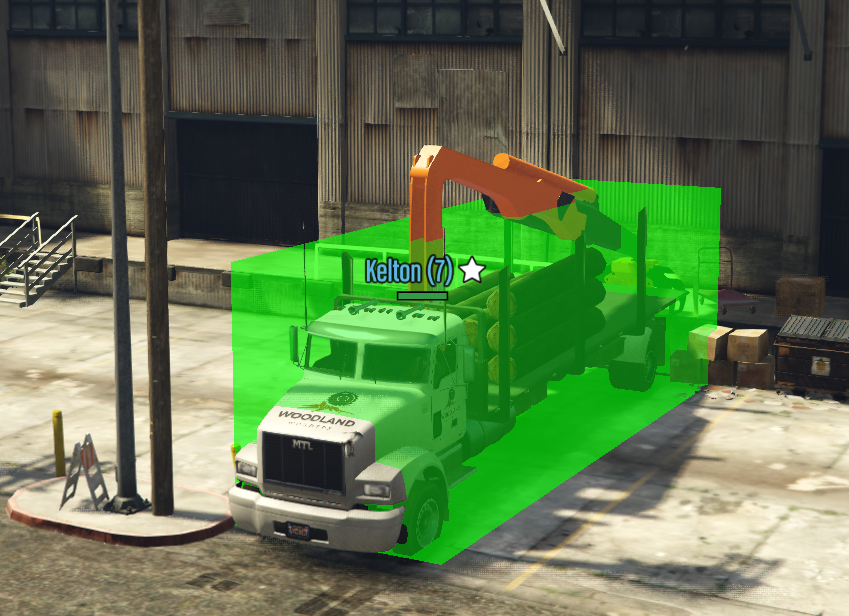
- you must use the job vehicle to load it with cut trees, which you can subsequently process and sell.
- you will need a driving license to be able to do this job.
Team Formation

- to be able to invite another player to the team they must be near the starting point of the job.
- the one who initiates the job will see at the bottom Nearby Players where they will be able to click to initiate an invitation (image #3).
- the invited player will receive a notification on screen to accept or decline.
- after accepting the invitation the player will appear as part of the team and the job can be started.
The Forest
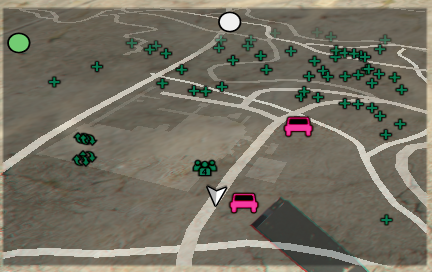
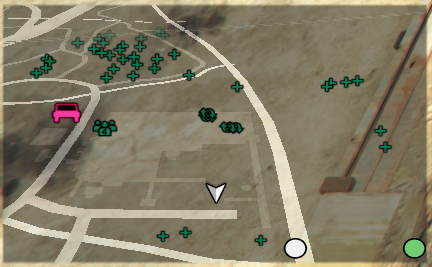
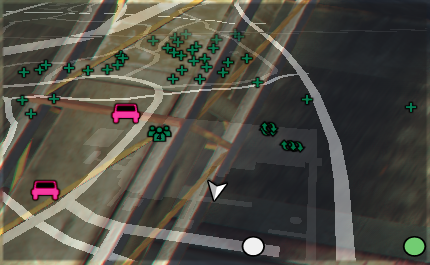
- in the forest near the job you will see a bunch of green icons in the form of a + on the map, these being the trees that can be cut (image #4).
- you will need to travel with the job vehicle and cut the trees, then load them into the vehicle.
Cutting the Trees
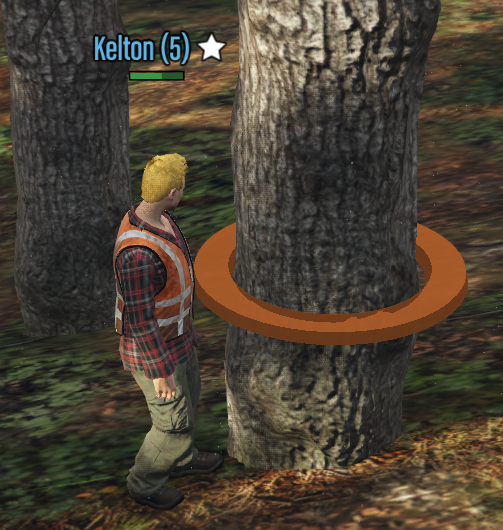
- you will need to approach on foot the tree marked on the map with the icon +.
- near it you will see a circle around the tree which can be cut (image #5).
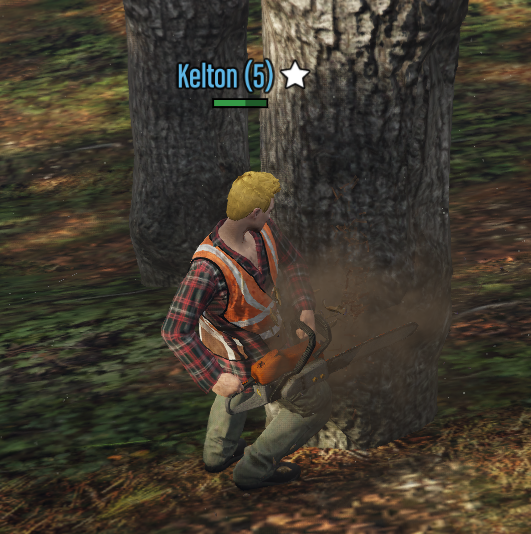
- to cut the tree you must press the E key next to it (image #6).
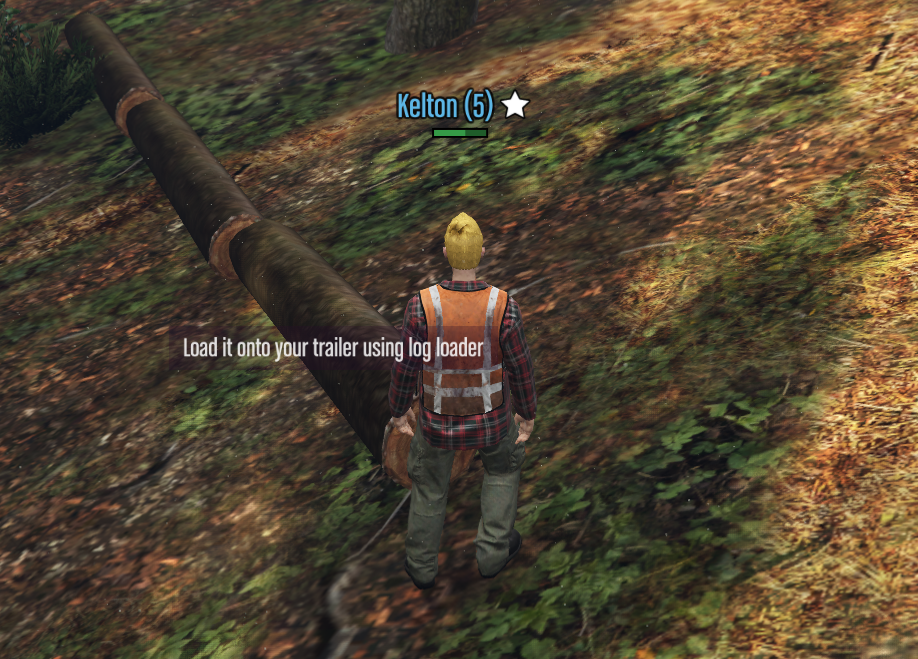
- after the tree has been cut it will fall to the ground in the form of two or three logs (image #7).
Lifting the Logs
Remote Control
- the logs must be lifted using the crane on the job vehicle.
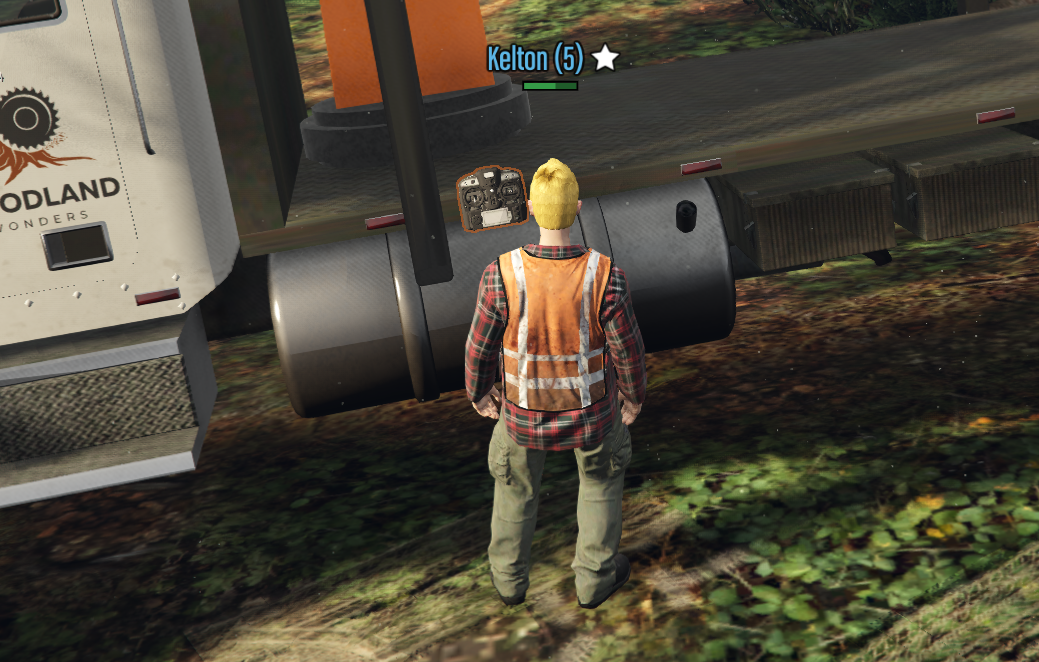
- you can find the crane remote control on the driver's side above the fuel tank, in the front part of the truck (image #8).
- the remote control can be picked up as well as put back in the same location by pressing the E key near the previously mentioned location.
- you can move around with the remote control in your hand and you can even drive the job vehicle with the remote control in your hand.
Remote Control Operation
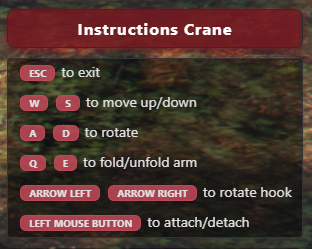
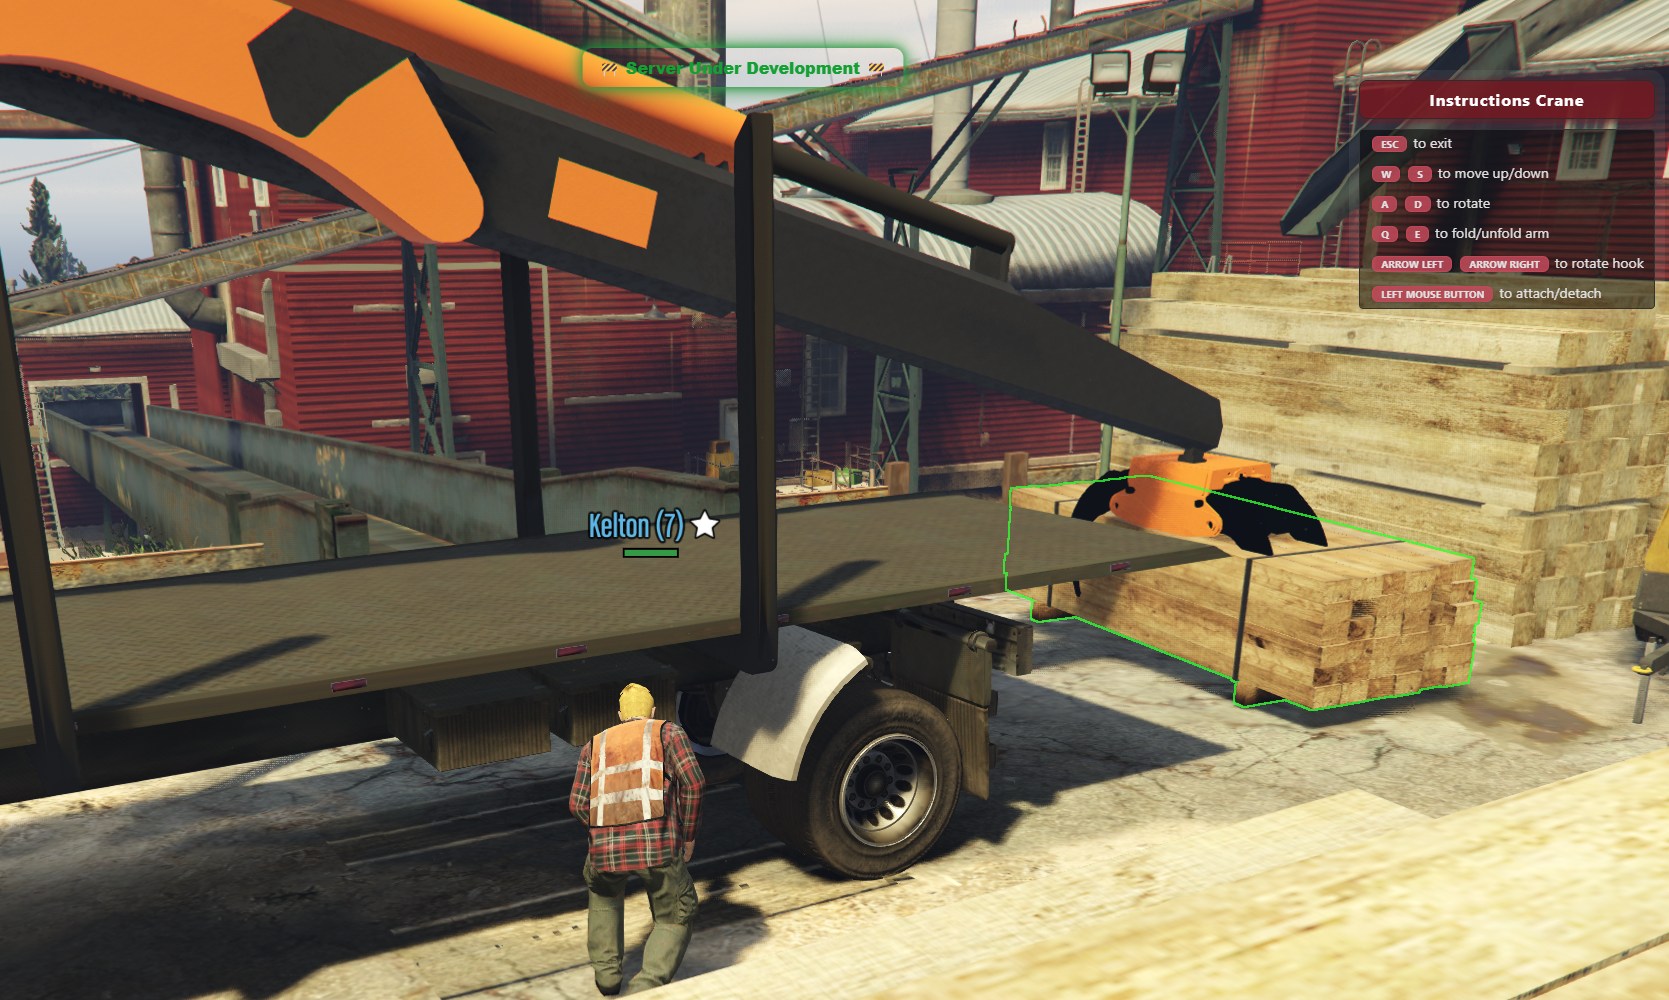
- to operate the crane, after you have the remote control in your hand, press the E key and you will be able to control it using the keys that appear on the screen (image #9).
- if you want to stop controlling the crane and be able to move, including driving the vehicle, press the ESC key and then to resume control of the crane press the E key again.
- you can do this directly from the steering wheel of the vehicle to make your work easier.
- it is recommended that after you have put all the logs in the truck and return to the base, to put the remote control back in its position above the tank by pressing the E key because you will use this key to process the logs and it will also operate the remote control if you still have it in your hand.
Lifting the Logs
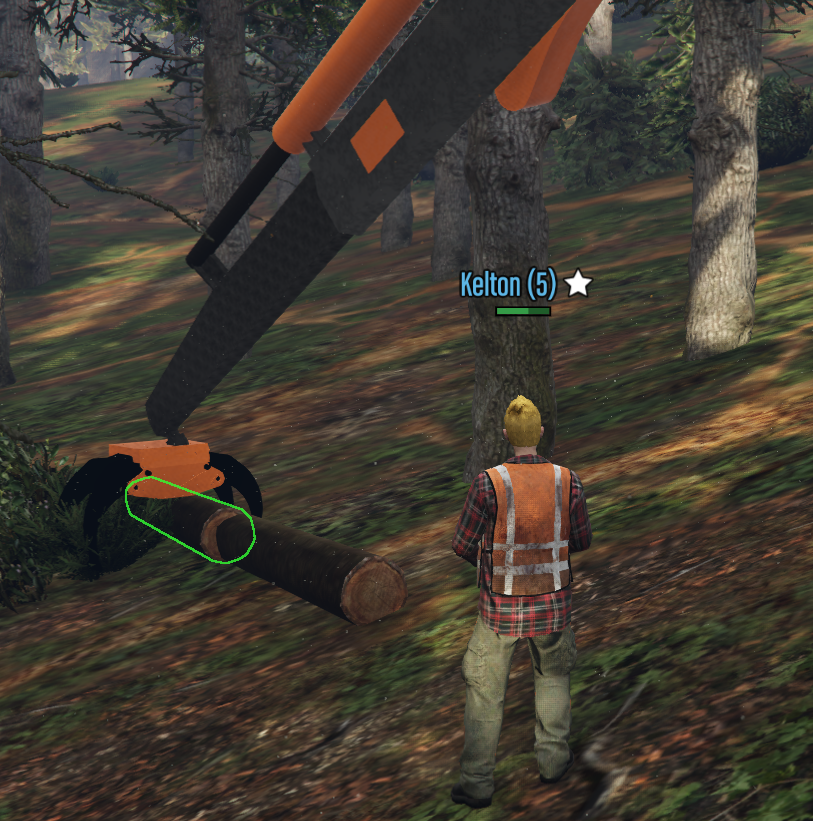
- it is not mandatory to rotate the hook to be able to grab a log.
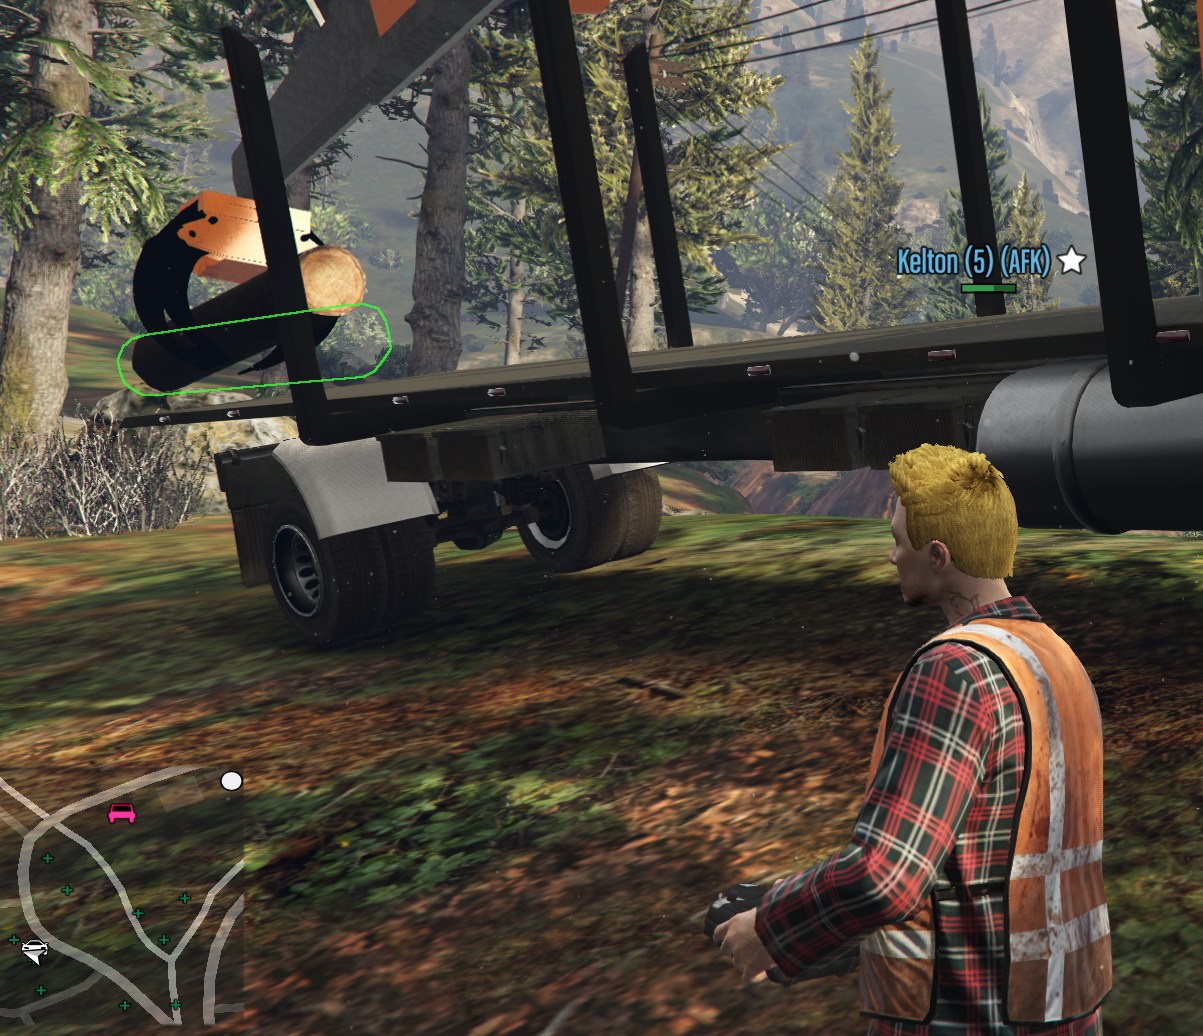
- you must move the crane hook above the log until you observe the green color around it, at which point you can grab it by pressing left click (image #10).
Storing the Logs in the Truck
- the log will then be moved to the back of the truck until you observe the green color, which means it can be stored in the truck by pressing left click again (image #11).
Processing the Logs
- after you have gathered multiple logs you can return back to the base at the processing points which appear on the map like this

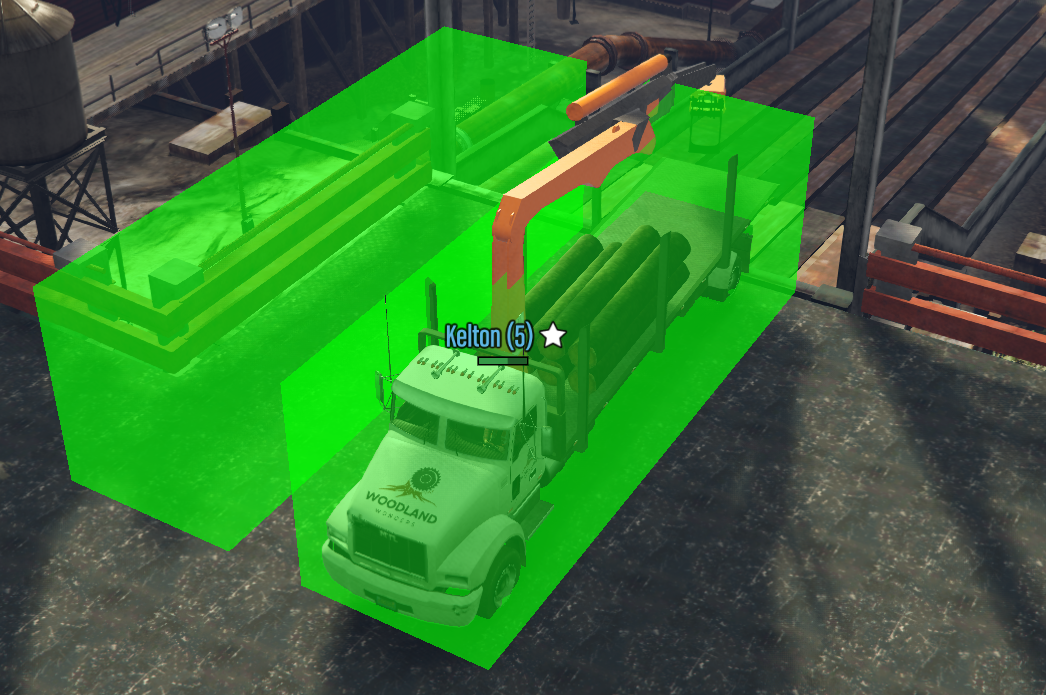
- there you will need to go to one of the 4 marked zones to start processing the logs.
- there are two zones to process them into planks and two zones to process them into chips.
- choose how you want to process them, enter the designated zone until it becomes green and press the E key to start processing (image #12).
Plank Processing
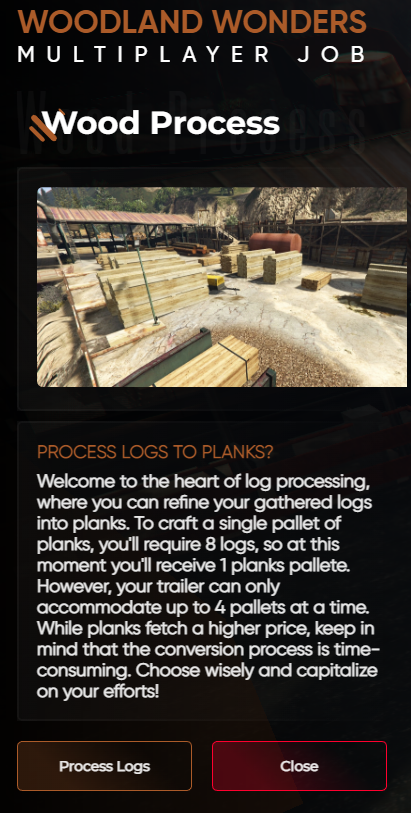
- you need 8 logs to create a single pallet of planks.
- the truck can transport a maximum of 4 pallets simultaneously.
Chip Processing
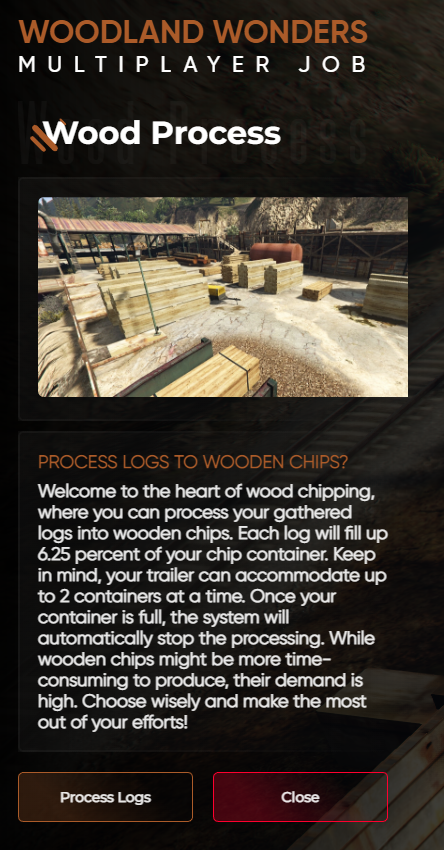
- each log will fill 6.25% of the chip container which you will be able to sell at the end.
- you therefore need 16 logs to fill a container.
- the truck can transport a maximum of 2 containers simultaneously.
Picking up the Planks
- you will receive a notification on screen telling you when the planks have been processed.
- they will be picked up from the opposite side of the processing place (image #17).
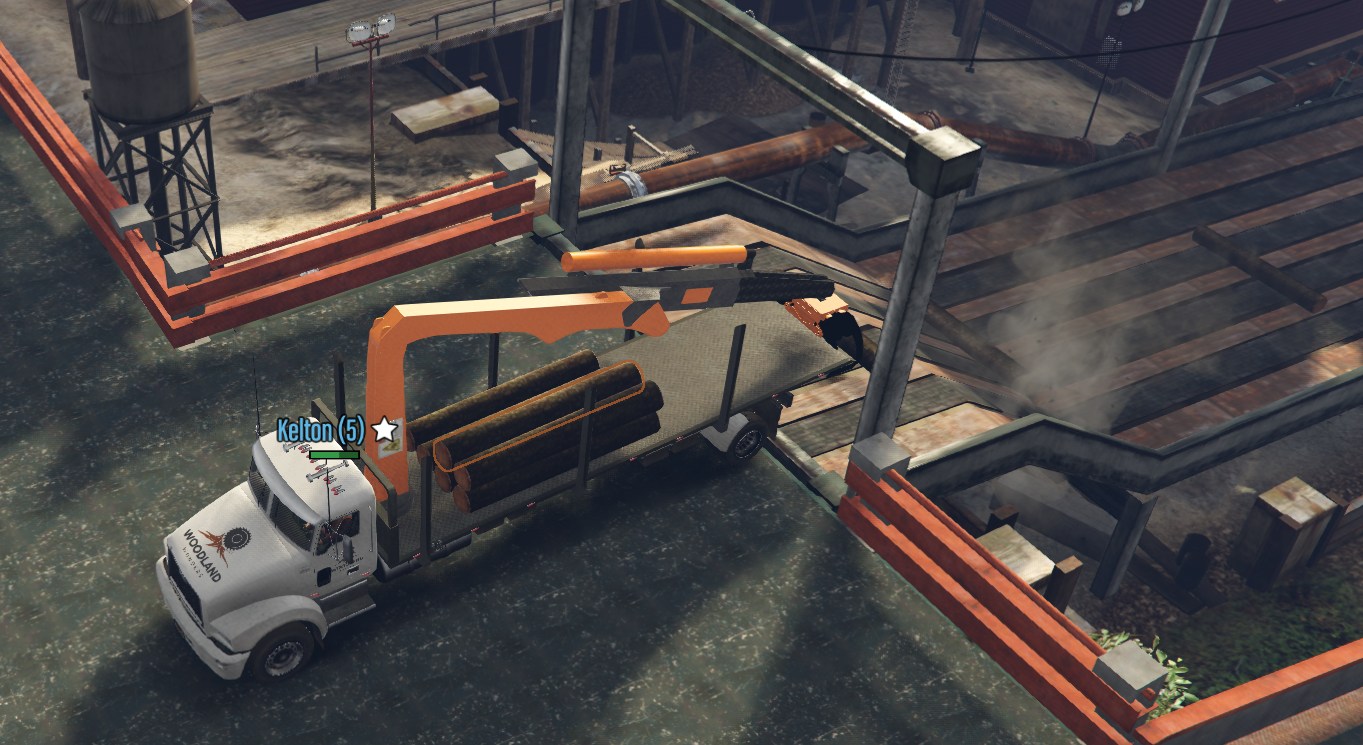
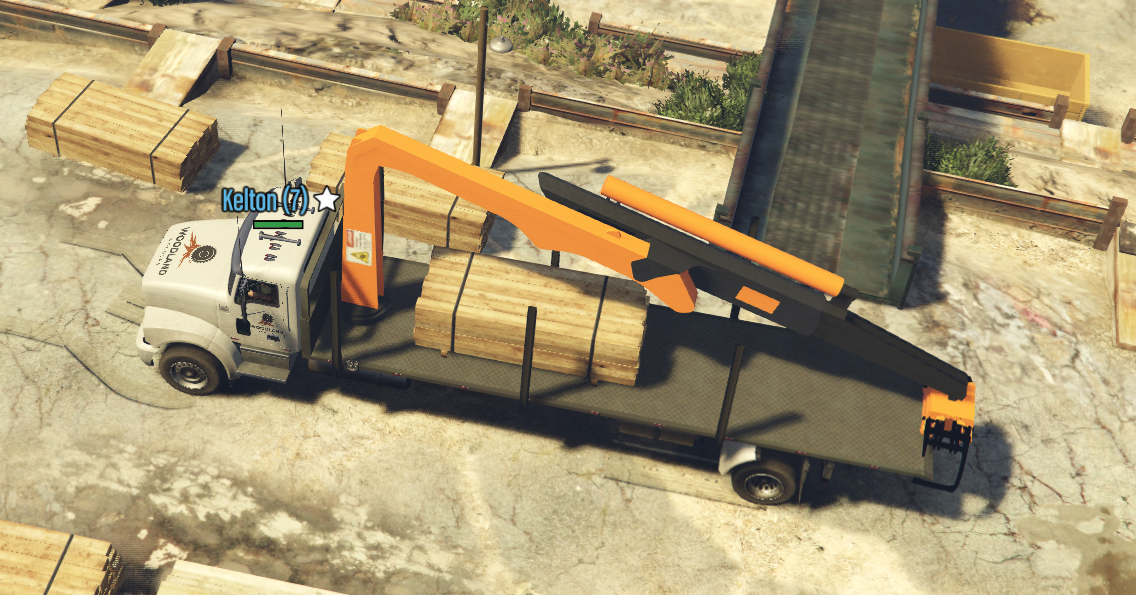
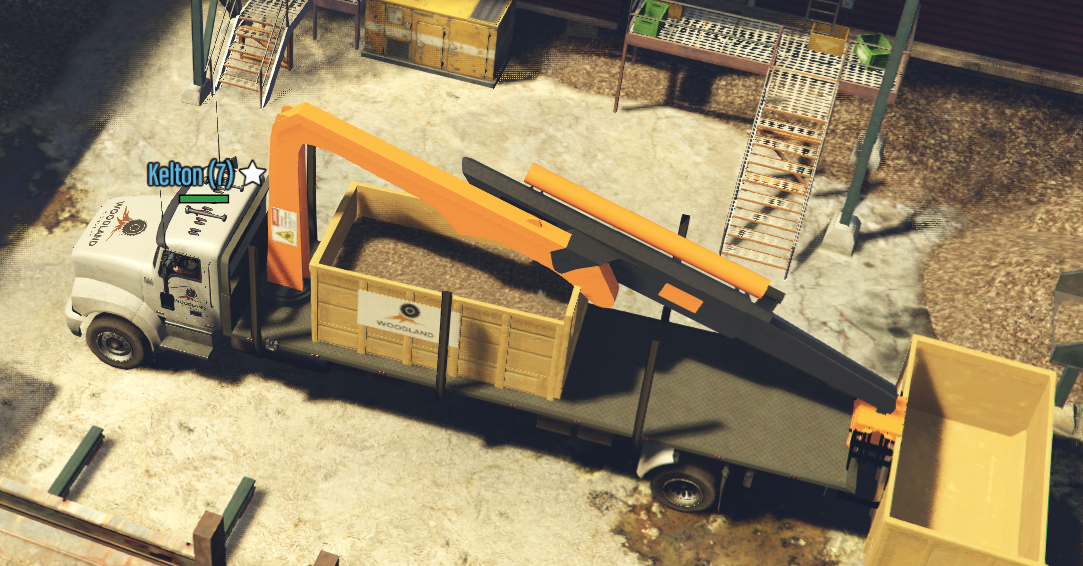
- you will find the pallet of planks in the area of the processing belt, needing to lift them with the crane hook and put them in the truck (image #18).
- once the pallet is placed in the truck it can be taken for sale (image #19).
Picking up the Chips

- you will receive a notification on screen telling you when the chips have been processed.
- they will be picked up from the opposite side of the processing place (image #20).
- you will find the chip container slightly more to the bottom left compared to the planks zone, in the area of the building doors (image #21).
- this must be lifted with the crane hook and put in the truck.
- once placed in the truck it can be taken for sale (image #22).
Selling
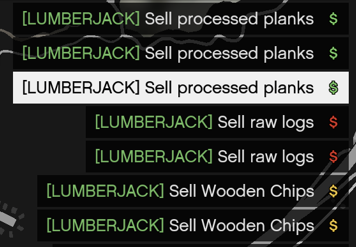
- on the map (press the M key) you will find multiple selling points.
- there are selling points for: planks, chips as well as unprocessed logs.
Selling Planks
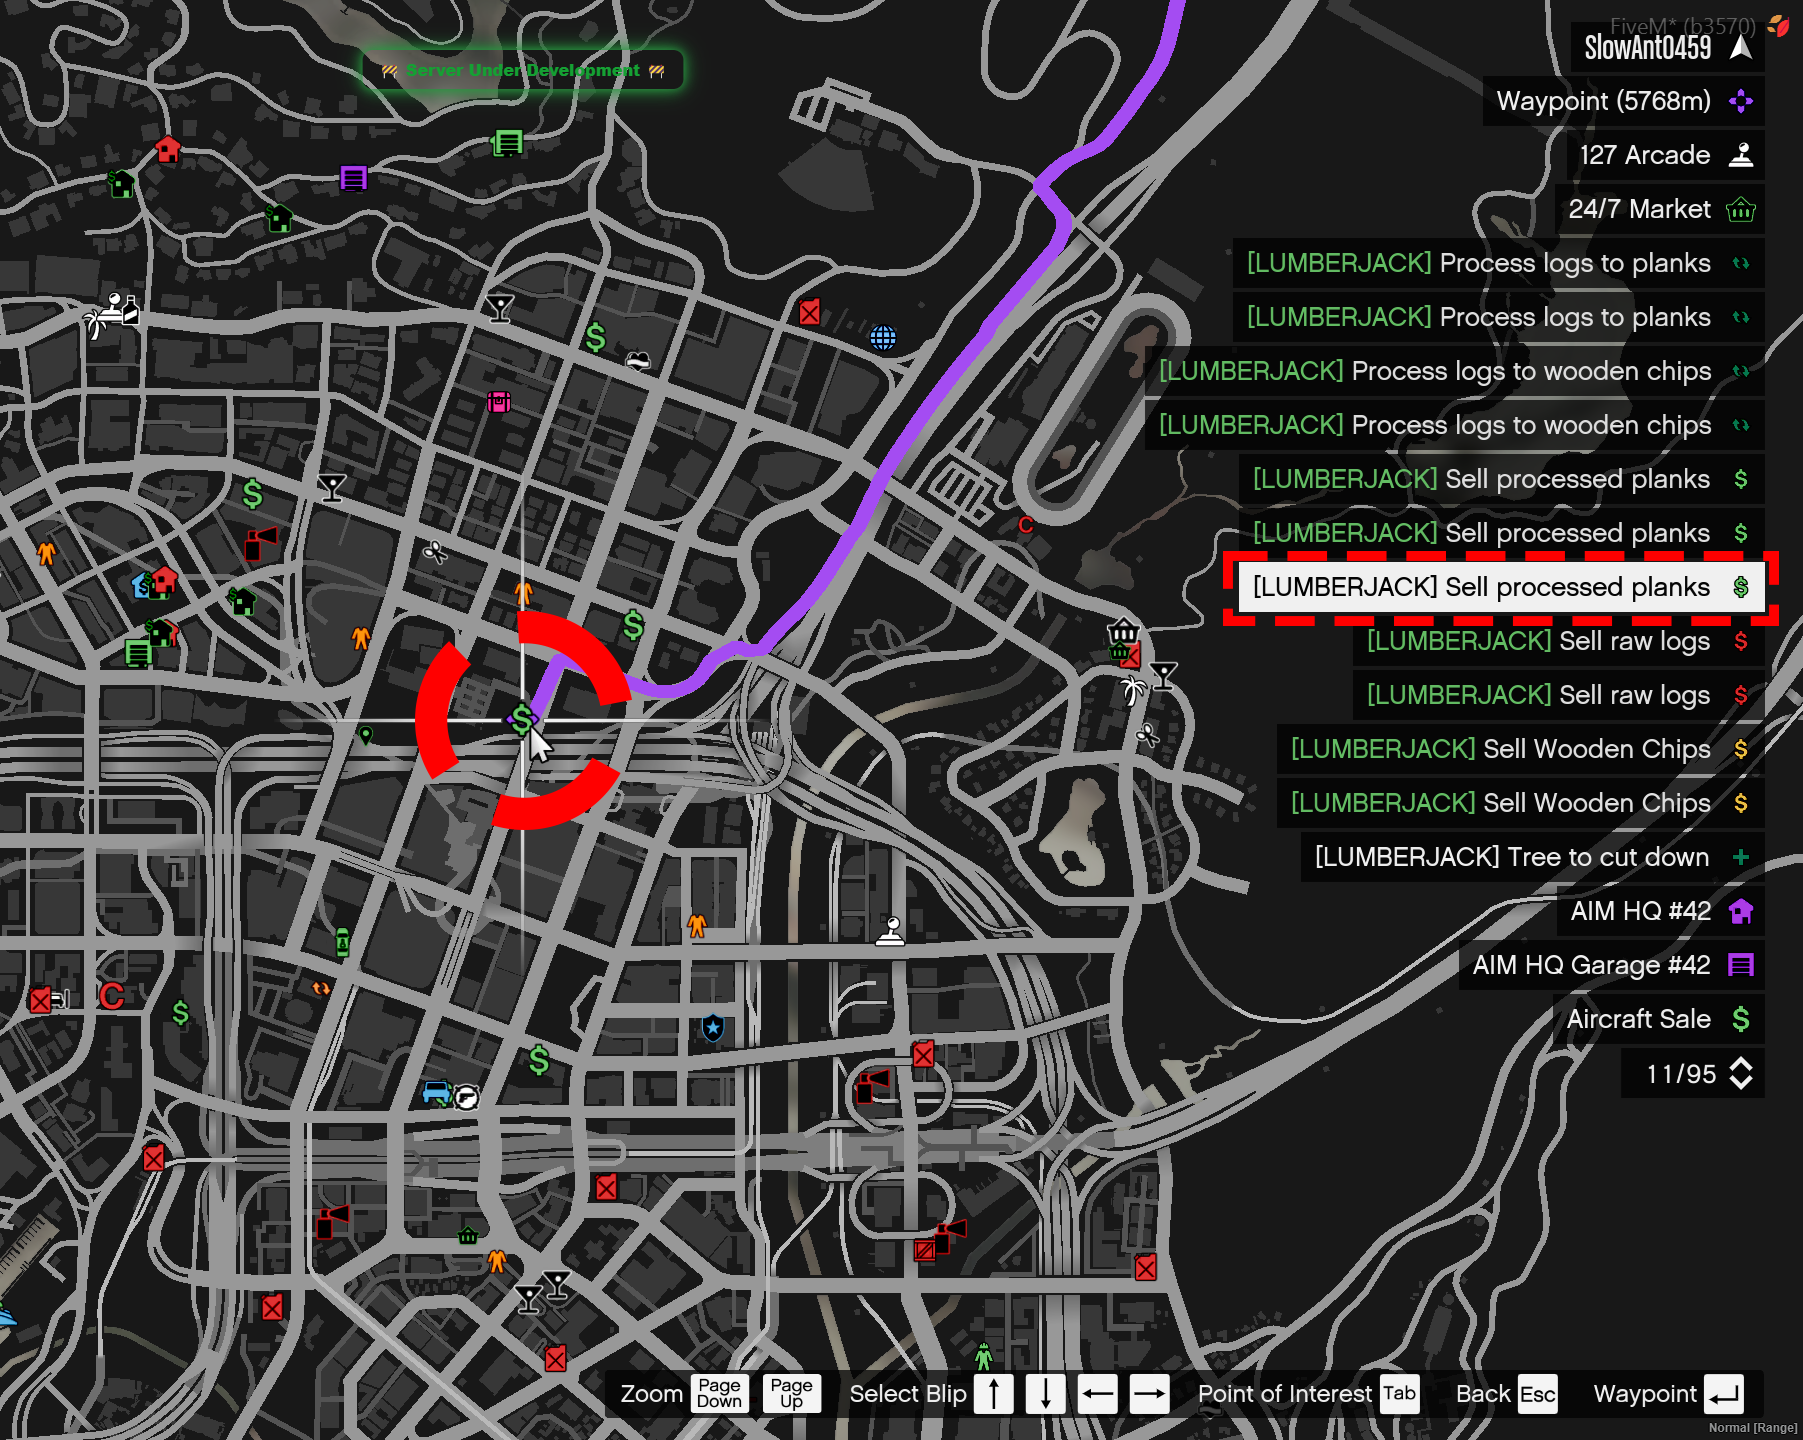
- add a waypoint to one of the processed plank selling points by double-clicking or enter on it (image #24).
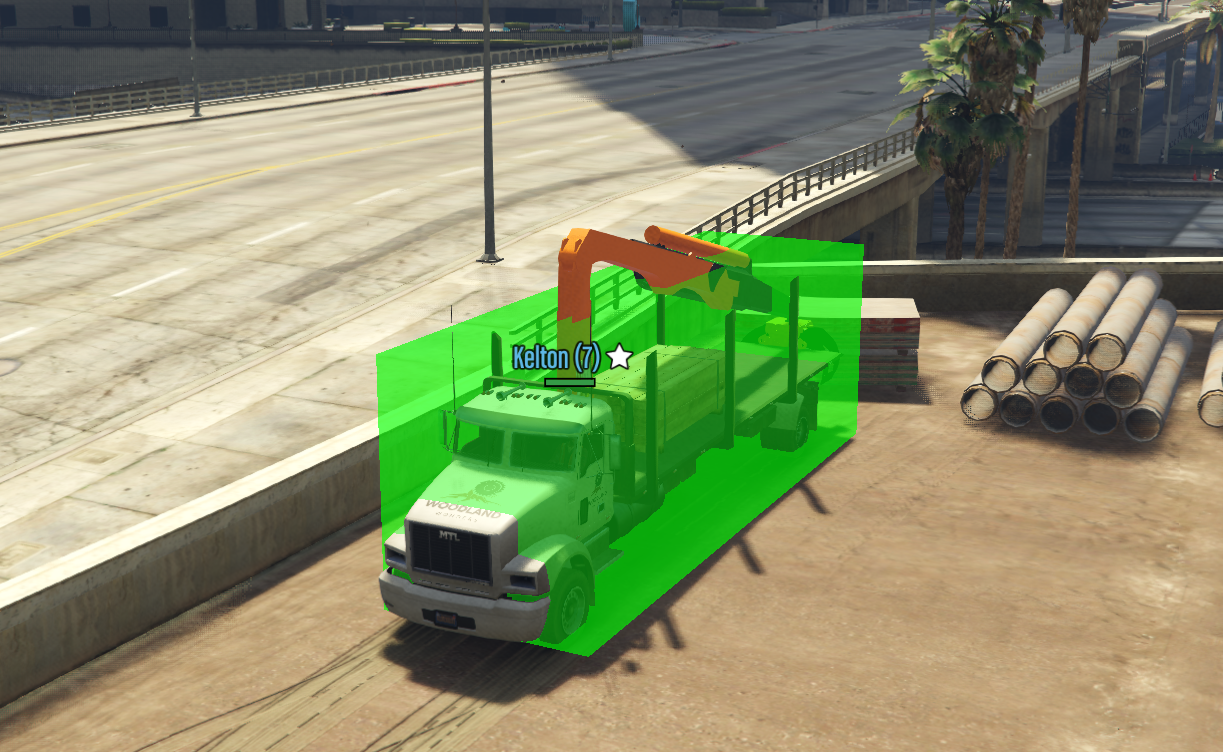
- once arrived at the destination you must enter with the truck into the marked location until it becomes green, then you can start the sale by pressing the E key (image #25).
- the payment will be offered when you return to the job's location when you end the job.
Selling Chips
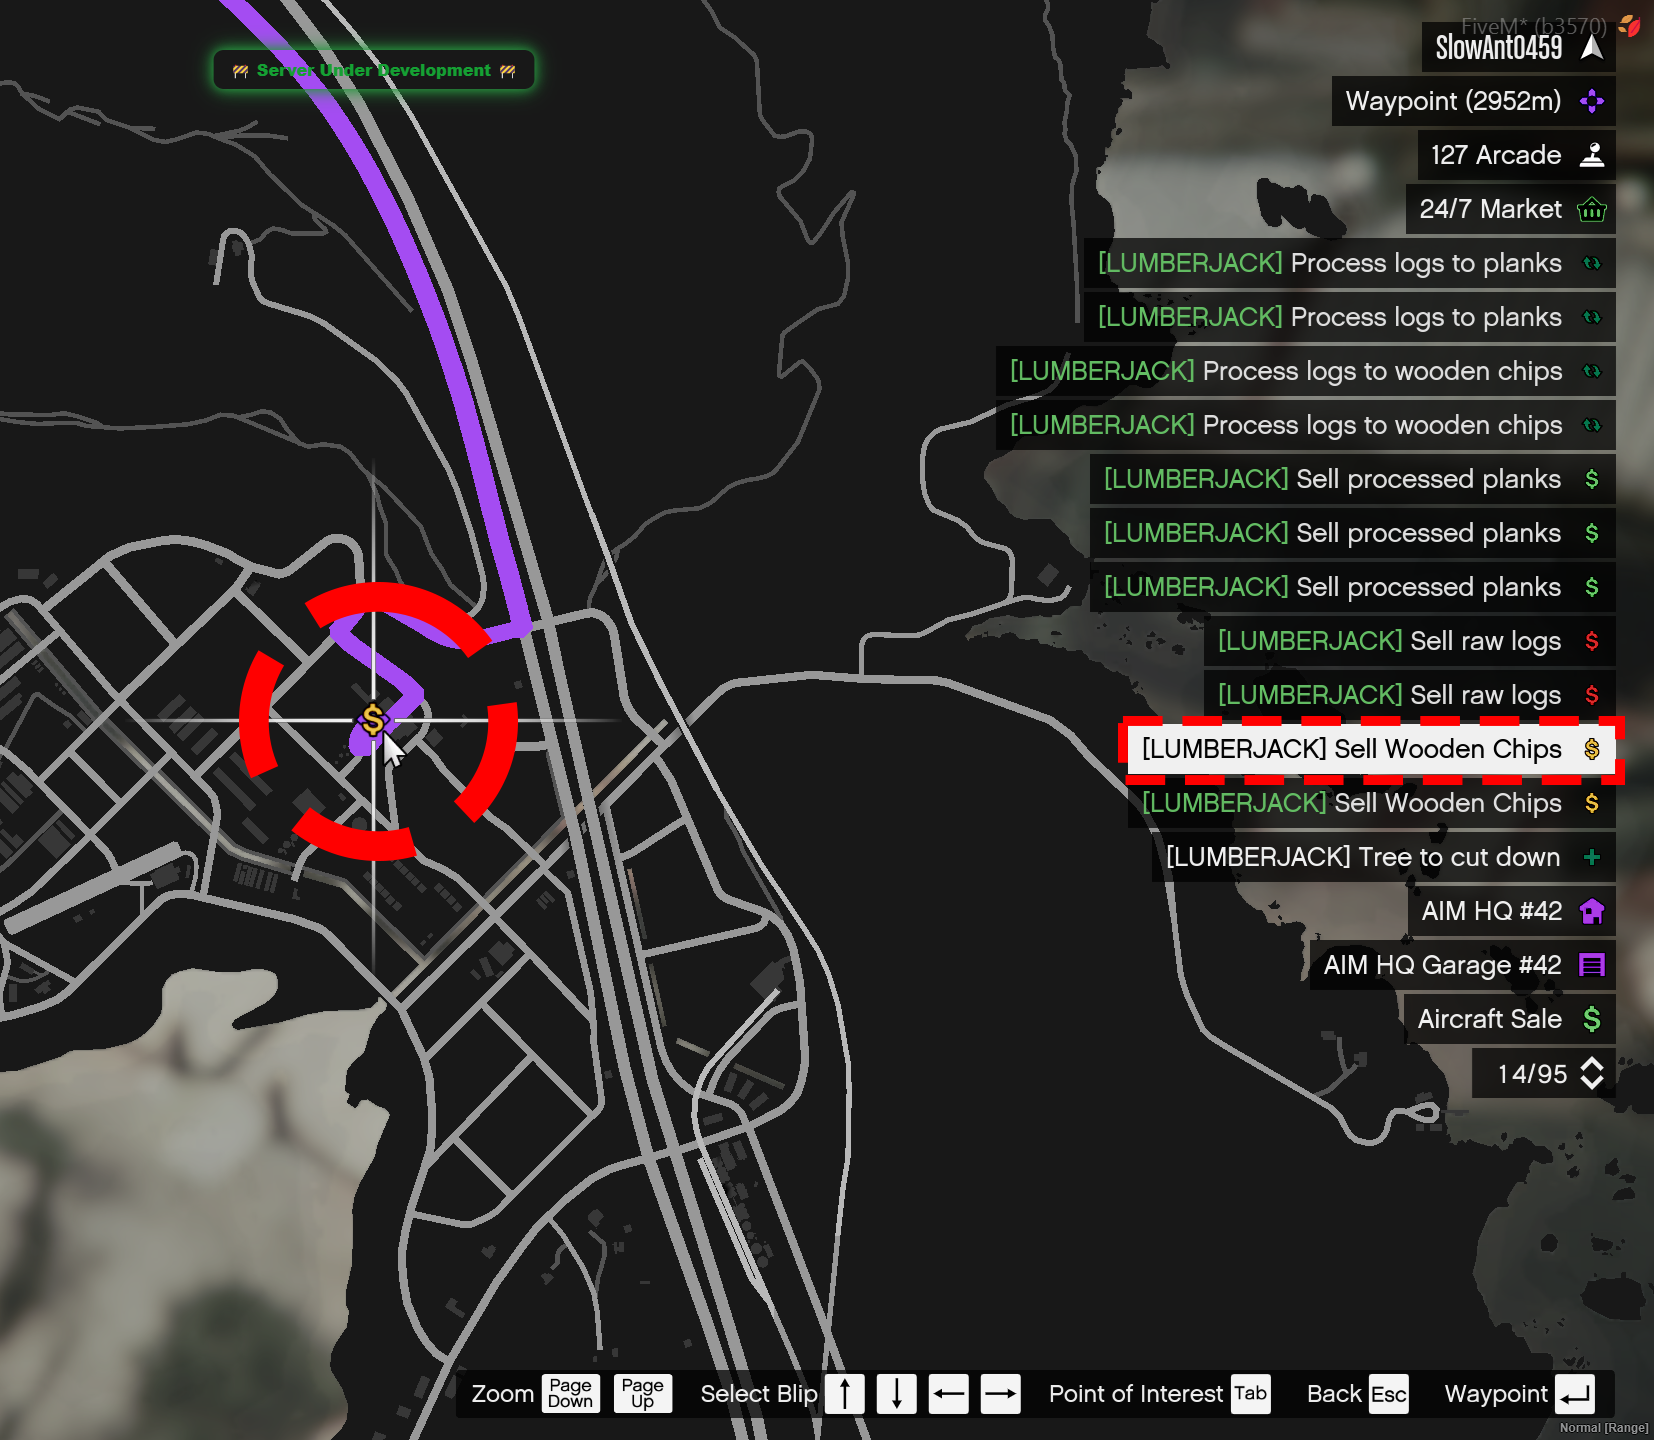
- add a waypoint to one of the processed chip selling points by double-clicking or enter on it (image #26).
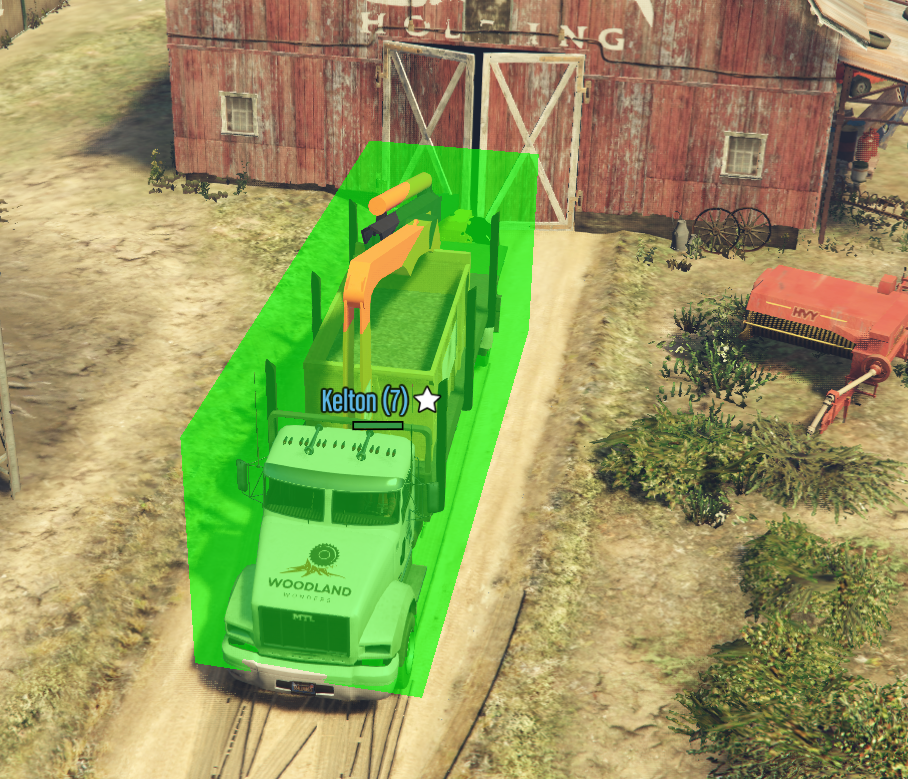
- once arrived at the destination you must enter with the truck into the marked location until it becomes green, then you can start the sale by pressing the E key (image #27).
- the payment will be offered when you return to the job's location when you end the job.
Selling Logs
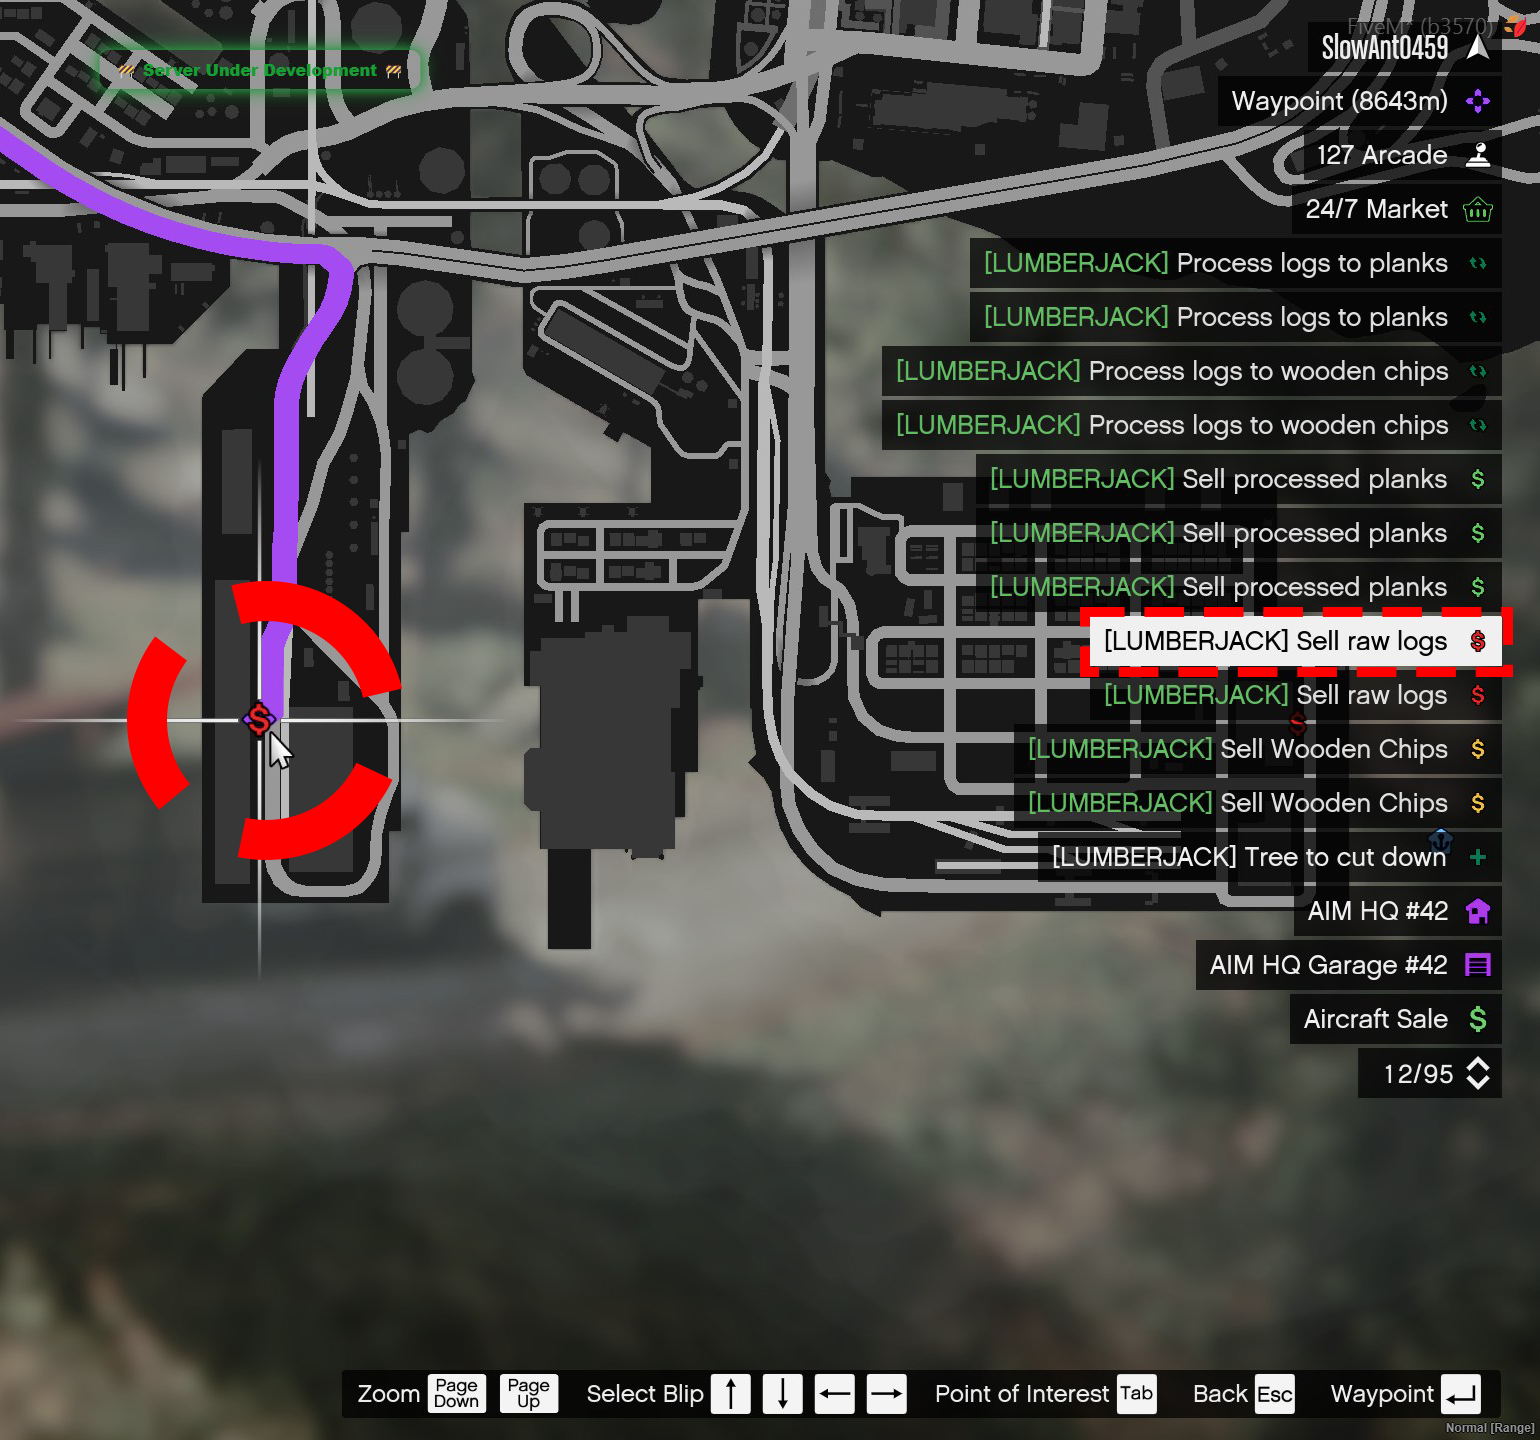
- add a waypoint to one of the log selling points by double-clicking or enter on it (image #28).
- once arrived at the destination you must enter with the truck into the marked location until it becomes green, then you can start the sale by pressing the E key (image #29).
- the payment will be offered when you return to the job's location when you end the job.
Completion
- you can end the job at any time, and to end the job you must return to the job's location with the job vehicle and press the E key at the stop point.
- at that moment you will receive payment, skill points, XP points, Season Points and Daily Reward Points depending on how many planks, chips or logs you sold in total.
Job Skills
| Skill | Total Points Required | Difference (Added Points) |
|---|---|---|
| 1 | 0 | - |
| 2 | 30 | +30 pts |
| 3 | 80 | +50 pts from previous skill |
| 4 | 150 | +70 pts from previous skill |
| 5 | 250 | +100 pts from previous skill |
| 6 | 400 | +150 pts from previous skill |
| 7 | 600 | +200 pts from previous skill |
| 8 | 900 | +300 pts from previous skill |
| 9 | 1300 | +400 pts from previous skill |
| 10 | 2000 | +700 pts from previous skill |
Payout and Progression
The payout for the Lumberjack job is directly influenced by your job skill level and depends entirely on the type of material processed and delivered. This job can be done in a team of up to 4 players, featuring a unique reward system.
Base Pay per Material Type
- Raw Log: $700 / piece
- Plank Pallet: $5,000 / pallet
- Chip Skip: $168 / percent (%) loaded
Payout per Skill
| Skill | Bonus | Raw Log | Plank Pallet | Chip Skip (per %) |
|---|---|---|---|---|
| 1 | +0% | $700 | $5,000 | $168 |
| 2 | +4% | $728 | $5,200 | $174 |
| 3 | +8% | $756 | $5,400 | $181 |
| 4 | +14% | $798 | $5,700 | $191 |
| 5 | +21% | $847 | $6,050 | $203 |
| 6 | +29% | $903 | $6,450 | $216 |
| 7 | +39% | $973 | $6,950 | $233 |
| 8 | +49% | $1,043 | $7,450 | $250 |
| 9 | +60% | $1,120 | $8,000 | $268 |
| 10 | +70% | $1,190 | $8,500 | $285 |
Progression System
On this job, you can earn two types of points: Skill Points (which increase your job level and efficiency) and XP (which helps you increase your character level on the server).
1. Job Progression (Skill-Up)
The skill advancement system is strictly based on finishing completed runs:
- Points per Action:
1 Skill Pointper successfully completed run. - How it is calculated: The reward is flat. It does not matter how many logs, pallets, or wood chips you deliver; as long as the run is completed, you will receive exactly 1 skill point.
2. Character Progression (Level-Up)
The XP reward system for your account level follows these strict server rules:
| Rule | Value / Details |
|---|---|
| XP Rate | 1 XP for every $2,000 net cash earned. |
| Minimum Payout for XP | You must earn a minimum of $2,000 net per run to receive XP (anything below this threshold rounds down to 0 XP). |
| Daily XP Cap | Maximum 80 XP / day from jobs (resets at the daily server reset). |
| Premium / VIP Bonus | +20% XP on all earned experience (ex: 1 XP becomes 1.2 XP, rounded down). |
Important: Team Mechanics and Multipliers
The team system works differently here: the standard team bonuses (+8%/+16%/+24%) do NOT apply. Instead, each teammate earns the full solo reward for the collective work. A 4-man team will process and gather materials roughly 4 times faster, directly multiplying the overall gross payout per session.
The final payouts displayed in the UI will also vary based on other active bonuses on your account (Newbie Bonus, Job of the Day, Premium/VIP, Season Inflation, and Government Tax).