Miner Job
Particularities
- the Miner job is a safe job with a medium difficulty, which can be practiced even alone but it is recommended to be performed with a minimum of 2, 3 or 4 players.
- this recommendation of multiple players is due to the long duration of time for digging the tunnel, duration which is drastically reduced the more there are in the team.
- the entire action takes place at the job's location, inside the mine which will be accessed via the elevator.
- moving too far from the mine area while the job is active is forbidden, you will be teleported back to the location if you move too far.
Team Formation
- to be able to invite another player to the team they must be near the starting point of the job.
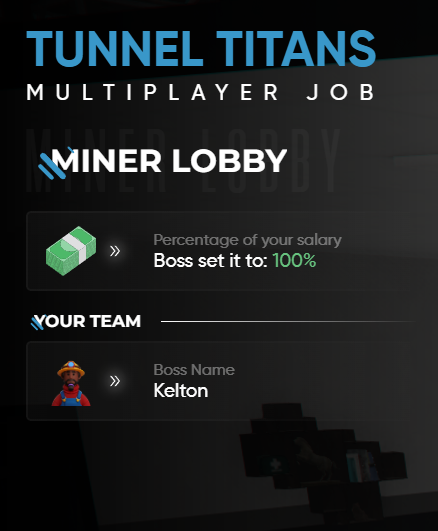
- the one who initiates the job will see at the bottom Nearby Players where they will be able to click to initiate an invitation (image #3).
- the invited player will receive a notification on screen to accept or decline.
- after accepting the invitation the player will appear as part of the team and the job can be started.
The Elevator
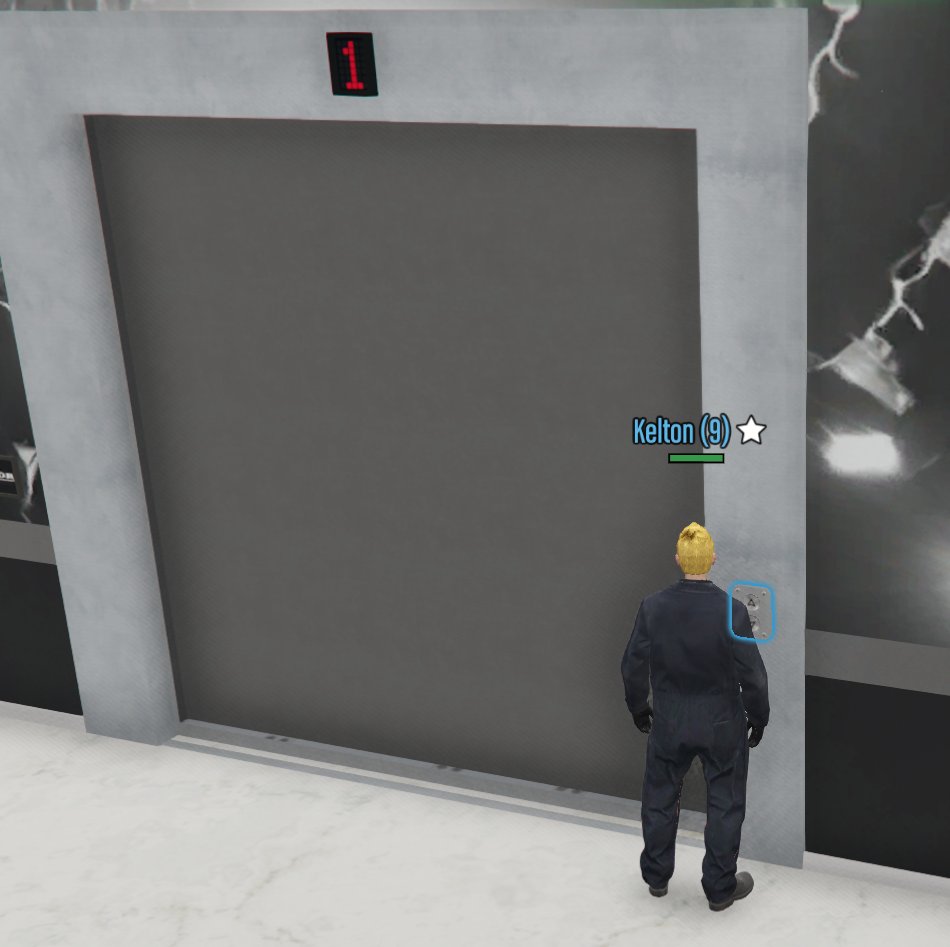
- access to the mine is done via the elevator, going near the buttons and calling the elevator by pressing the E key (image #4).
- once arrived at the level, the elevator will open its doors and inside it you will see some more buttons where pressing the E key again the elevator will descend into the mine.
Inside the Mine
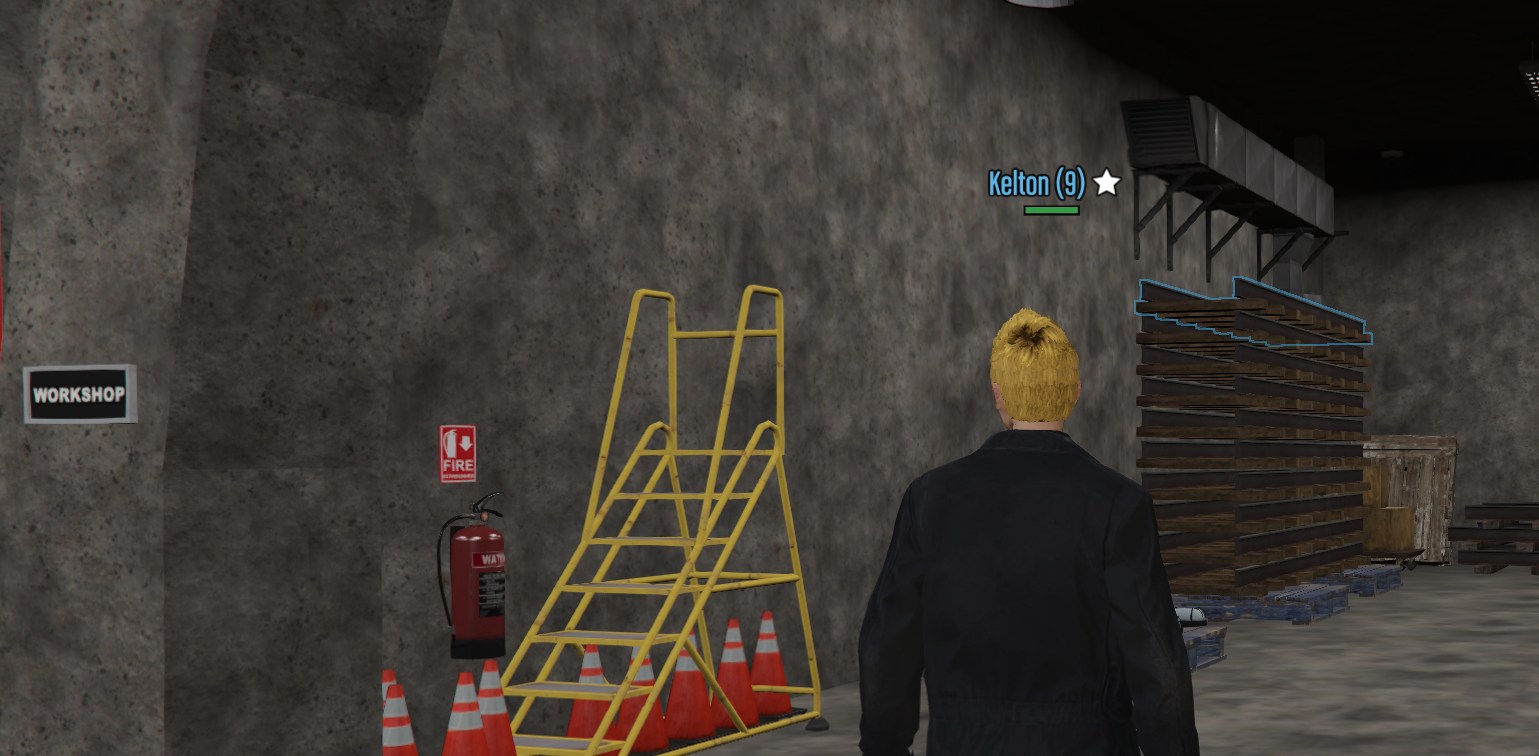
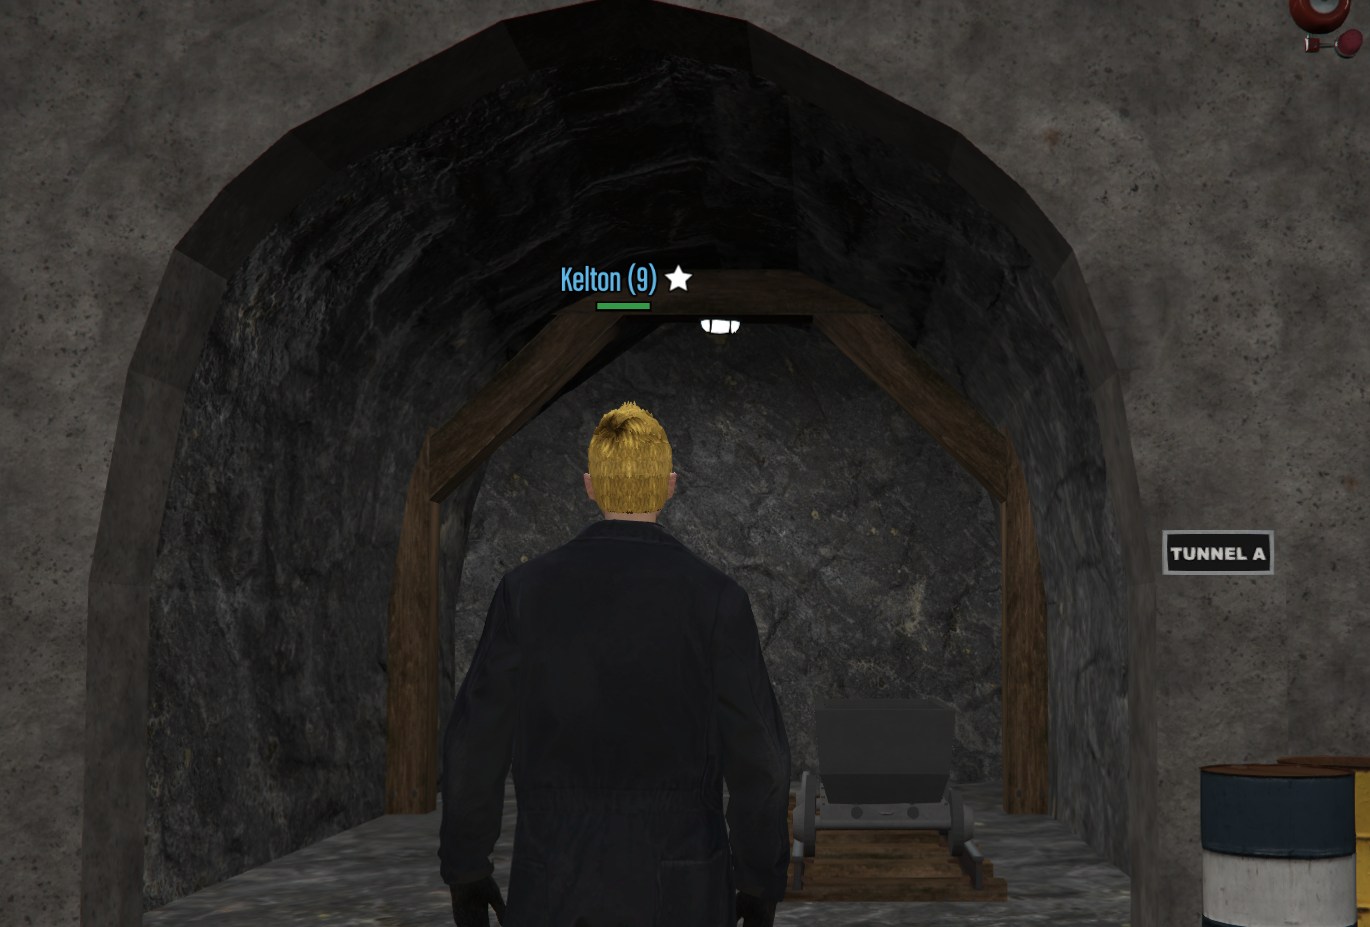
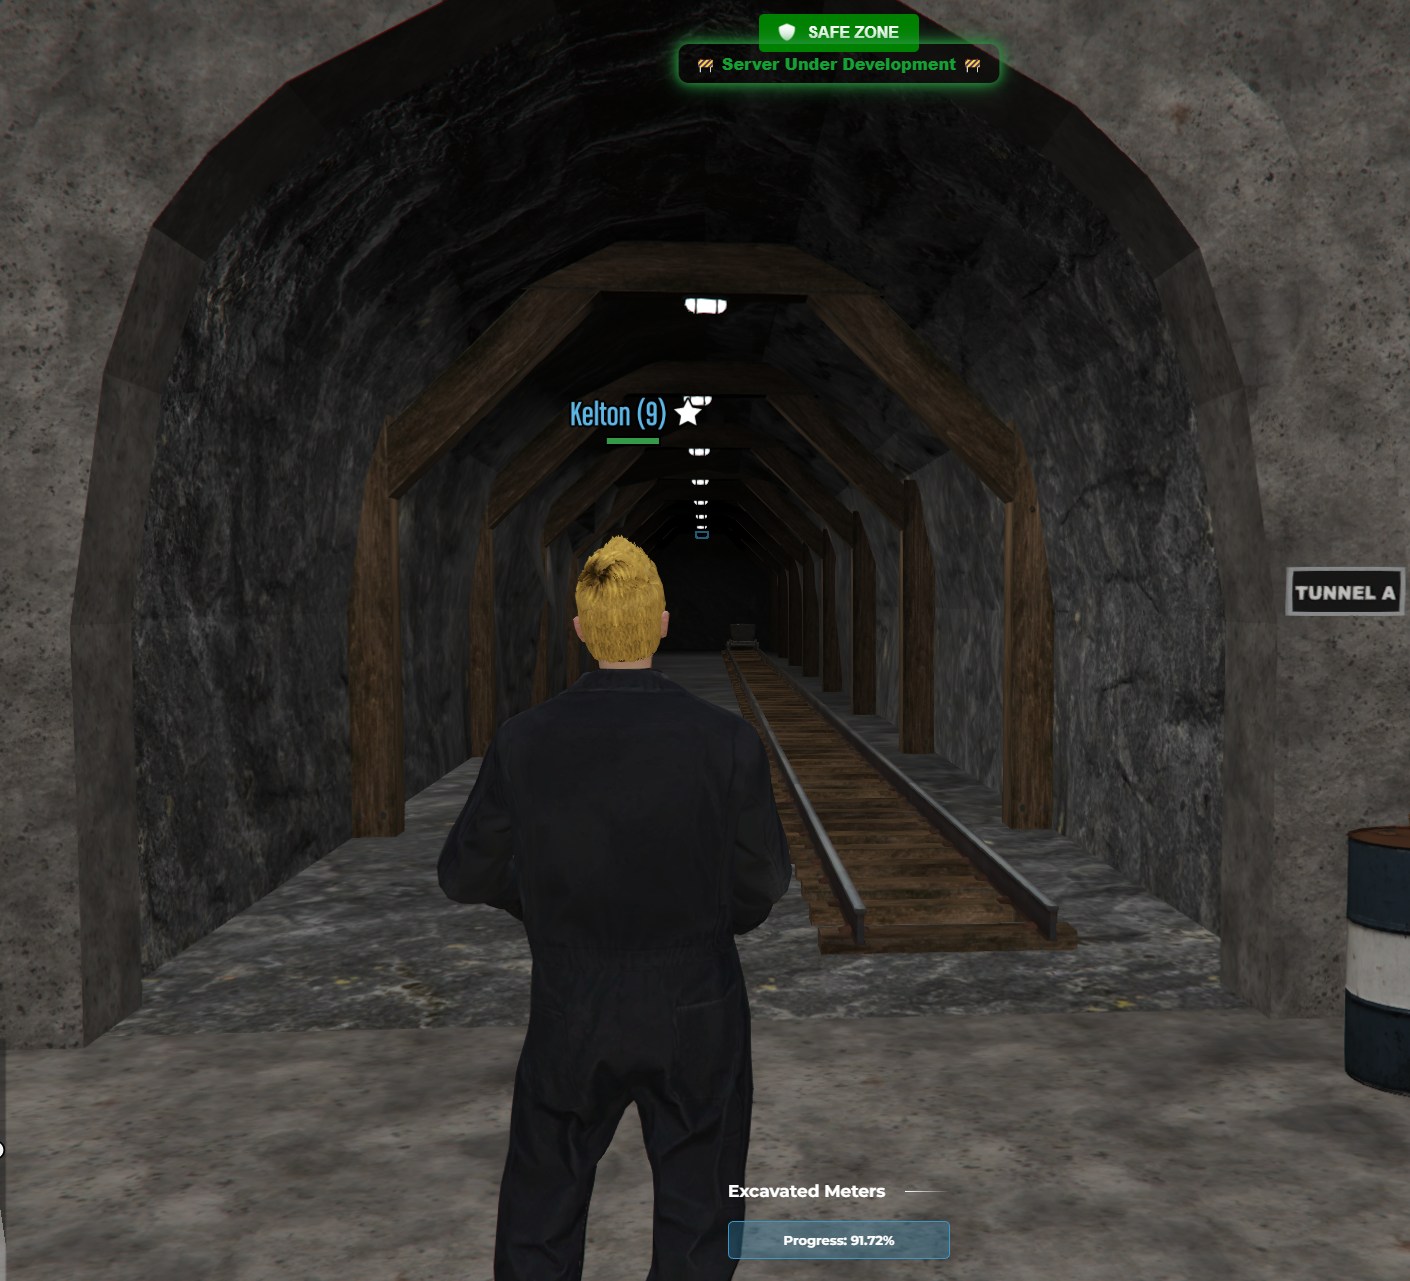
- inside the mine two locations are of interest to you: the Workshop area which is on the right side as you exit the elevator (image #5) and the tunnel assigned to you which is mentioned at the moment you exit the elevator (image #6).
- the location of the Workshop is important because there you will find the objects necessary for digging the tunnel, such as: railway portions, support pillars, beams, light bulbs.
The Tunnel
Digging the Tunnel
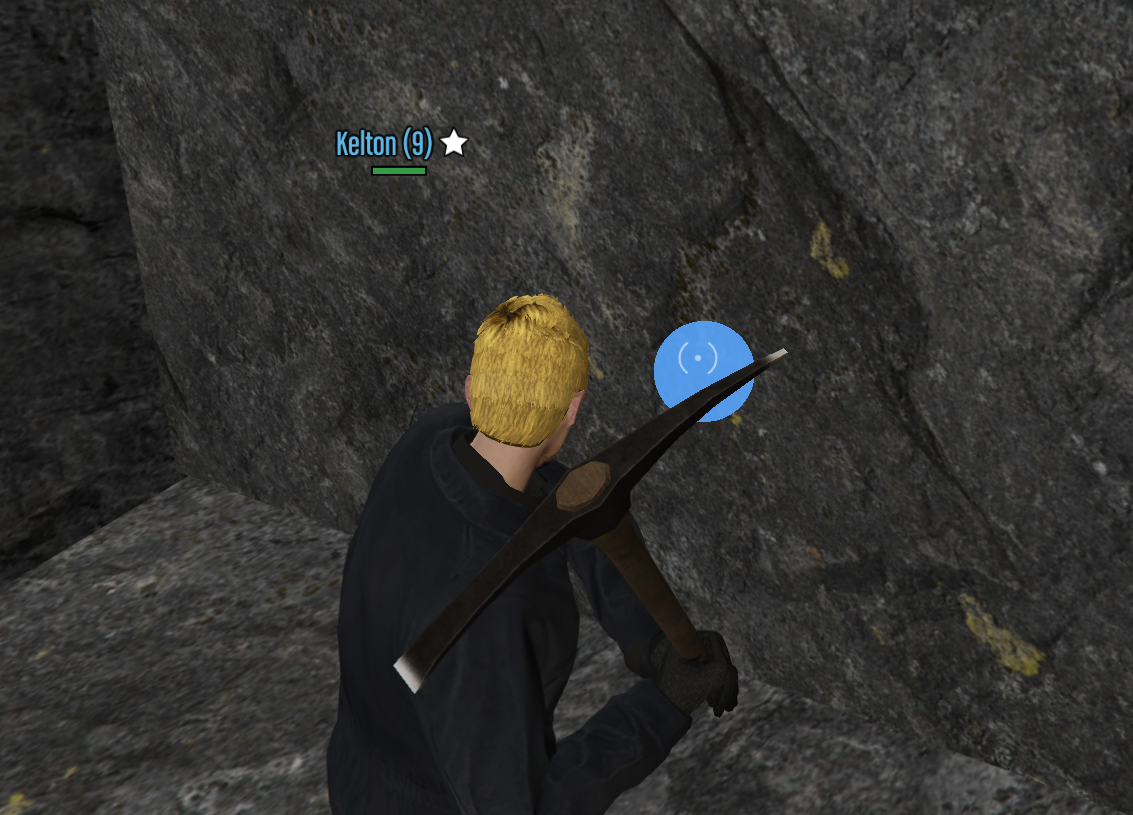
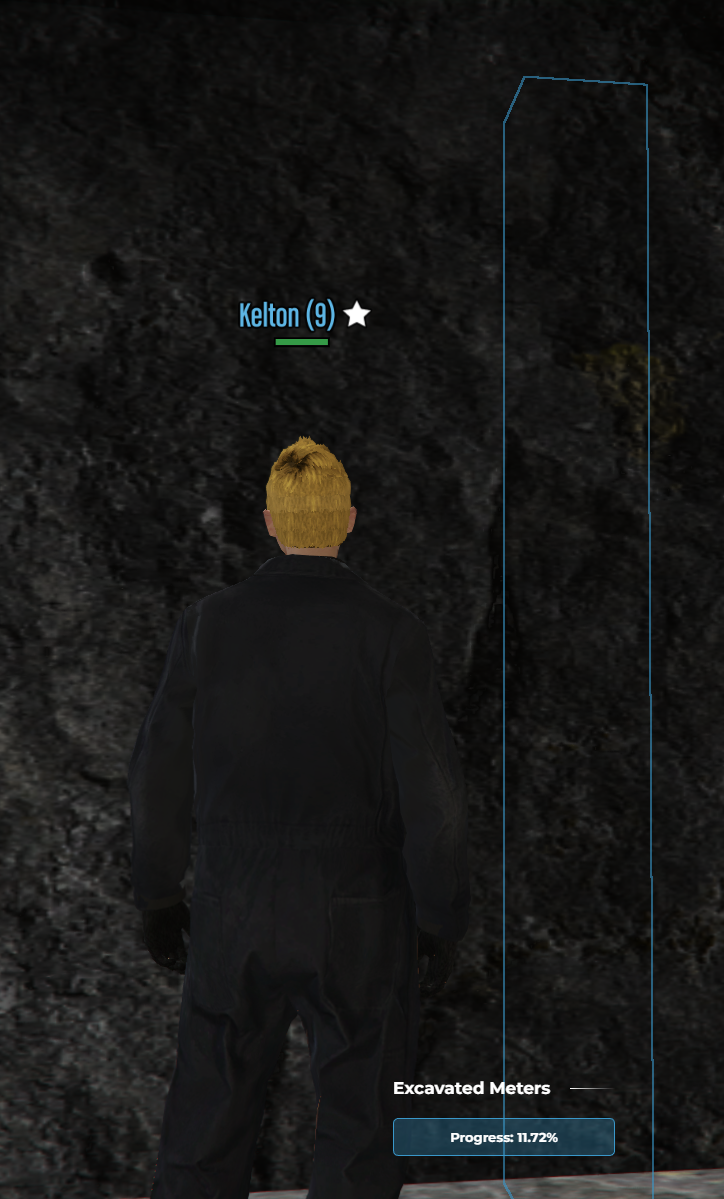
- at the end of the designated tunnel you can start the digging process by pressing the E key.
- you will receive in your hand a pickaxe with which to strike the tunnel wall (image #7).
- the wall will move as it is struck, and to move more the blue dot which keeps moving on the wall must be hit.
- to strike with the pickaxe hold down left click or the Enter key.
Tunnel Preparation
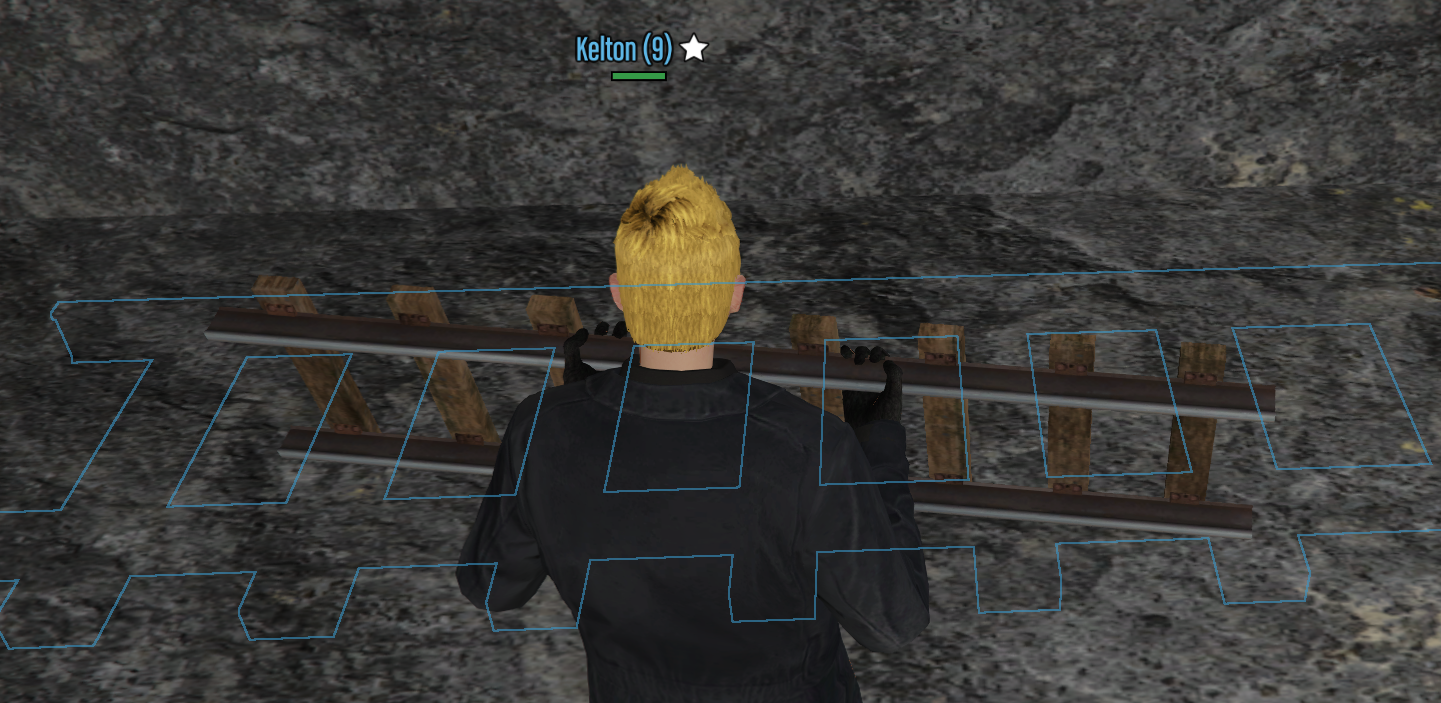
- as the wall moves and the tunnel becomes longer, it must be supported so it does not collapse.
- you will be asked to go to the Workshop area and bring in turn the railway piece, support pillars, beams and lights.
- these will be picked up by pressing the E key, will be taken to the marked locations in the tunnel and will be placed there also by pressing the E key.
Completion
- you can end the job at any time without finalizing the entire tunnel, and to end the job you must return with the elevator back to the floor and press the E key at the stop point.
Job Skills
| Skill | Total Points Required | Difference (Added Points) |
|---|---|---|
| 1 | 0 | - |
| 2 | 30 | +30 pts |
| 3 | 80 | +50 pts from previous skill |
| 4 | 150 | +70 pts from previous skill |
| 5 | 250 | +100 pts from previous skill |
| 6 | 400 | +150 pts from previous skill |
| 7 | 600 | +200 pts from previous skill |
| 8 | 900 | +300 pts from previous skill |
| 9 | 1300 | +400 pts from previous skill |
| 10 | 2000 | +700 pts from previous skill |
Payout and Progression
The baseline payout for the Miner job is $520 for each percent (%) of tunnel excavated, directly adjusted by your job skill level.
Payout per Skill
| Skill | Base (per 1%) | Bonus | Total (at 100% tunnel completed) |
|---|---|---|---|
| 1 | $520 | +0% | $52,000 |
| 2 | $540 | +4% | $54,080 |
| 3 | $561 | +8% | $56,160 |
| 4 | $592 | +14% | $59,280 |
| 5 | $629 | +21% | $62,920 |
| 6 | $670 | +29% | $67,080 |
| 7 | $722 | +39% | $72,280 |
| 8 | $774 | +49% | $77,480 |
| 9 | $832 | +60% | $83,200 |
| 10 | $884 | +70% | $88,400 |
Progression System
On this job, you can earn two types of points: Skill Points (which increase your job level and efficiency) and XP (which helps you increase your character level on the server).
1. Job Progression (Skill-Up)
The skill advancement system is awarded at the end of the shift, based on your excavation progress inside the tunnel:
- Points per Action: Up to
2 Skill Pointsper shift, split into strict fixed thresholds:- Below 50% progress 0 Skill Points
- 50% - 99% progress 1 Skill Point
- 100% progress (Full tunnel finished) 2 Skill Points
2. Character Progression (Level-Up)
The XP reward system for your account level follows these strict server rules:
| Rule | Value / Details |
|---|---|
| XP Rate | 1 XP for every $2,000 net cash earned. |
| Minimum Payout for XP | You must earn a minimum of $2,000 net per session to receive XP (anything below this threshold rounds down to 0 XP). |
| Daily XP Cap | Maximum 80 XP / day from jobs (resets at the daily server reset). |
| Premium / VIP Bonus | +20% XP on all earned experience (ex: 1 XP becomes 1.2 XP, rounded down). |
3. Crafting Materials (Drops)
Upon successfully completing a job run, you have a percentage-based chance to obtain various materials used for the server's crafting system:
| Material Drop | Chance per Run |
|---|---|
| Scrap Metal | 20% |
| Plastic | 20% |
| Steel | 10% |
| Aluminium | 10% |
| Copper | 7% |
| Rubber | 7% |
| Electronic Kit | 4% |
| Blueprints | 2% |
Important: Multipliers and Payout Calculation
The amounts listed above show the payout scale adjusted for your skill. If you leave the job early, you will be paid strictly for the progress percentage completed up to that point (e.g., at Skill 1, if you dig 60% of the tunnel, your base payout will be $520 × 60 = $31,200).
The final payout displayed in the UI will also vary depending on active account bonuses (Newbie Bonus, Team Bonus if working with partners, Job of the Day, Premium/VIP, Season Inflation, and Government Tax).