Fisherman Job
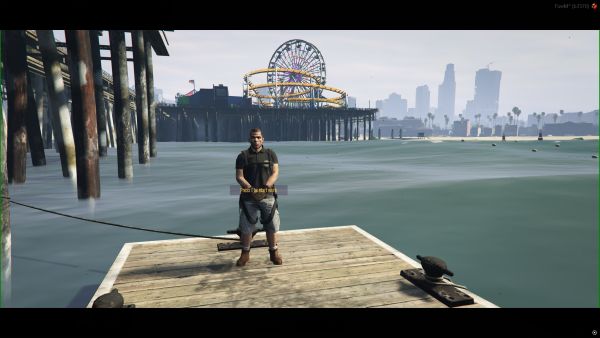
Particularities
- The Fisherman job is a safe and easy-to-practice activity for anyone, and it can only be done solo.
- Optionally, you will need a boating license if you wish to use a boat.
- The job offers two ways to catch fish: using a fishing rod or a fishing net.
- The job can be practiced anywhere on the map where water is present.
- However, fish can only be sold at the designated Fishing Point zones that appear on the map.
Interaction Menu
- At the Fishing Point NPC, you can press the E key to directly open the centralized Fishing Panel.
- Interaction no longer takes place through old text dialog menus, but directly through a visual UI panel where you can manage the store, market sales, or boat rentals.
Fishing Panel
Regardless of which tab is currently open, the BEST SCORE widget is permanently displayed in the top-right corner of the interface, showing your highest catch record in real-time (fish name, weight, length, and rarity status).
Store
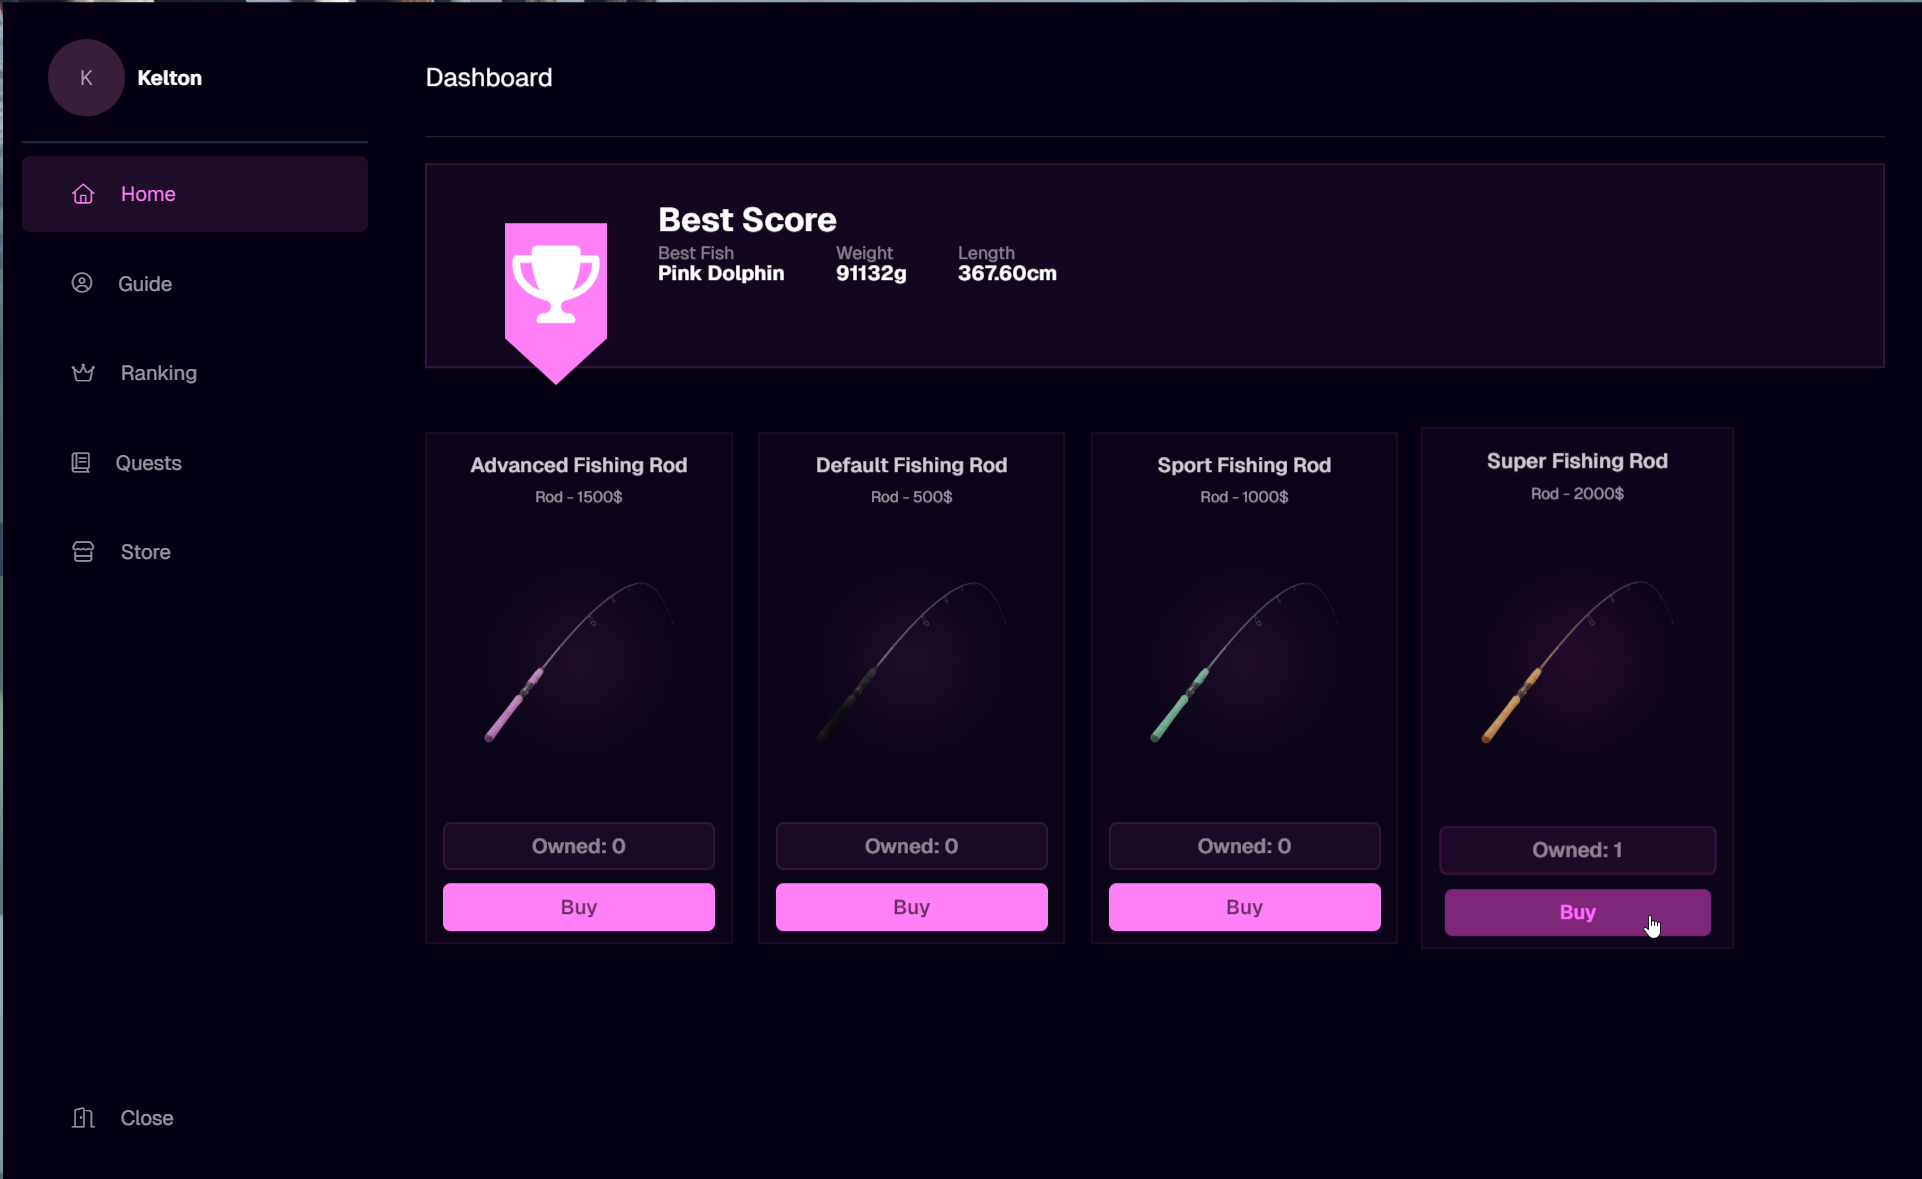
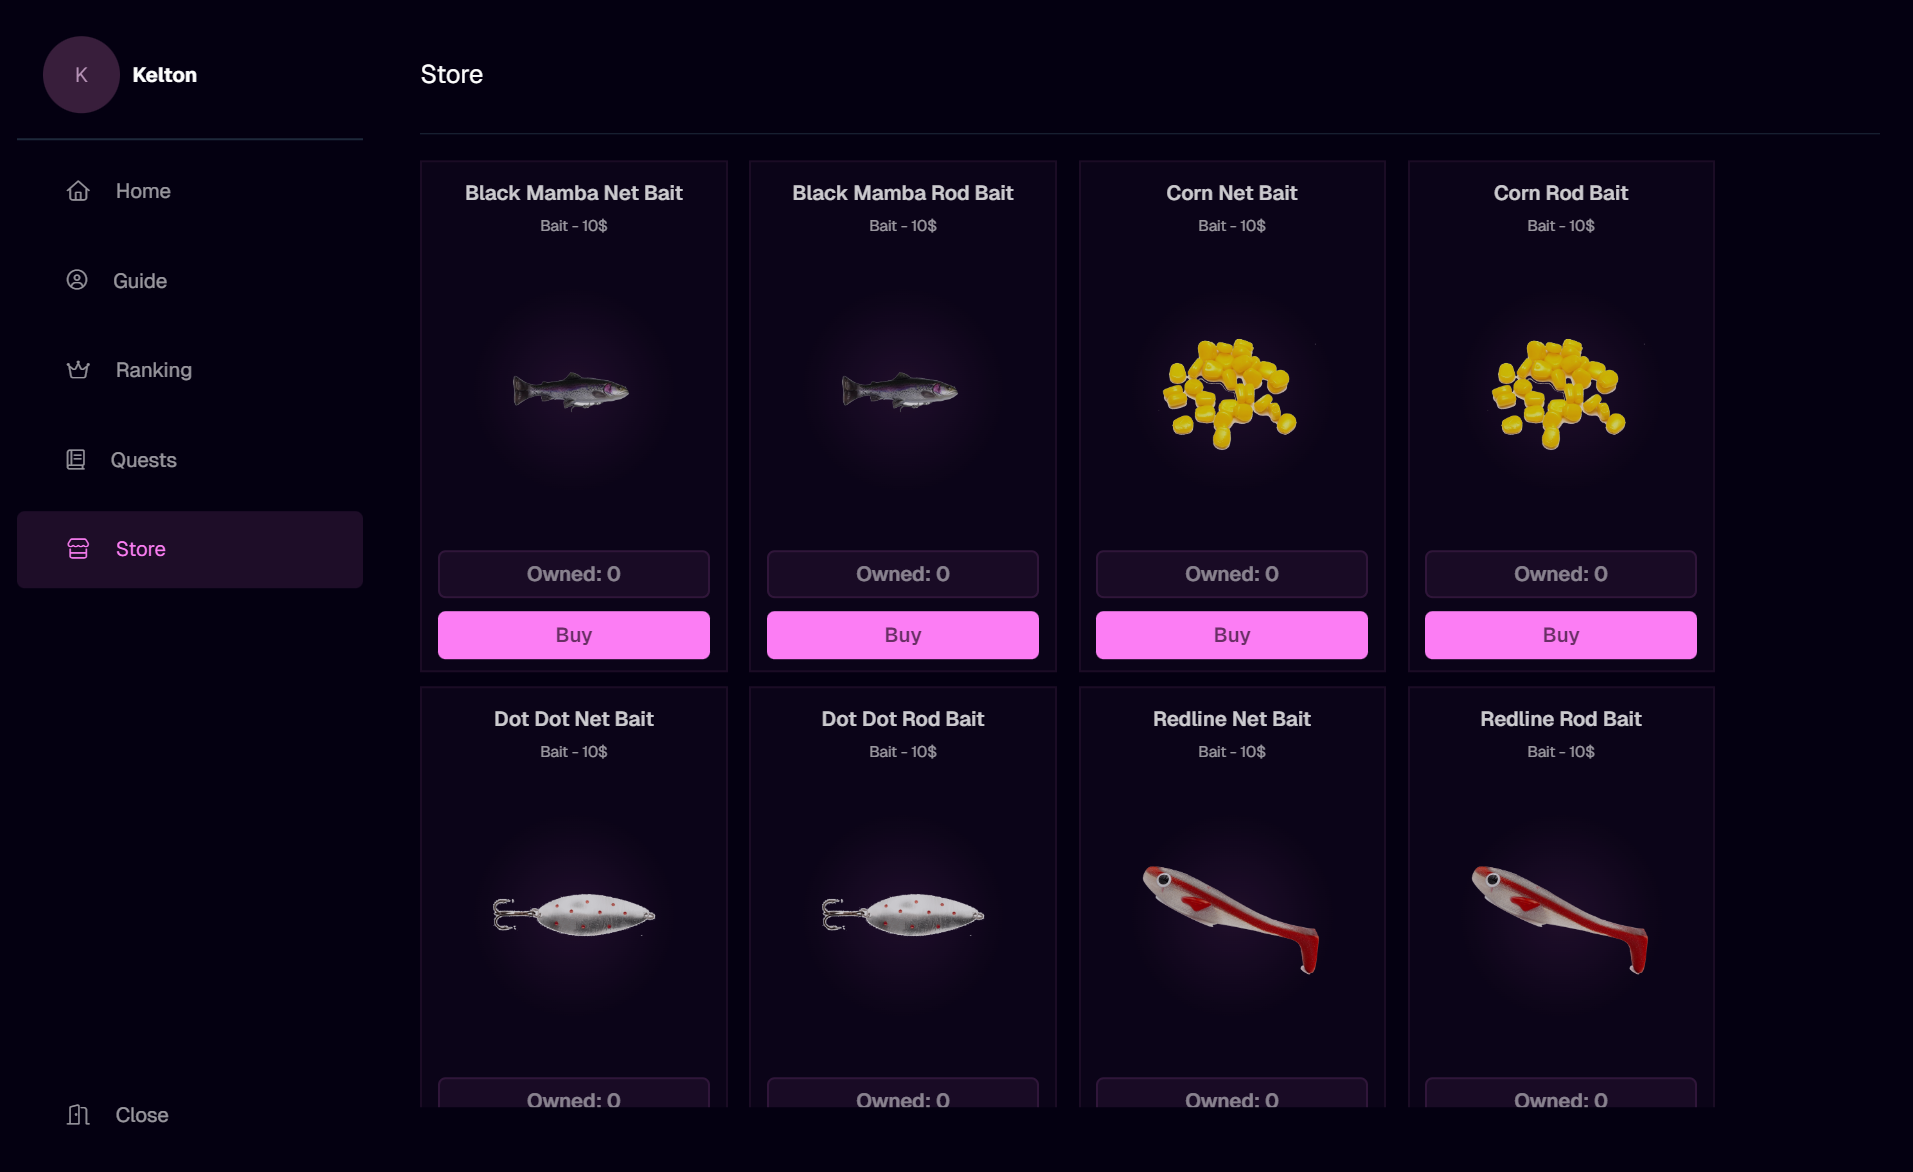
- In the Store tab, you can purchase fishing rods, baits, nets, and containers. Items can be quickly filtered using the buttons at the top: All, Rods, Baits, Nets, Containers, Misc.
- The more expensive the rod, the shorter the catch wait time will be. The specific attributes shown in the store are:
- Default Fishing Rod: ($500) | Durability: 115 | Time: 10-40s
- Sport Fishing Rod: ($1,000) | Durability: 131 | Time: 5.3-21s
- Advanced Fishing Rod: ($1,500) | Durability: 146 | Time: 3-12s
- Super Fishing Rod: ($2,000) | Durability: 162 | Time: 1.3-5.3s
- Attaching bait to your fishing rod will also lower the catch wait time.
- Each rod has a durability rating that decreases as you catch more fish.
Market
- The Market tab completely replaces the old text dialog menus for economic interactions.
- In the Sell by Rarity and Sell Containers sections, you can view the current status of the fish stored in your inventory or containers.
- The Your Total box on the right tracks the total number of fish carried (
Total fish) and their total dollar value (Earnings). Liquidating your entire payload is done instantly by pressing theSell everythingbutton. - You can also rent a boat directly from this panel for a flat rate of $250 by pressing the
Rentbutton inside the Rent a boat module.
Guide
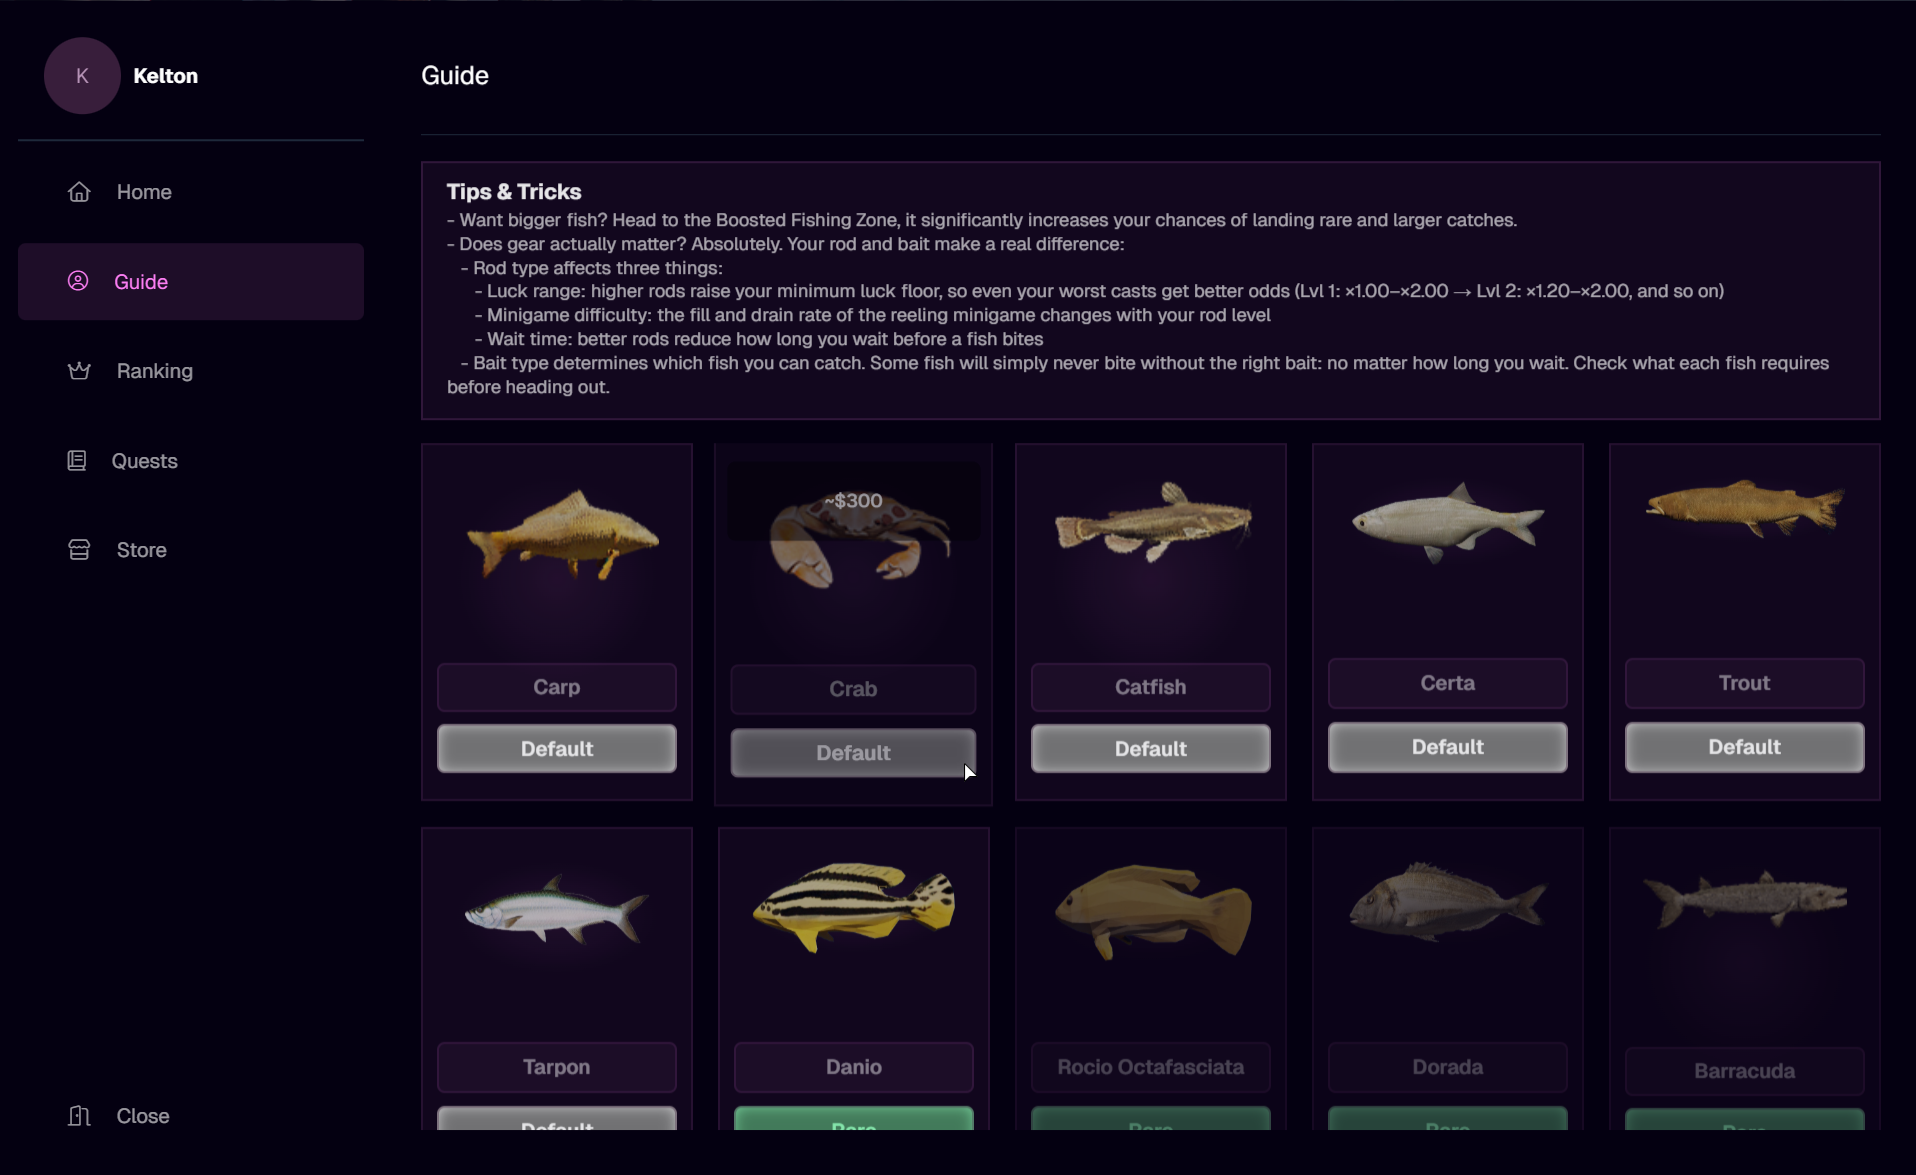
- In the Guide tab, you can view the types of fish available on the server, their base price per kilogram, and their rarity tiers (e.g., Carp, Catfish, Trout), while tracking your discovery progress (e.g.,
10 / 23 discovered). Uncaught targets remain hidden behind a lock icon labeled Undiscovered. - At the top layout, you will find useful official Tips regarding the Boosted Fishing Zone, rod upgrades, and the importance of using baits.
- The importance of using bait (which is not mandatory but highly effective for catching certain rare fish types).
Ranking
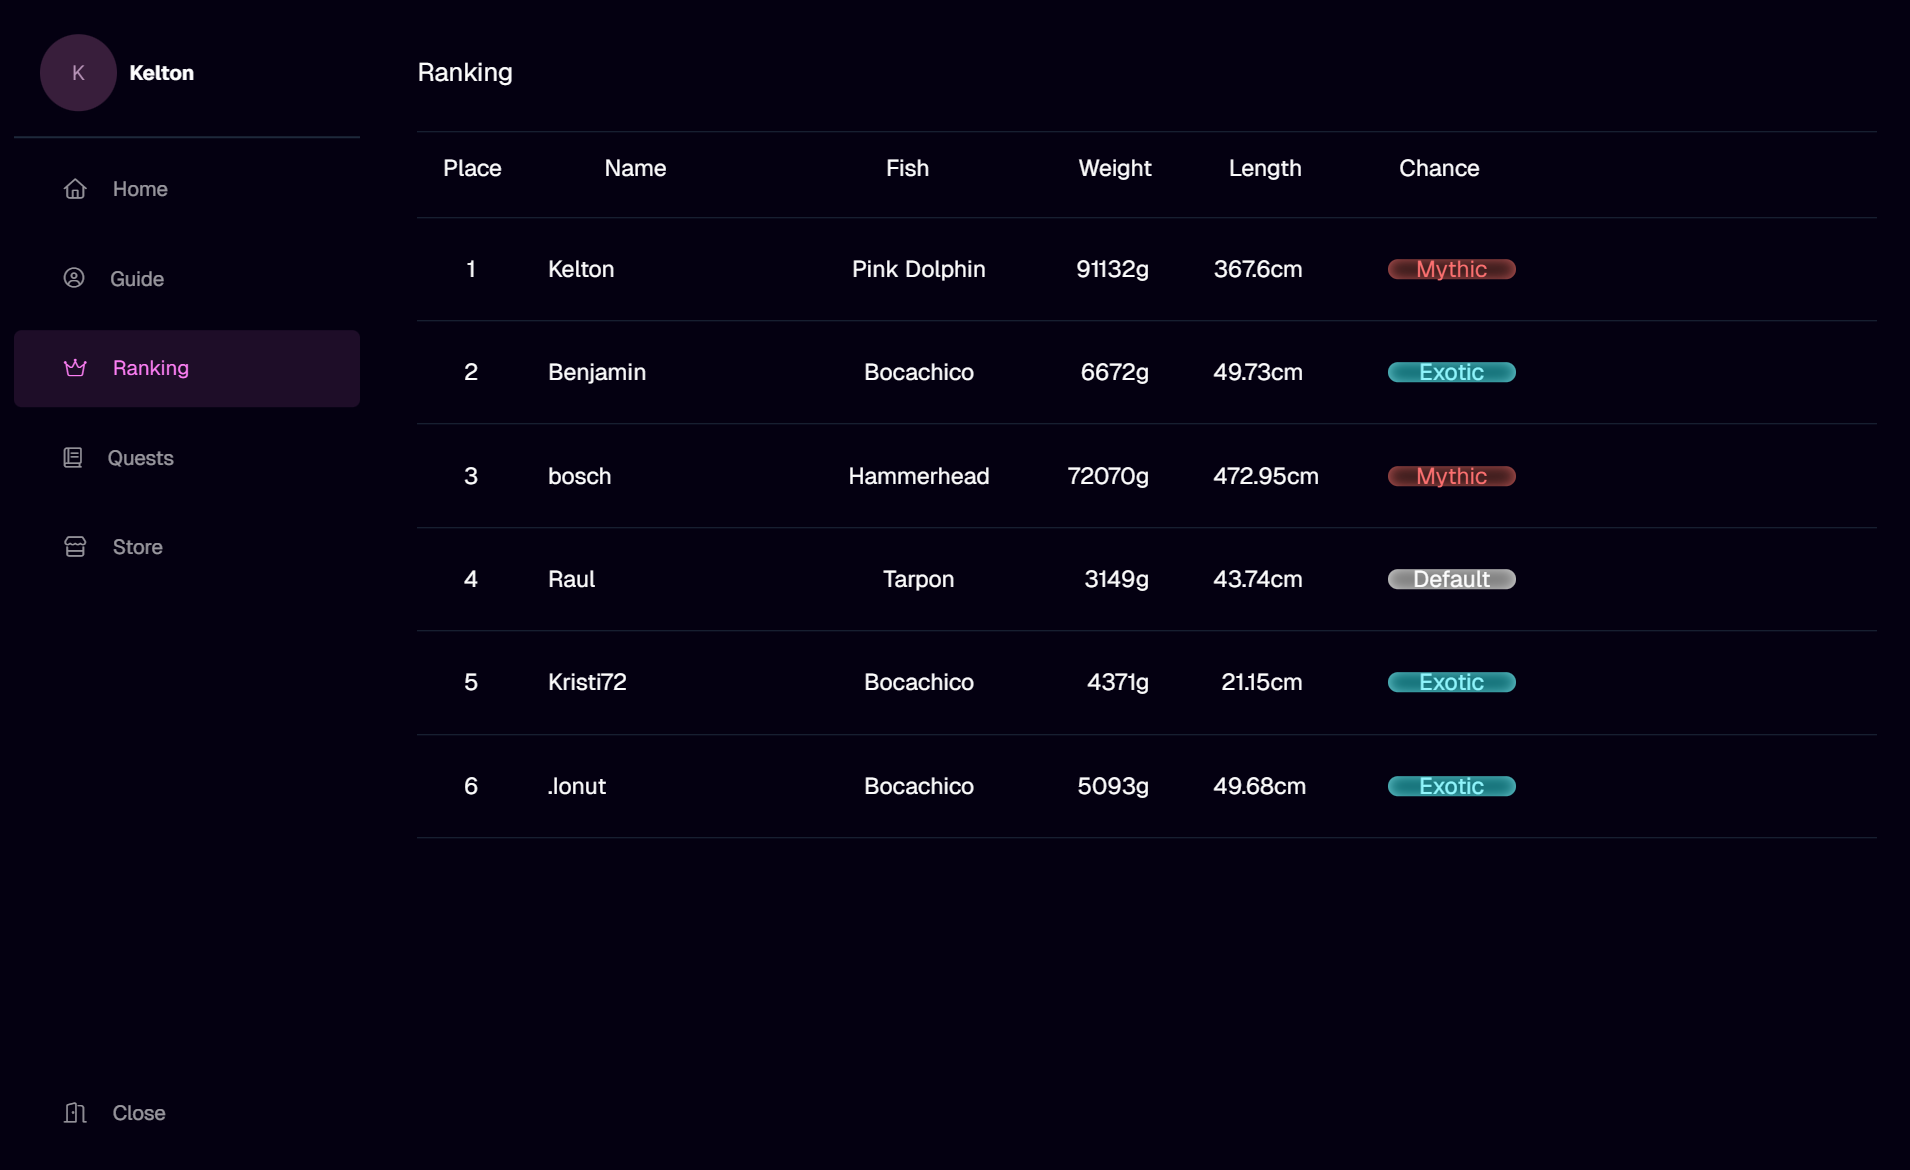
- In the Ranking tab, you can view the global leaderboard tracking the largest and rarest fish caught by players, sorted by the following columns:
RANK,NAME,FISH,WEIGHT,LENGTH, andRARITY. Your active standing line is highlighted with an orangeYOUbadge.
Missions
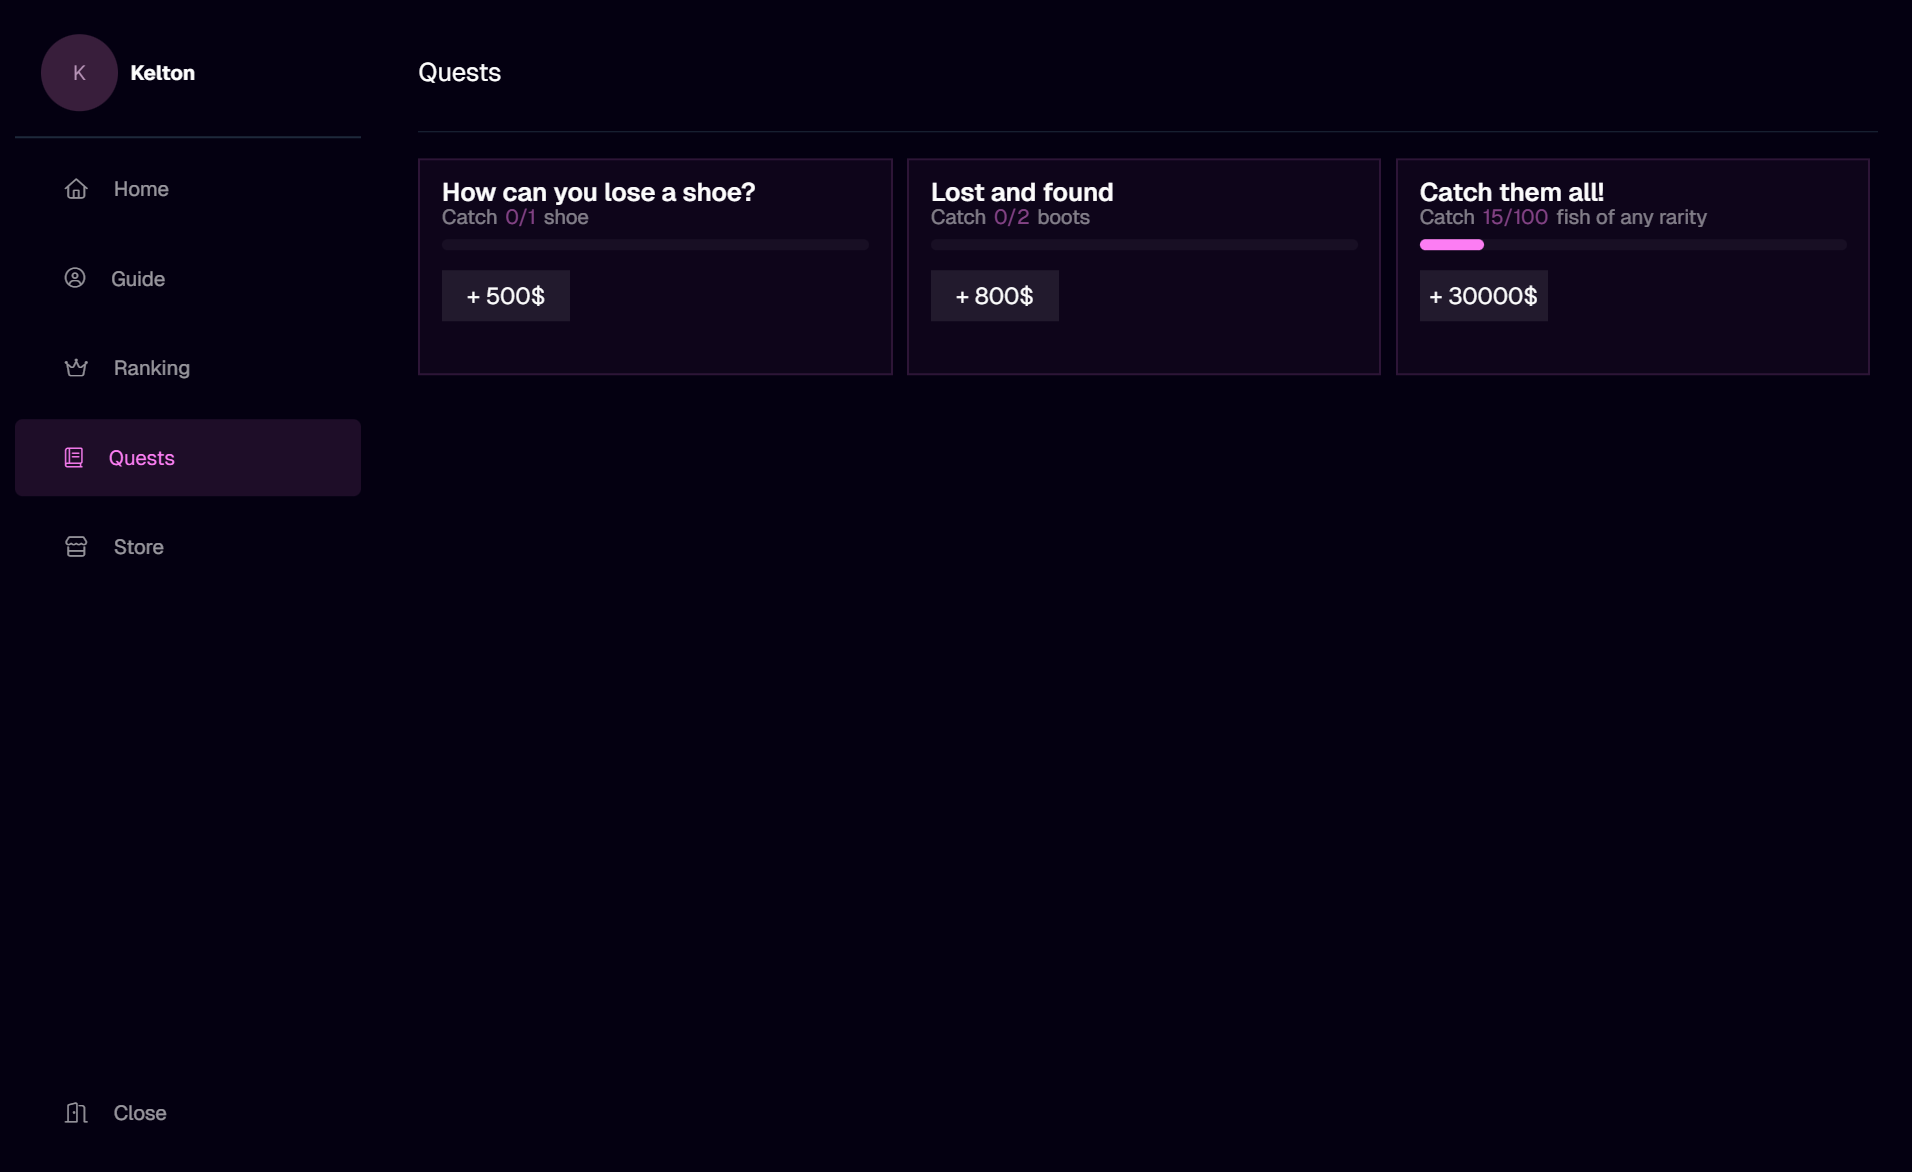
- In the tab now named Missions, you can view extra tasks and side objectives that provide bonus cash injections on top of regular market fish sales (e.g., How can you lose a shoe? for
+$250, One in a million... good luck! for+$30,000).
Equipment, Baits, and Containers
In the Store tab, you will find various items to help you fish more efficiently and carry larger payloads:
Rod Bait:
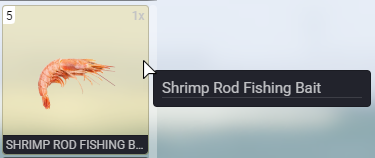
- Can be attached to your fishing rod. Attachment happens automatically and helps you catch specific types of fish, rarer fish, or heavier fish.
- The system will automatically attach the highest-performing bait type first if you have purchased multiple variants.
- One bait charge is consumed with every rod cast.
Net Bait:
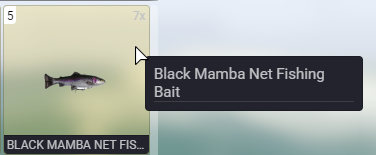
- Can be attached to a fishing net when deploying it in the water, letting you choose which bait type you want to apply.
- Net bait drops down the waiting cooldown thresholds and boosts your overall luck indices for catching larger and rarer variants.
Fishing Net:
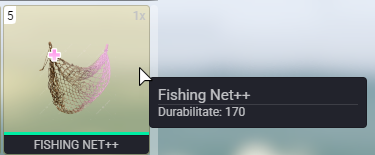
- Fishing Net: Standard passive fishing structure featuring a 10-fish payload holding capacity. Holds a total structural lifetime durability pool of 100 fish catches before a new one must be bought.
- Fishing Net++: Professional-grade net carrying a larger 20-fish holding capacity and an extended structural lifetime durability rating of 200 fish catches before requiring a replacement.
Fish Container:
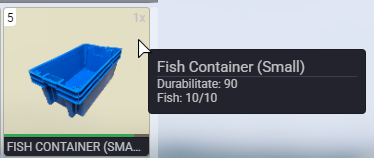
- Storage containers help optimize your inventory layout so you can catch more fish without wasting slots.
- Without a container box, each individual fish caught will occupy a single separate slot inside your main backpack inventory.
- With a container, all caught fish are packed internally inside it, compressing your total cargo load down to one single item slot in your inventory.
- The weight thresholds and total durability pools scale by unit size:
- Small: 10 fish limit / 100 total fish durability pool.
- Medium: 20 fish limit / 200 total fish durability pool.
- Large: 30 fish limit / 300 total fish durability pool.
- Extra Large: 40 fish limit / 400 total fish durability pool.
- Huge: 50 fish limit / 500 total fish durability pool.
Anchor:
- The anchor is highly effective for keeping your rented boat stationary and avoiding ocean drift if you choose to fish offshore.
- To drop anchor from inside your vessel, open your inventory panel using the TAB key, hover over the anchor asset item, Right-Click, and select Use.
- A faster method is to place the anchor item into one of your dedicated fast hotbar slots (1-5), allowing you to drop or raise anchor instantly by pressing the corresponding numeric hotkey on your keyboard.
- For example, if you place the anchor on slot 2 and press the 2 key, the system will attempt to execute or remove the anchor state.
Lucky Hat:
- Must be equipped directly from your active inventory space, using the same method as the anchor component (see above).
- Provides a native luck coefficient modifier boost, increasing the chance of pulling larger and rarer fish types.
Active Fishing Mechanics with a Rod
Setup and Tool Equipping
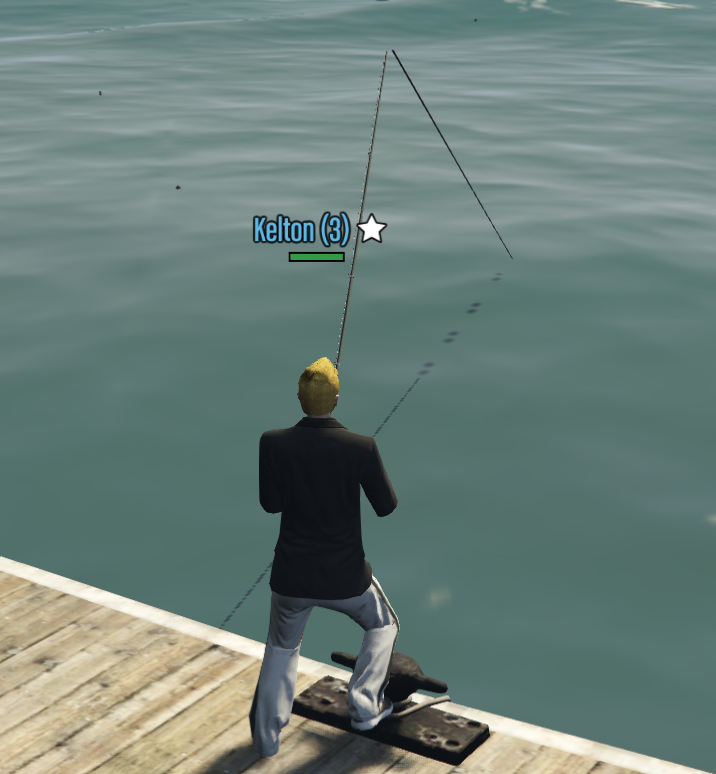
- To start fishing with a rod, you must have one in your backpack inventory: open your
TABinventory canvas, hover over the tool, Right-Click, and select Use. - For quicker tool adjustments, drag your rod tool into one of your fast hotbar slots (1-5) and activate it instantly by pressing the corresponding numeric key.
Casting & Catching Execution
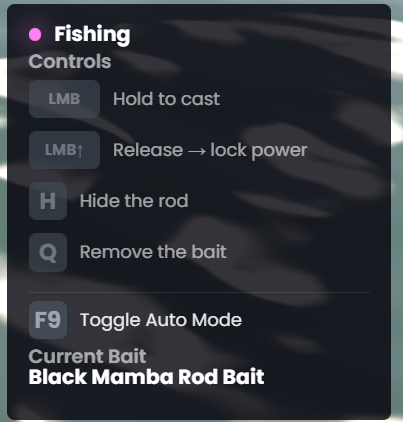
- Aim your camera viewpoint axis directly toward a valid surface body of water and press the Left-Click button to cast your line.
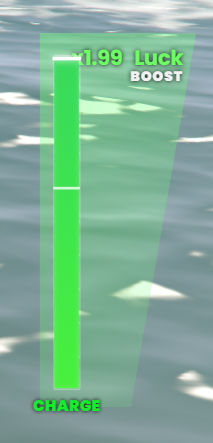
- Maintain a prolonged hold on Left-Click to charge up your throw distance, which directly enhances the baseline Luck multiplier scale for catching larger and rarer fish (Image #15).
- To cancel the active casting stance or stow away your rod tool, press the H key.
- If you simply want to unhook or remove the currently active bait asset from your rod tool, press the Q key.
The Catch Minigame

- After casting your line into the water, a mini-game overlay prompt will trigger on your display space as soon as a fish bites (Image #16).
- Rapidly press Left-Click or tap the SPACE key to reel the line in, filling the processing boundary bar with green until the capture succeeds.
- If you need to abort the reeling sequence for any reason, you can click the red Stop prompt button.
Auto Fishing Automation Mode
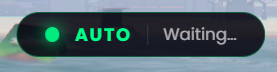
- You can transition your activity status into a passive routine by engaging the Auto Fishing automation mode using the F9 key.
- While Auto Mode is active, the casting, reeling, and mini-game mechanics are completely automated, letting you relax and chat with other players while the engine catches fish for you.
- The automation engine will disengage instantly if your inventory or container spaces run out of storage room, or if your rod durability drops down to 0.
Boat Fishing
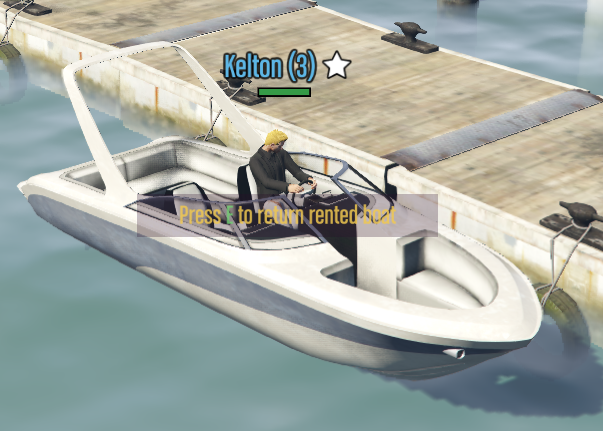
- Fishing loops can also be conducted directly from the deck of any ambarcation vessel rented from the Market tab.
- Do not forget to lower down your anchor module to secure your coordinates against wave drift elements.
- Rented vessels can be returned to their designated rental point later to recover part of the deposit fee.
Passive Fishing Mechanics with a Net
Structure Net Setup Matrix
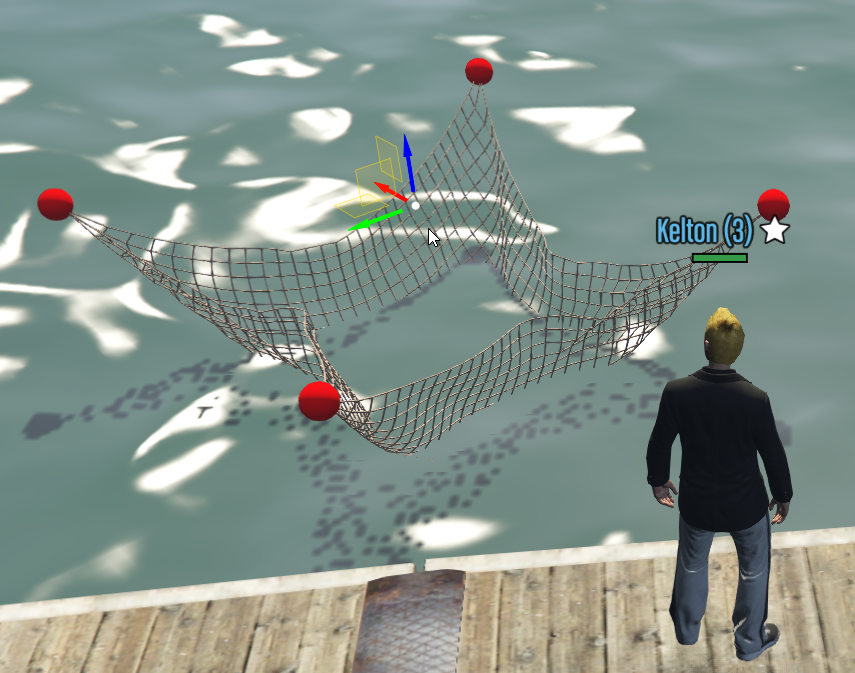
- To fish with a net, you must equip it from your inventory space canvas (via Right-Click or through quick hotbar slots 1-5).
- The fishing net structure must be positioned correctly inside a valid body of water. You can shift and steer the item across the three-dimensional grid alignment axes projecting onto your display screen using your mouse cursor.
- Once you locate the desired layout position, press the ENTER key to anchor it down, or press the BACKSPACE key to abort the deployment sequence.
- Immediately after structural anchoring, a context sub-menu will prompt you to inject your choice of Net Bait.
Extraction and Harvest Mechanics
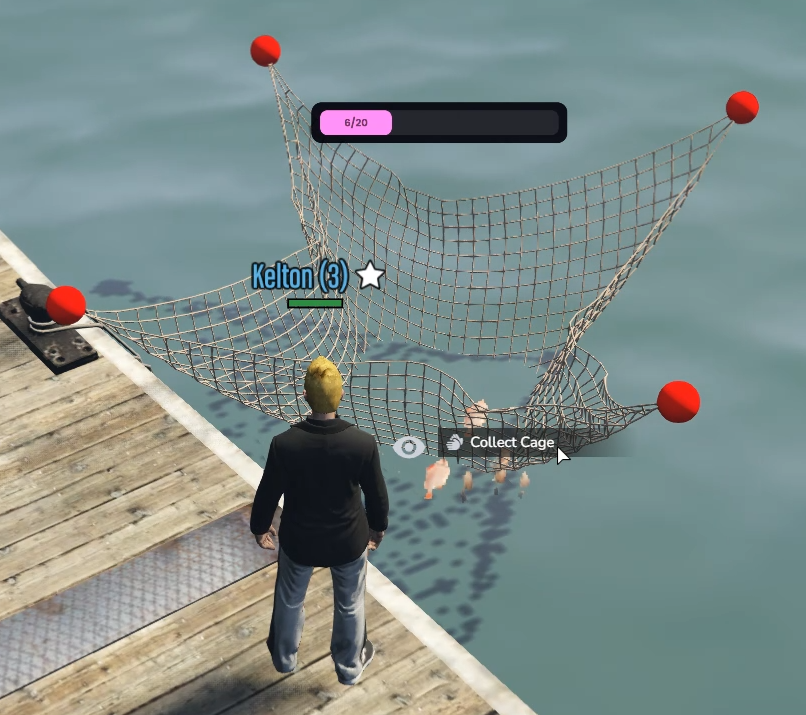
- A pink floating tracker bar hovers directly above your submerged net asset, indicating its current catch capacity limits.
- Once the tracking bar fills completely, the trap net cannot hold any more fish. You must harvest the catch promptly, or the net structure will eventually break down due to load fatigue, destroying the entire catch payload. You can choose to clear the net payload at any stage before it fills up completely.
- To harvest the yield, move close to the net coordinates, hold down the ALT key to toggle the target interaction cursor menu wheel, and select the harvest option using Left-Click.
- Harvested specimens are routed directly to your storage containers if you carry any, or straight into your main inventory slots. If you do not have enough carrying room left, any excess yield above your item limits will be permanently lost.
Boosted Fishing Zone Mechanics
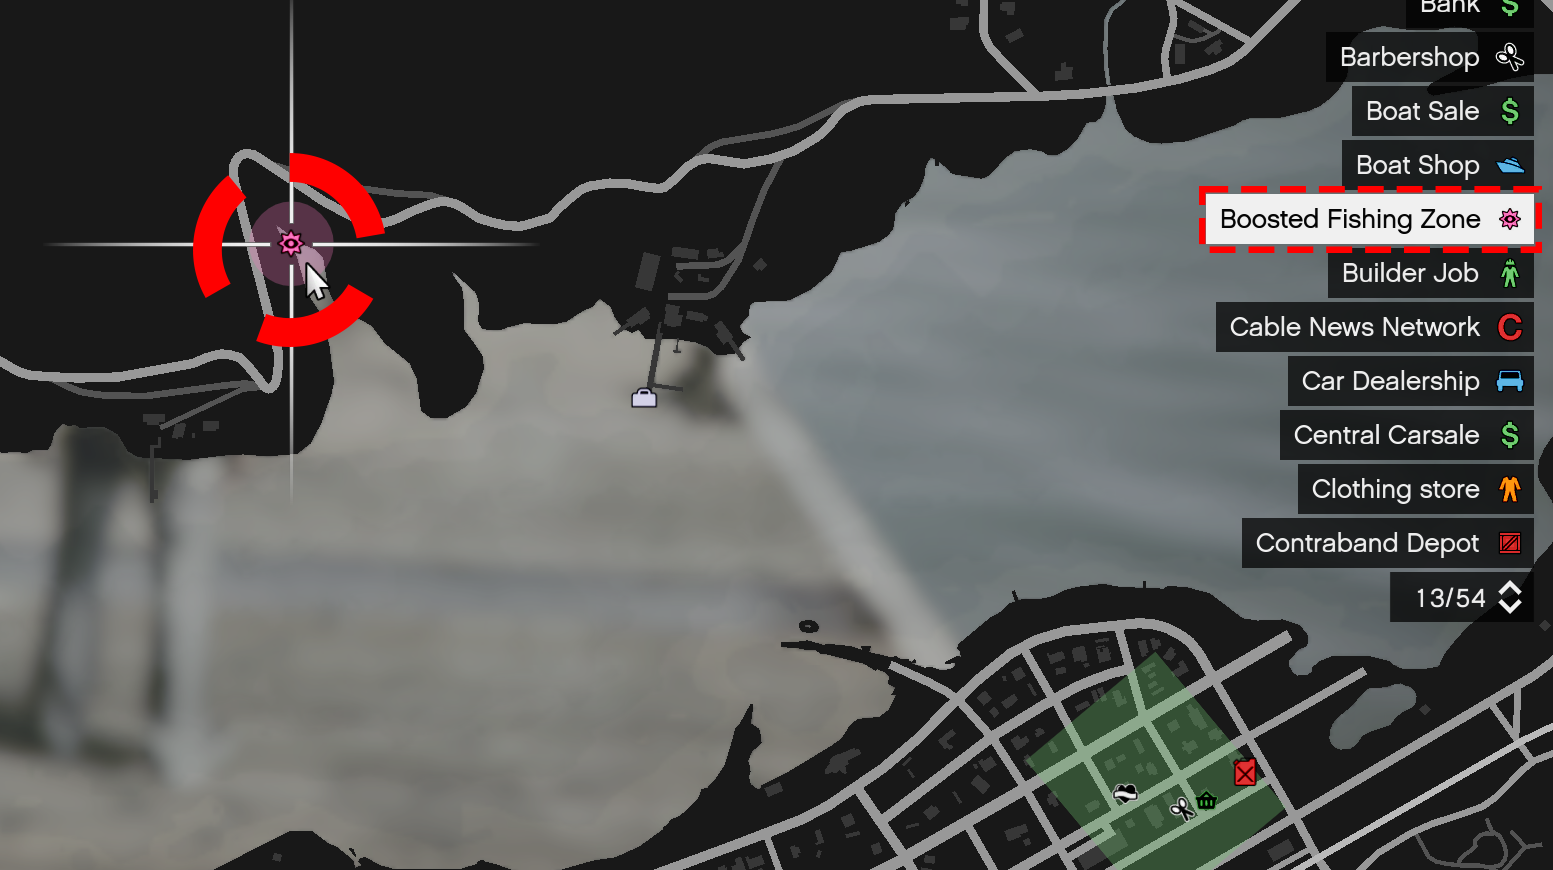
- Keep an eye out for the designated high-yield map sector marked as the Boosted Zone, located toward the Northern coastal region on your radar maps.
- This high-yield zone features massive native multipliers for pulling premium target variants (rarer classes with significantly heavier weight profiles).
- Therefore, if you are looking to maximize your hourly efficiency indices and cash earnings, it is highly recommended to set up your fishing routine inside this sector.
Liquidating Your Catch and Rewards
To turn your hard work into cash profits, return to any Fishing Point NPC location, trigger the Fishing panel workspace, navigate directly into the digital Market tab section module, and hit the large Sell everything action prompt.
Aside from immediate cash payouts calculated based on weight metrics, species, and rarity status pools, completing liquidation trades directly updates your character values with: - Job Skill Points (to increase your job level rank progression). - Profile Experience Points (global account account XP). - Season Points and Daily Reward Points.