Character Customization & Clothing Stores
This guide covers all the systems through which you can modify your character's visual appearance on the server, ranging from clothing styles and saved outfits to genetic and aesthetic facial features.
Clothing Stores
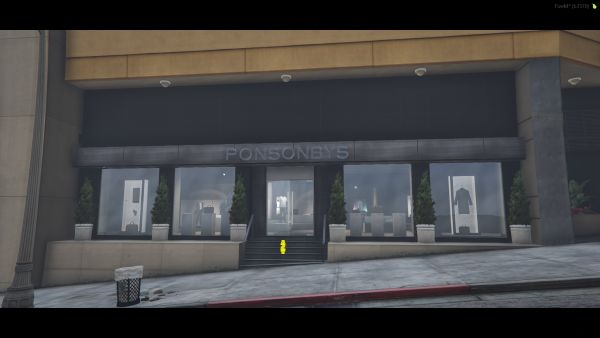
Features
- Clothing stores allow you to fully customize your character's clothes to your liking.
- You have access to jackets, pants, t-shirts, footwear, vests, masks, backpacks, hats, glasses, earrings, watches, bracelets, and scarves.
- You can preview a wide range of clothing items without being required to purchase anything upfront.
- Clothing items are purchased once and remain permanently owned, allowing you to switch between them later without paying a second time.
- Clothing stores also grant access to your personal wardrobe, where you can load your saved clothing combinations.
- The interface allows you to easily preview and compare multiple fashion styles.
The Store Interface
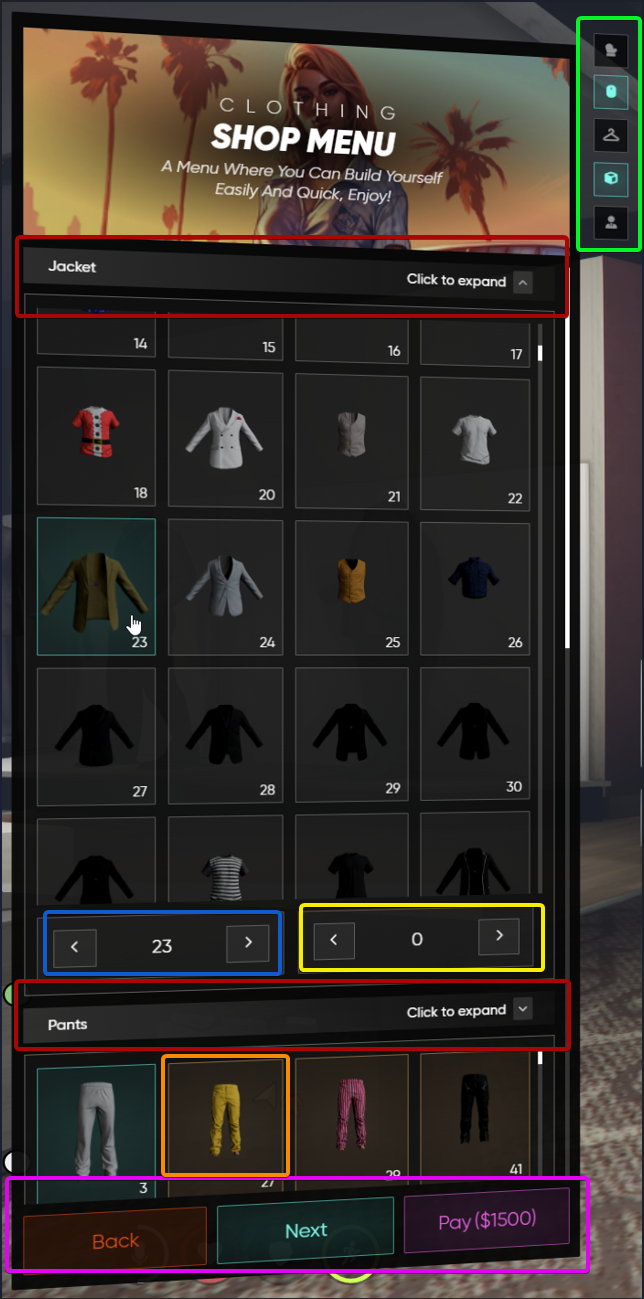
The user interface features a double sidebar navigation screen, designed both for browsing new catalog items and quickly managing currently equipped clothes.
- Left Sidebar (Store Categories): Contains all available clothing and accessory categories that you can browse, preview, and buy (ex Jackets, Pants, Footwear, Masks, Glasses, etc.).
- Right Sidebar (Equipment Management): Functions as a quick access panel that allows you to unequip (take off) specific clothes or accessories your character is currently wearing.
- Top Header: Displays the store name (ONE RPG | Clothing Store), the central Wardrobe button, your current personal Gold balance, and a + Buy button for quick top-ups.
Customization and Navigation Controls
When browsing through items from a selected category on the left, you can interact with each clothing card and adjust your appearance using the dedicated control panels:
- OWNED (Green Checkmark): Items you have already purchased in the past. Previewing or equipping them will not cost you anything extra.
- Equipped: The item your character is actively wearing at the moment.
- Price Tag (ex $7,500): Items you do not own yet, which must be paid for before they can be permanently saved to your wardrobe.
Changing Pages (Scroll & Pagination System)
If you scroll down below the clothing item grid, you will find the pagination controls:
* Use the left < and right > arrows next to the page text (ex Page 1 / 19) to flip through the rest of the catalog and see more available clothing options within that category.
Fine-Tuning Controls
At the very bottom of the interface, right below the page navigation system, you can manually adjust item specifics:
- SELECTED ID: Use the left
<and right>arrows to cycle sequentially through the individual asset IDs of the clothes. - VARIATION: Use the left
<and right>arrows to change textures, color schemes, or design variants for the currently selected ID.
Payment Methods
Once you have selected all your desired items and hit the purchase button, the checkout prompt "How would you like to pay?" will appear on your screen.
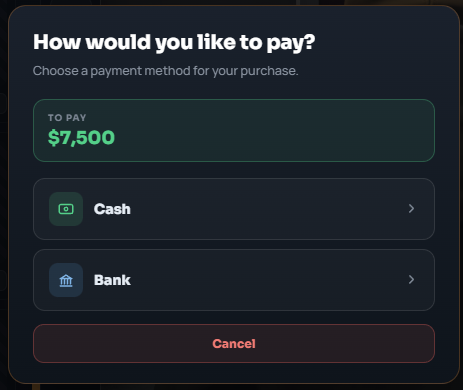
This menu displays the total price under the TO PAY section and offers the following options:
- Cash: The funds will be deducted directly from the cash you are carrying in your pocket.
- Bank: The total amount will be debited straight from your bank account balance.
- Cancel: Closes the checkout prompt and returns you to the customization interface without processing any payment.
Personal Wardrobe
Pressing the central Wardrobe button in the top header opens up your saved outfit management panel. Here you can store, organize, and quickly hot-swap your favorite fashion styles.
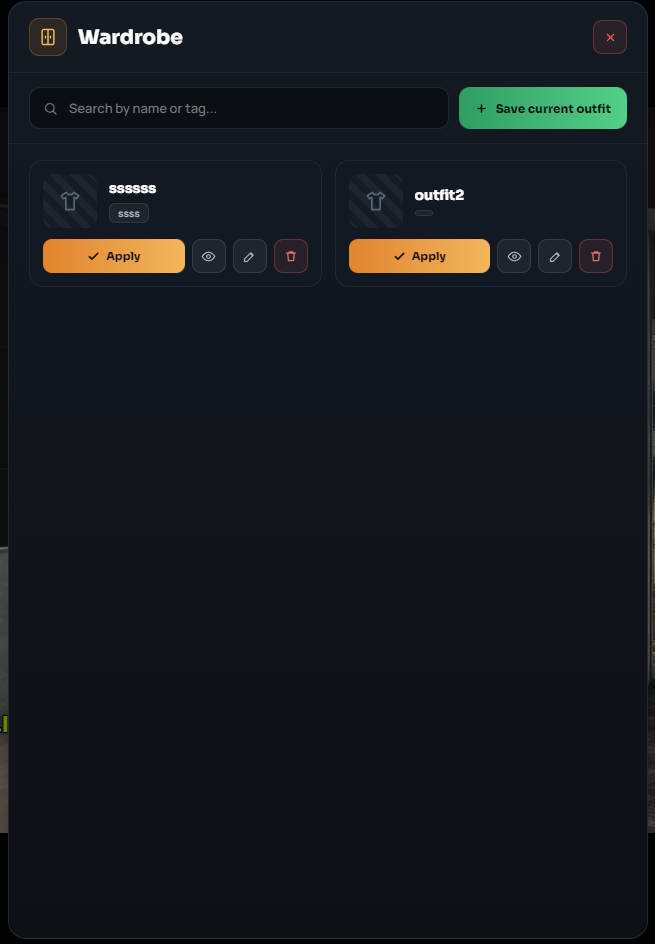
- Quick Search (Search by name or tag...): Instantly filters through your saved outfits by typing their name or assigned category tag.
- Save Current Outfit (+ Save current outfit): Saves the exact combination of clothes you are currently wearing into a brand new slot in your list.
- Apply Outfit (✓ Apply): Instantly loads and equips all the clothing items stored within that specific outfit slot onto your character.
- Preview (Eye Icon): Allows you to inspect the individual components of that outfit before actually applying it to your character.
- Rename (Pencil Icon): Allows you to edit the title or tag assigned to the outfit for better catalog organization.
- Delete (Trash Can Icon): Permanently removes the selected outfit slot from your personal wardrobe list.
Plastic Surgeon
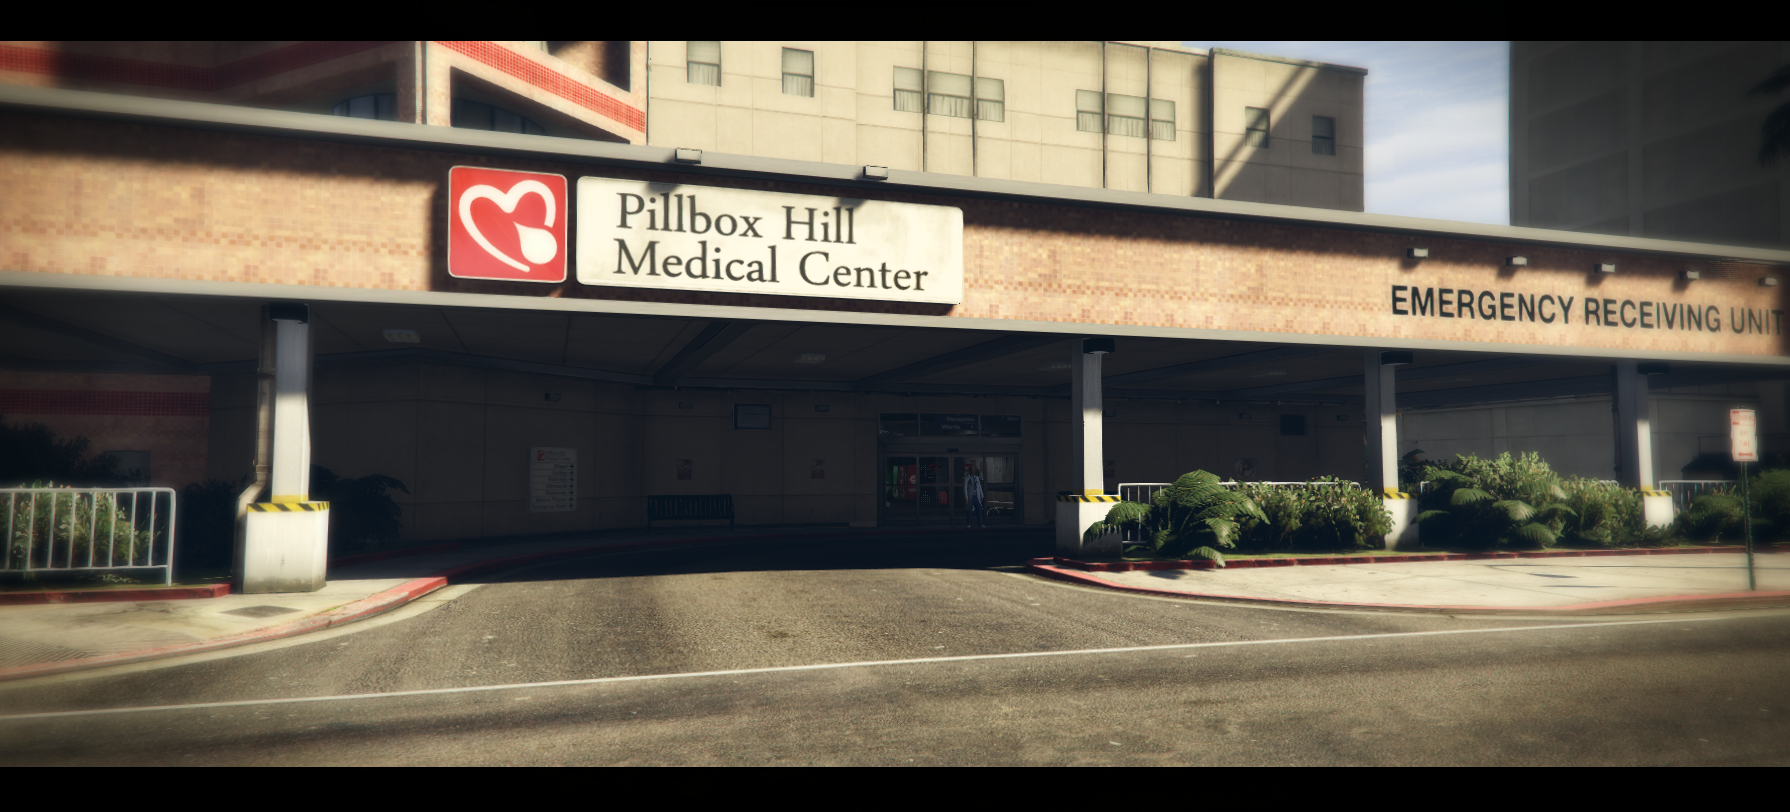
If you wish to modify your character's physical build, genetics, or facial features after the initial character creation process, you must travel to a Plastic Surgeon location.
On the game map, this facility is designated by a specific scissors icon:

How to Use
- Head to the main city hospital (Pillbox Hill Medical Center).
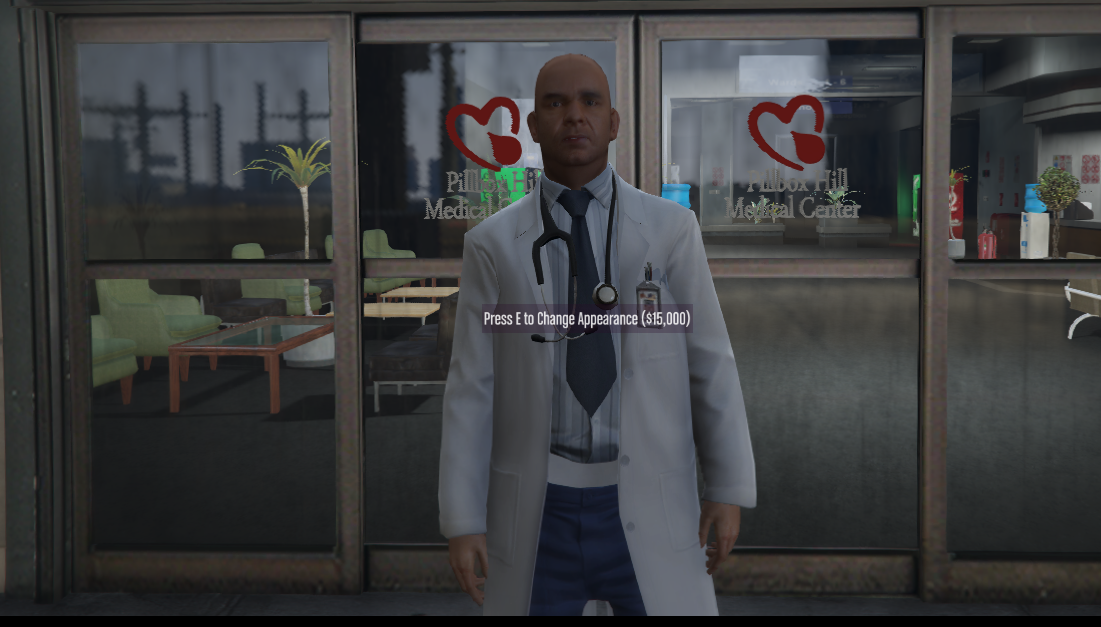
- Locate the plastic surgeon NPC standing inside or near the clinic's entrance lobby area.
- Approach the doctor and press the E key to open up the appearance modification menu. This service requires a flat fee of $15,000.
Character Configuration Steps
After paying the surgery fee, you will enter the interactive "Character Creation" room, which is split into 3 primary customization steps:
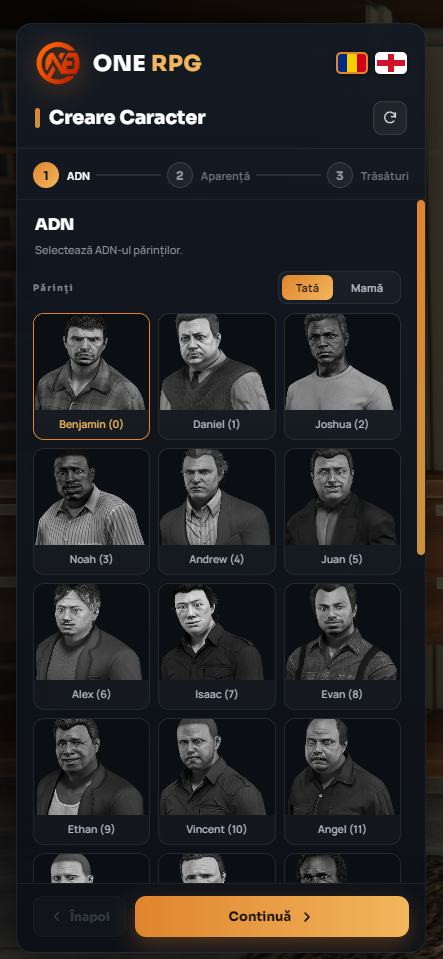
1. DNA (Genetics)
In the first phase, you can reconstruct your character's core genetic lineage:
- Parents: Blend the genetic features between a Father and a Mother from an extensive list of pre-rendered faces (ex Benjamin, Daniel, Joshua, Noah, etc.) to set the base structure of the face and the skin tone.
2. Appearance (Cosmetics & Details)
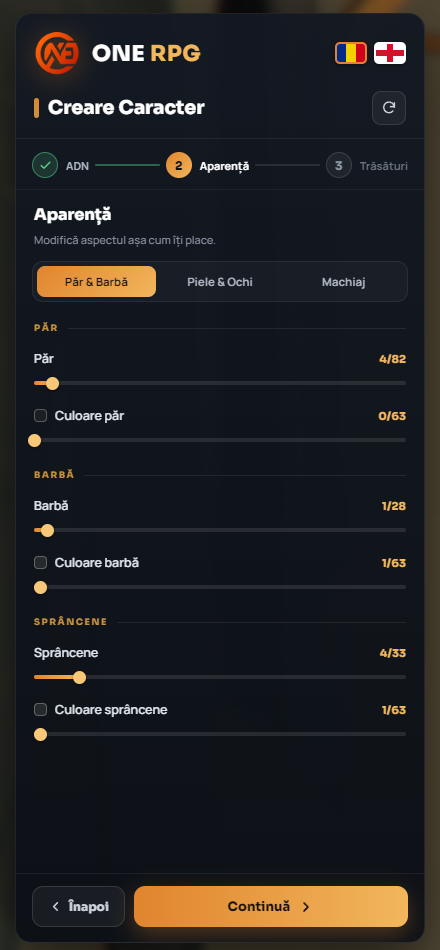
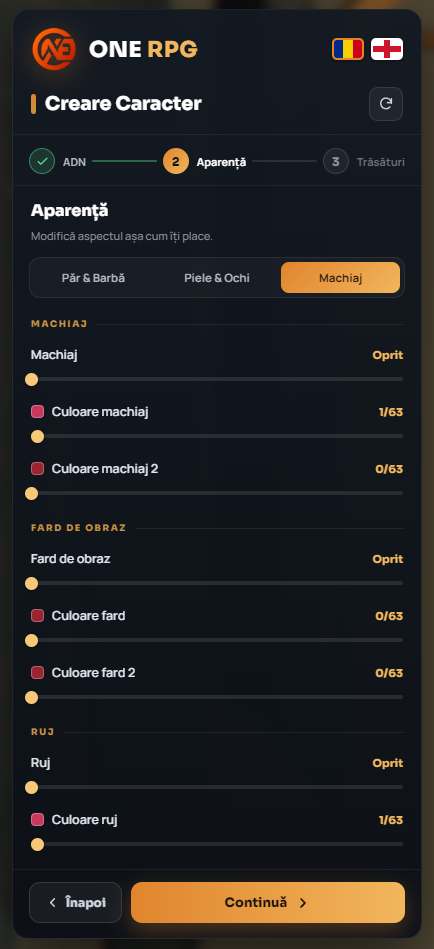
In the second step, the menu offers three major sub-categories to handle surface touch-ups:
- Hair & Beard: Customize your character's Hair, Beard, and Eyebrows, alongside dedicated sliders for colors (offering an extensive palette of up to 63 distinct shades).
- Skin & Eyes: Modify eye color, skin blemishes, complexion issues, freckles, aging lines, UV skin textures, or body chest details.
- Makeup: Enables the application, layering, and color customization of makeup, blush, and lipstick.
3. Features (Facial Sculpting)
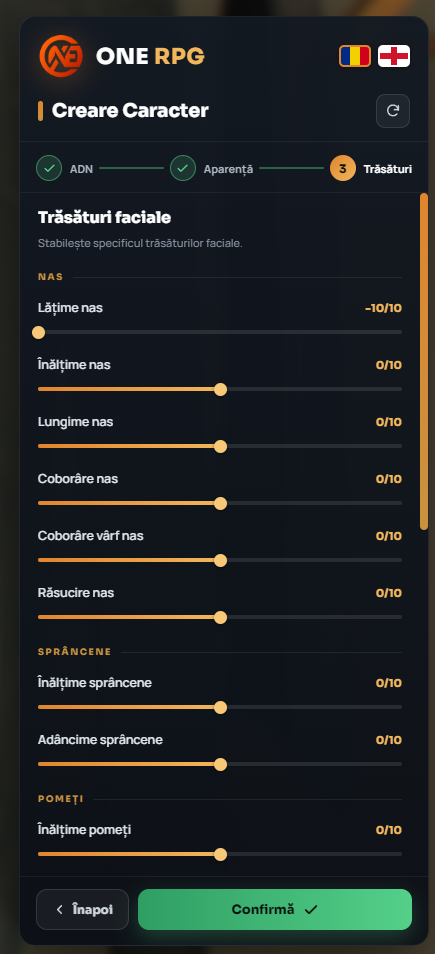
The final step provides millimeter-precision sliders ranging from -10 to 10, allowing you to manually sculpt your character's underlying facial bone structure:
- Nose: Nose width, height, length, bridge bone lowering, nose tip lowering, and nose twist.
- Eyebrows: Eyebrow height and depth.
- Cheekbones: Cheekbone height and various other lower facial structure details.
Once you are fully satisfied with all the structural updates, click the green Confirm ✓ button in the bottom right corner to permanently apply the new aesthetic changes to your character.